
DIY: Prom Dress


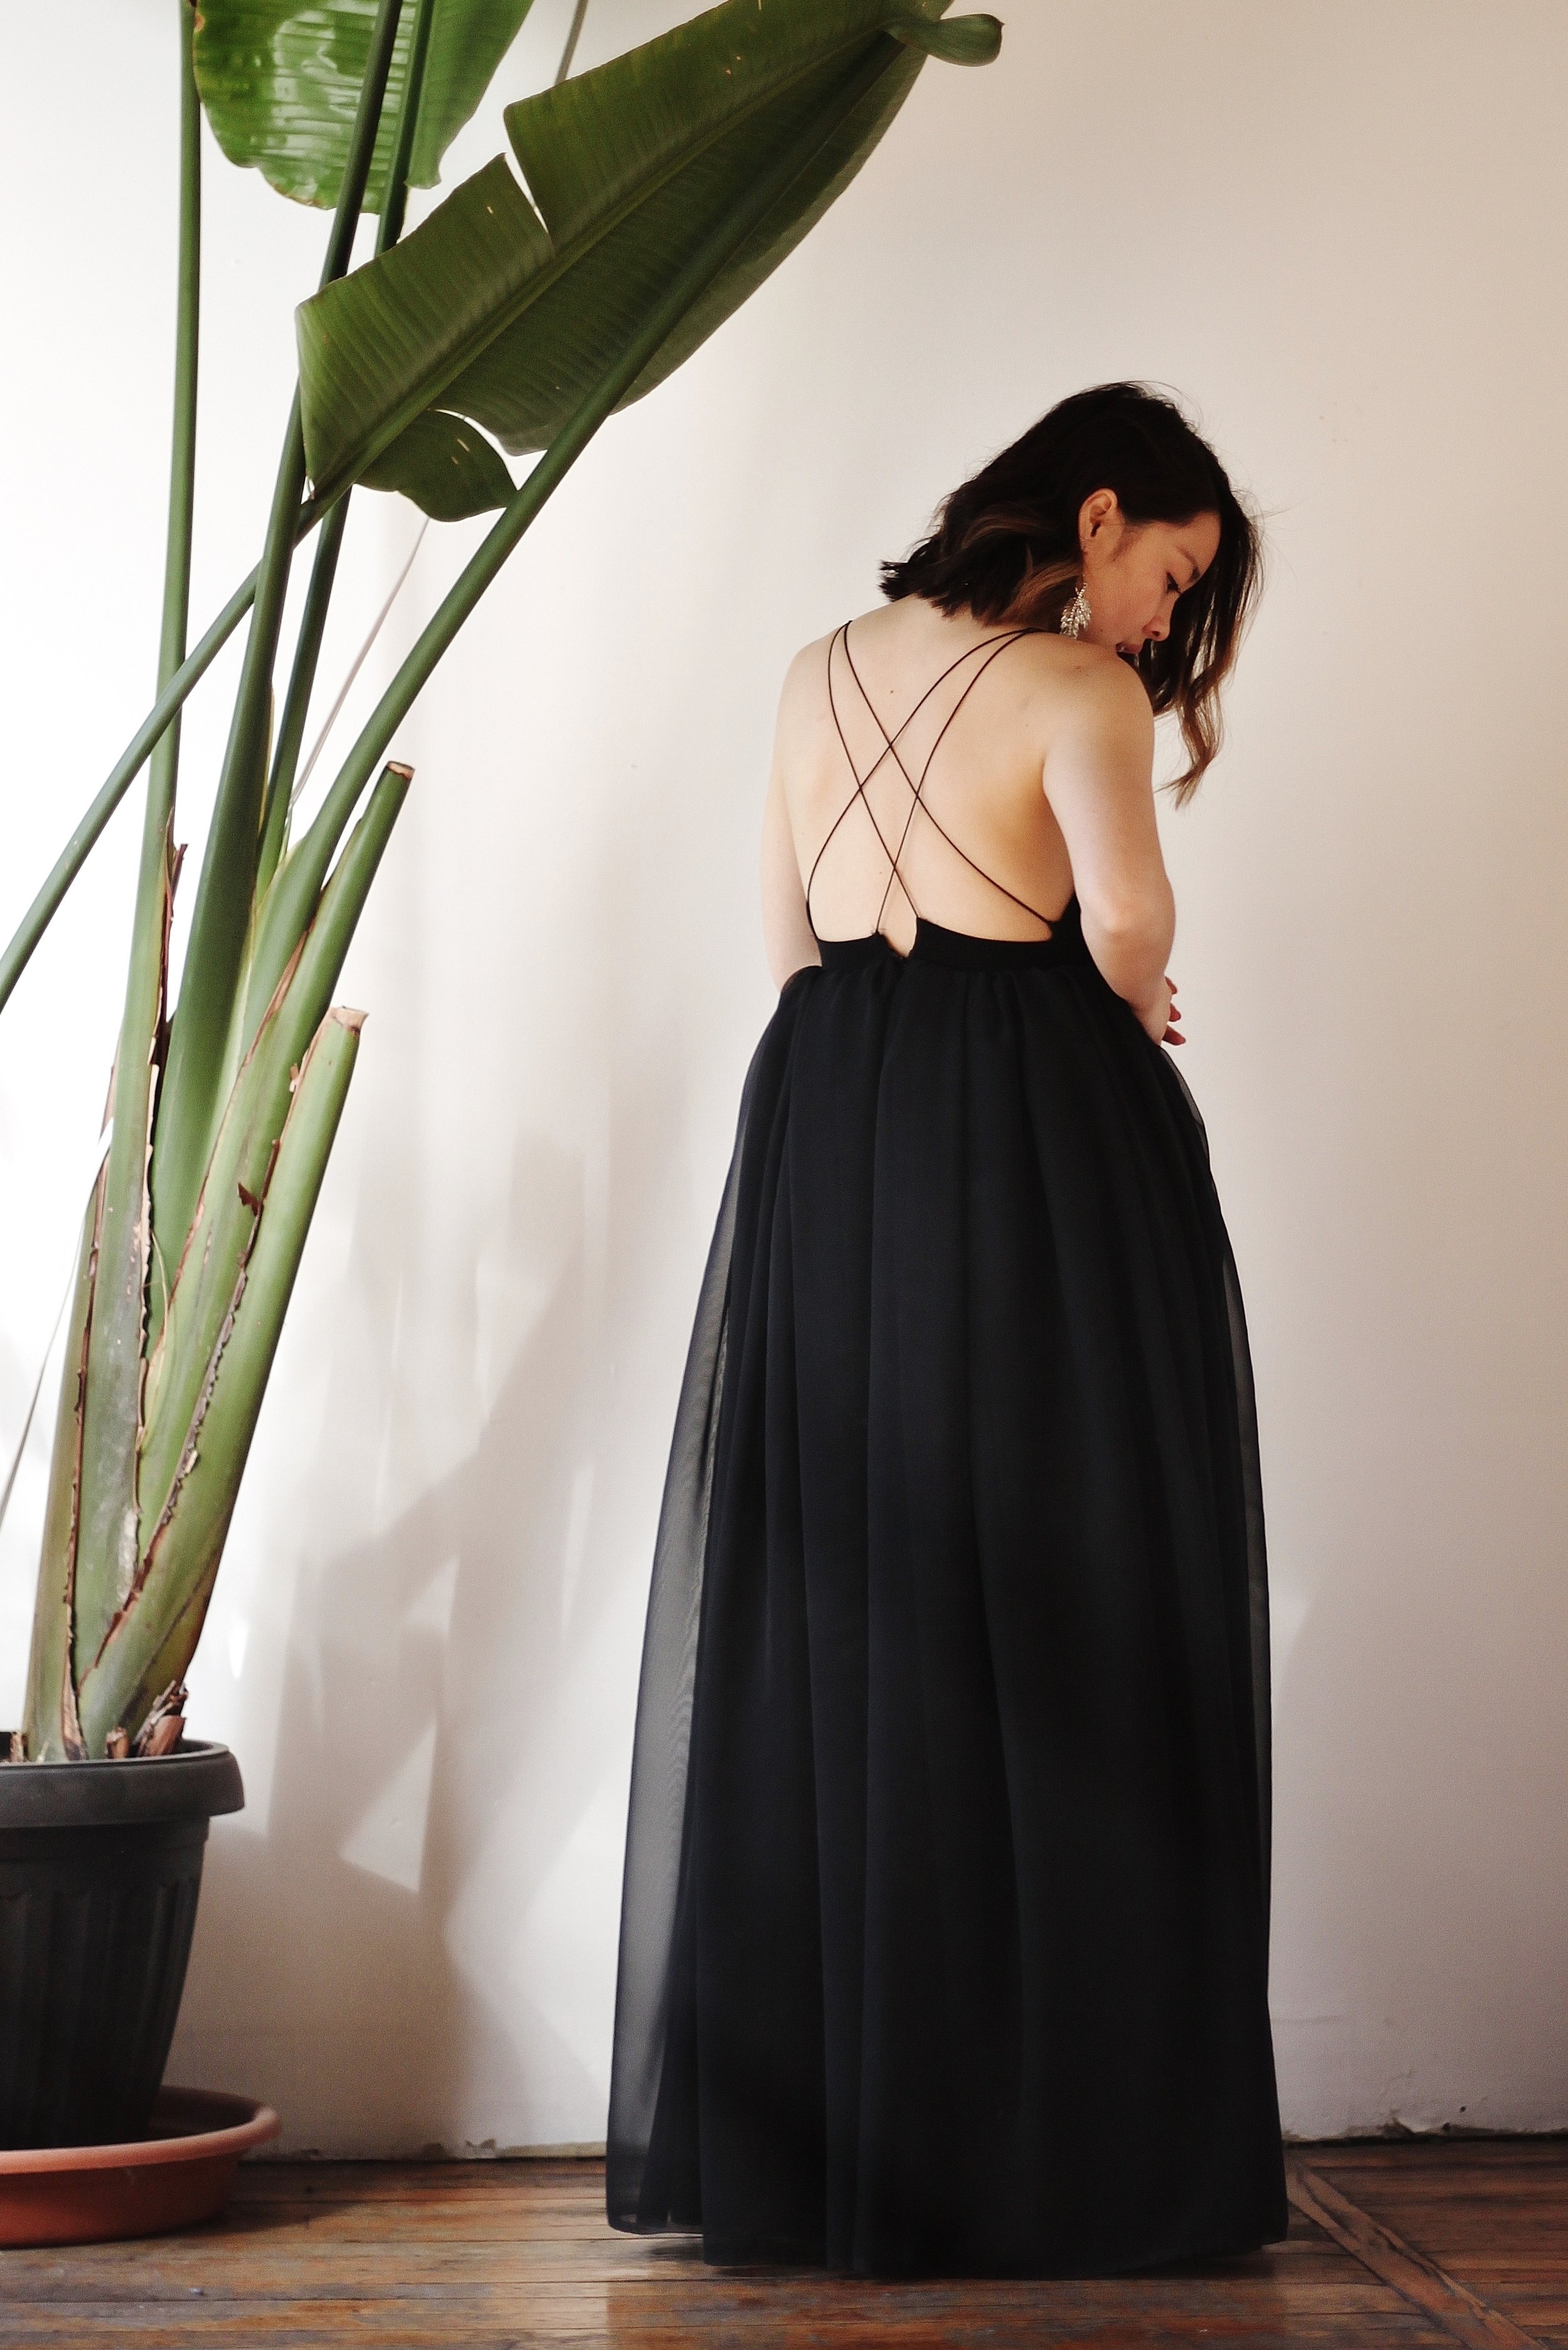
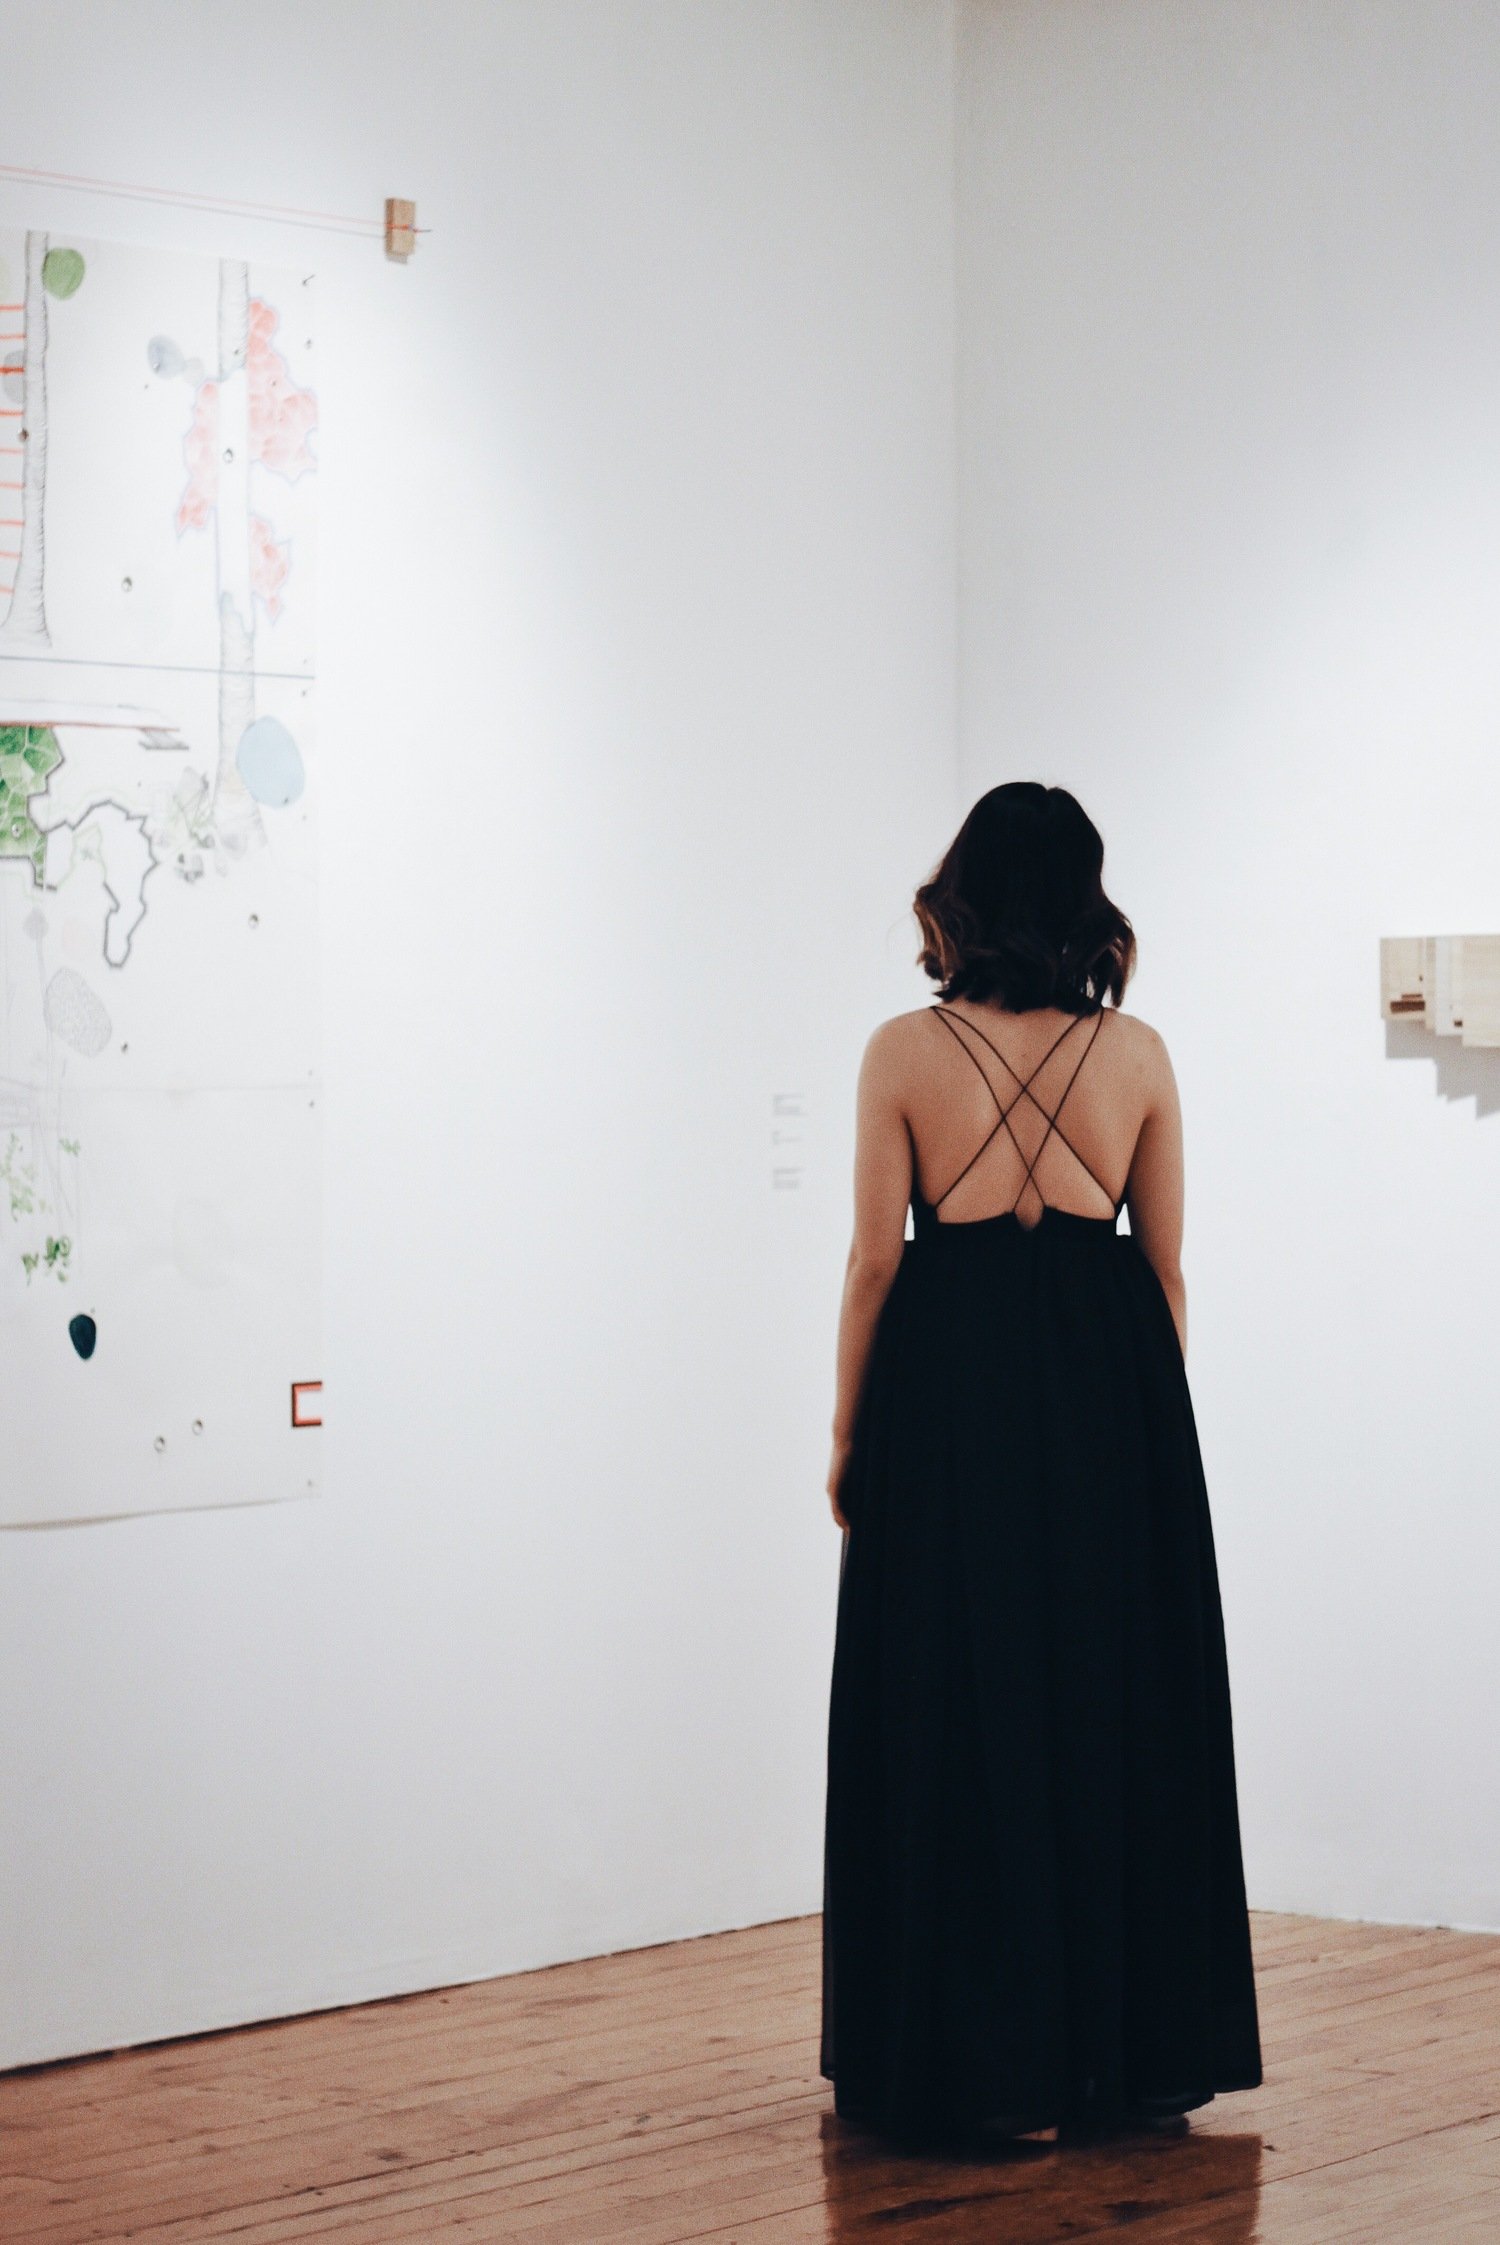
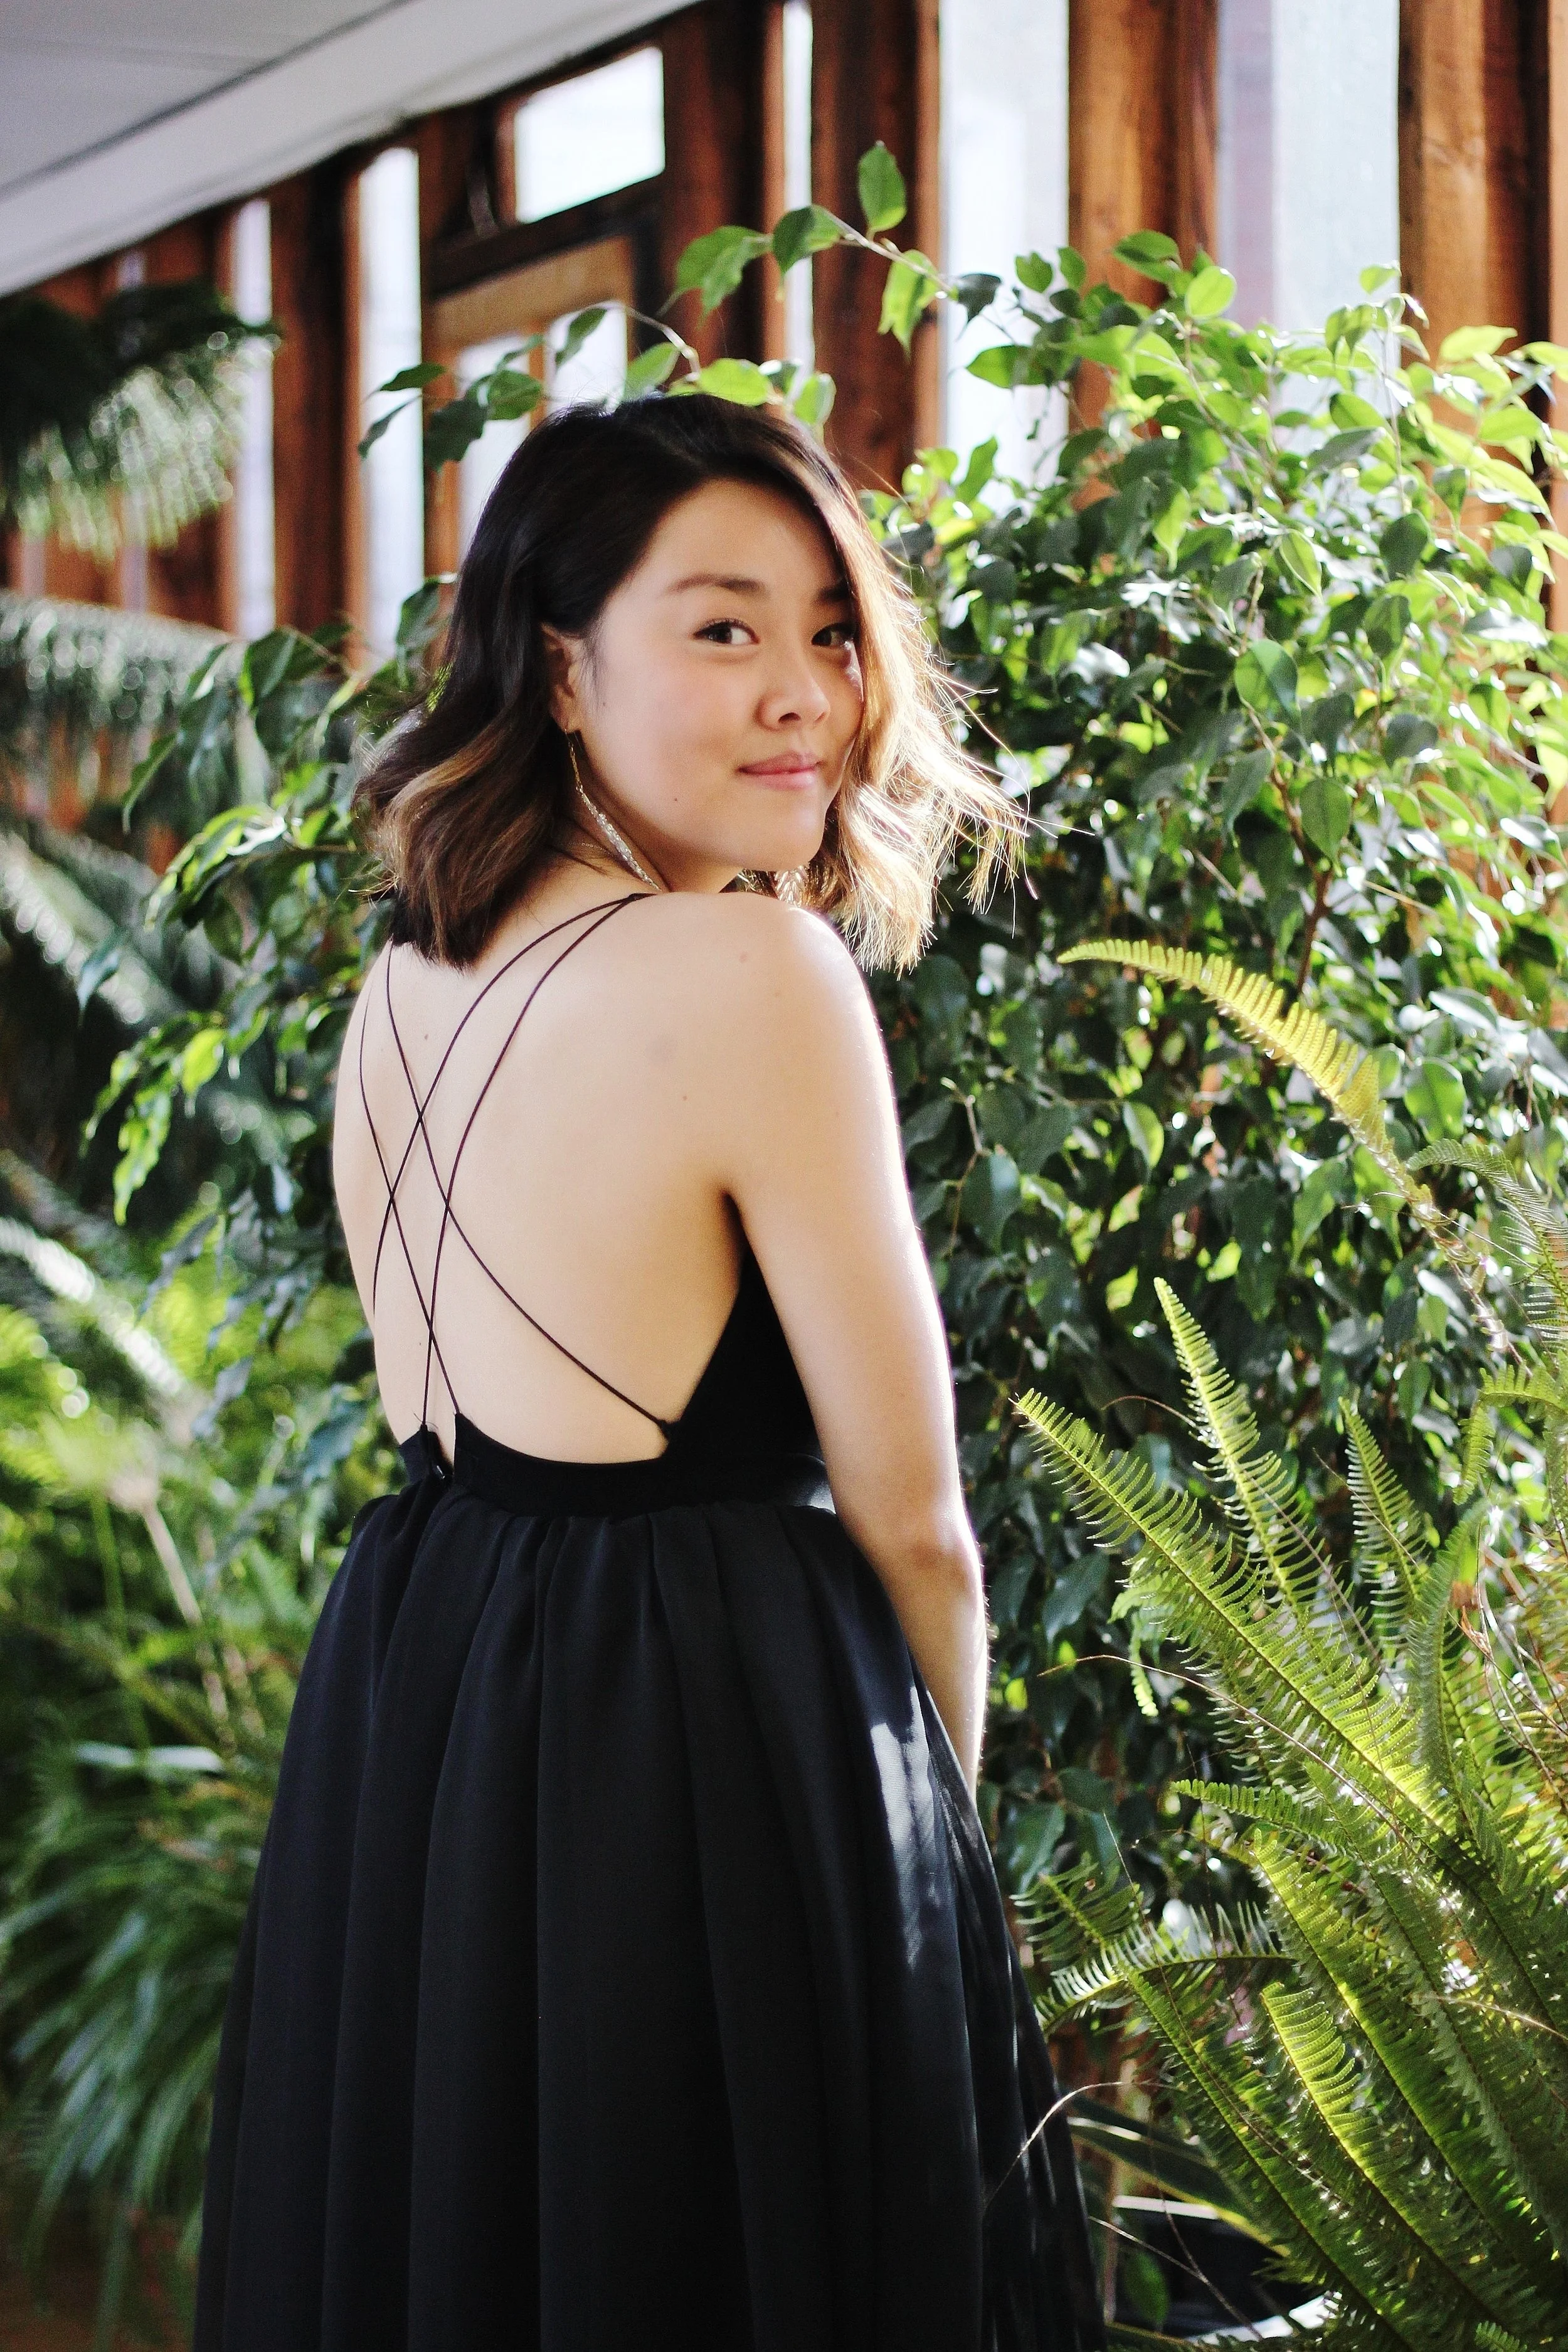
My friend Natalie has a wedding to attend soon and together we worked on a formal dress that's also perfect for PROM SEASON. It features backless design, flowing chiffon, and customizable lace-up back! Choose your own cat's cradle adventure.


The first step of this dress involved taking measurements of Natalie and trying on a test dress to ensure the darts and neckline were in the right spot. We checked that there was sufficient coverage to avoid side boob, and measured the height of the waist on the dress. After that, time to make the real thing!


You will need:
0.5 microfibre fabric for top
5 yards crepe for lining
10 yards of chiffon for 2 skirt layers
1 invisible zipper
1 hook and eye closure
3 yards strong thin cord
Here are the steps…
Fold the microfibre fabric in half with the wrong side on the outside
Trace out two symmetrical pieces to be the top of the dress, including the darts
(my pattern piece is linked here, the bottom edge needs to be 1/3 your waist circumference)Cut out the two symmetrical pieces, and sew in the darts to help it fit the chest better
Lay the two symmetrical pieces right side together and pin them along the M shape
Cut two 13" cords and tie the loose ends together with a knot, forming two loops
Slide the loops in between the layers, with the knotted end aligned to the peaks of the M
Sew the layers together along the M with a straight stitch
Cut three small slits into the center front raw edges, and cut off excess fabric near the cords
Flip the top inside out and seal the bottom edges with a zigzag stitch
Cut a waistband from the microfibre that is 4 inches wide, and 1 inch longer than your waist circumference
Lay the top along the center of the waistband, right sides touching, and sew together with a straight stitch
Fold the waistband in half and seal all raw edges with a zigzag stitch - the top half is done!
Sew two parallel lines into the top edge of the crepe and each of the two layers of chiffon, use the longest stitch length
Tie together the bottom two threads on one end, and the top two threads on the opposite end
Pull on the untied threads to begin gathering the fabric, and keep gathering until they are the same width as the waistband
Pin all three gathered layers right sides facing upwards, sew them together with a straight stitch
Pin the top to the gathered layers, right sides together, sewing together with a straight stitch
Add the invisible zipper to the skirt at the back, sewing as much as possible to just the innermost crepe layer and avoiding the chiffon
(here's a link if you're unfamiliar with invisible zippers)Sew the back of the skirt's right sides together with a straight stitch, all the way down the crepe and stopping at the base of the zipper for the chiffon layers
Cut two cords that are over 1 yard in length and tie one end into a knot on each
Tuck the knotted ends into the back of the waistband and seal with a straight stitch
Cut a 10-inch strip from the microfibre and fold the two raw edges inward like a trifold, seal with a zigzag stitch all the way down
Cut the strip into 6 equal pieces and seal each into a loop with a zigzag stitch
Sew these loops to the inside of the dress with a straight stitch, 2 below the darts, 2 in the corner where the top meets the waistband, and 2 in the back of the waistband
Try on the dress and cut off any excess fabric on the bottom of the skirt, hem as desired

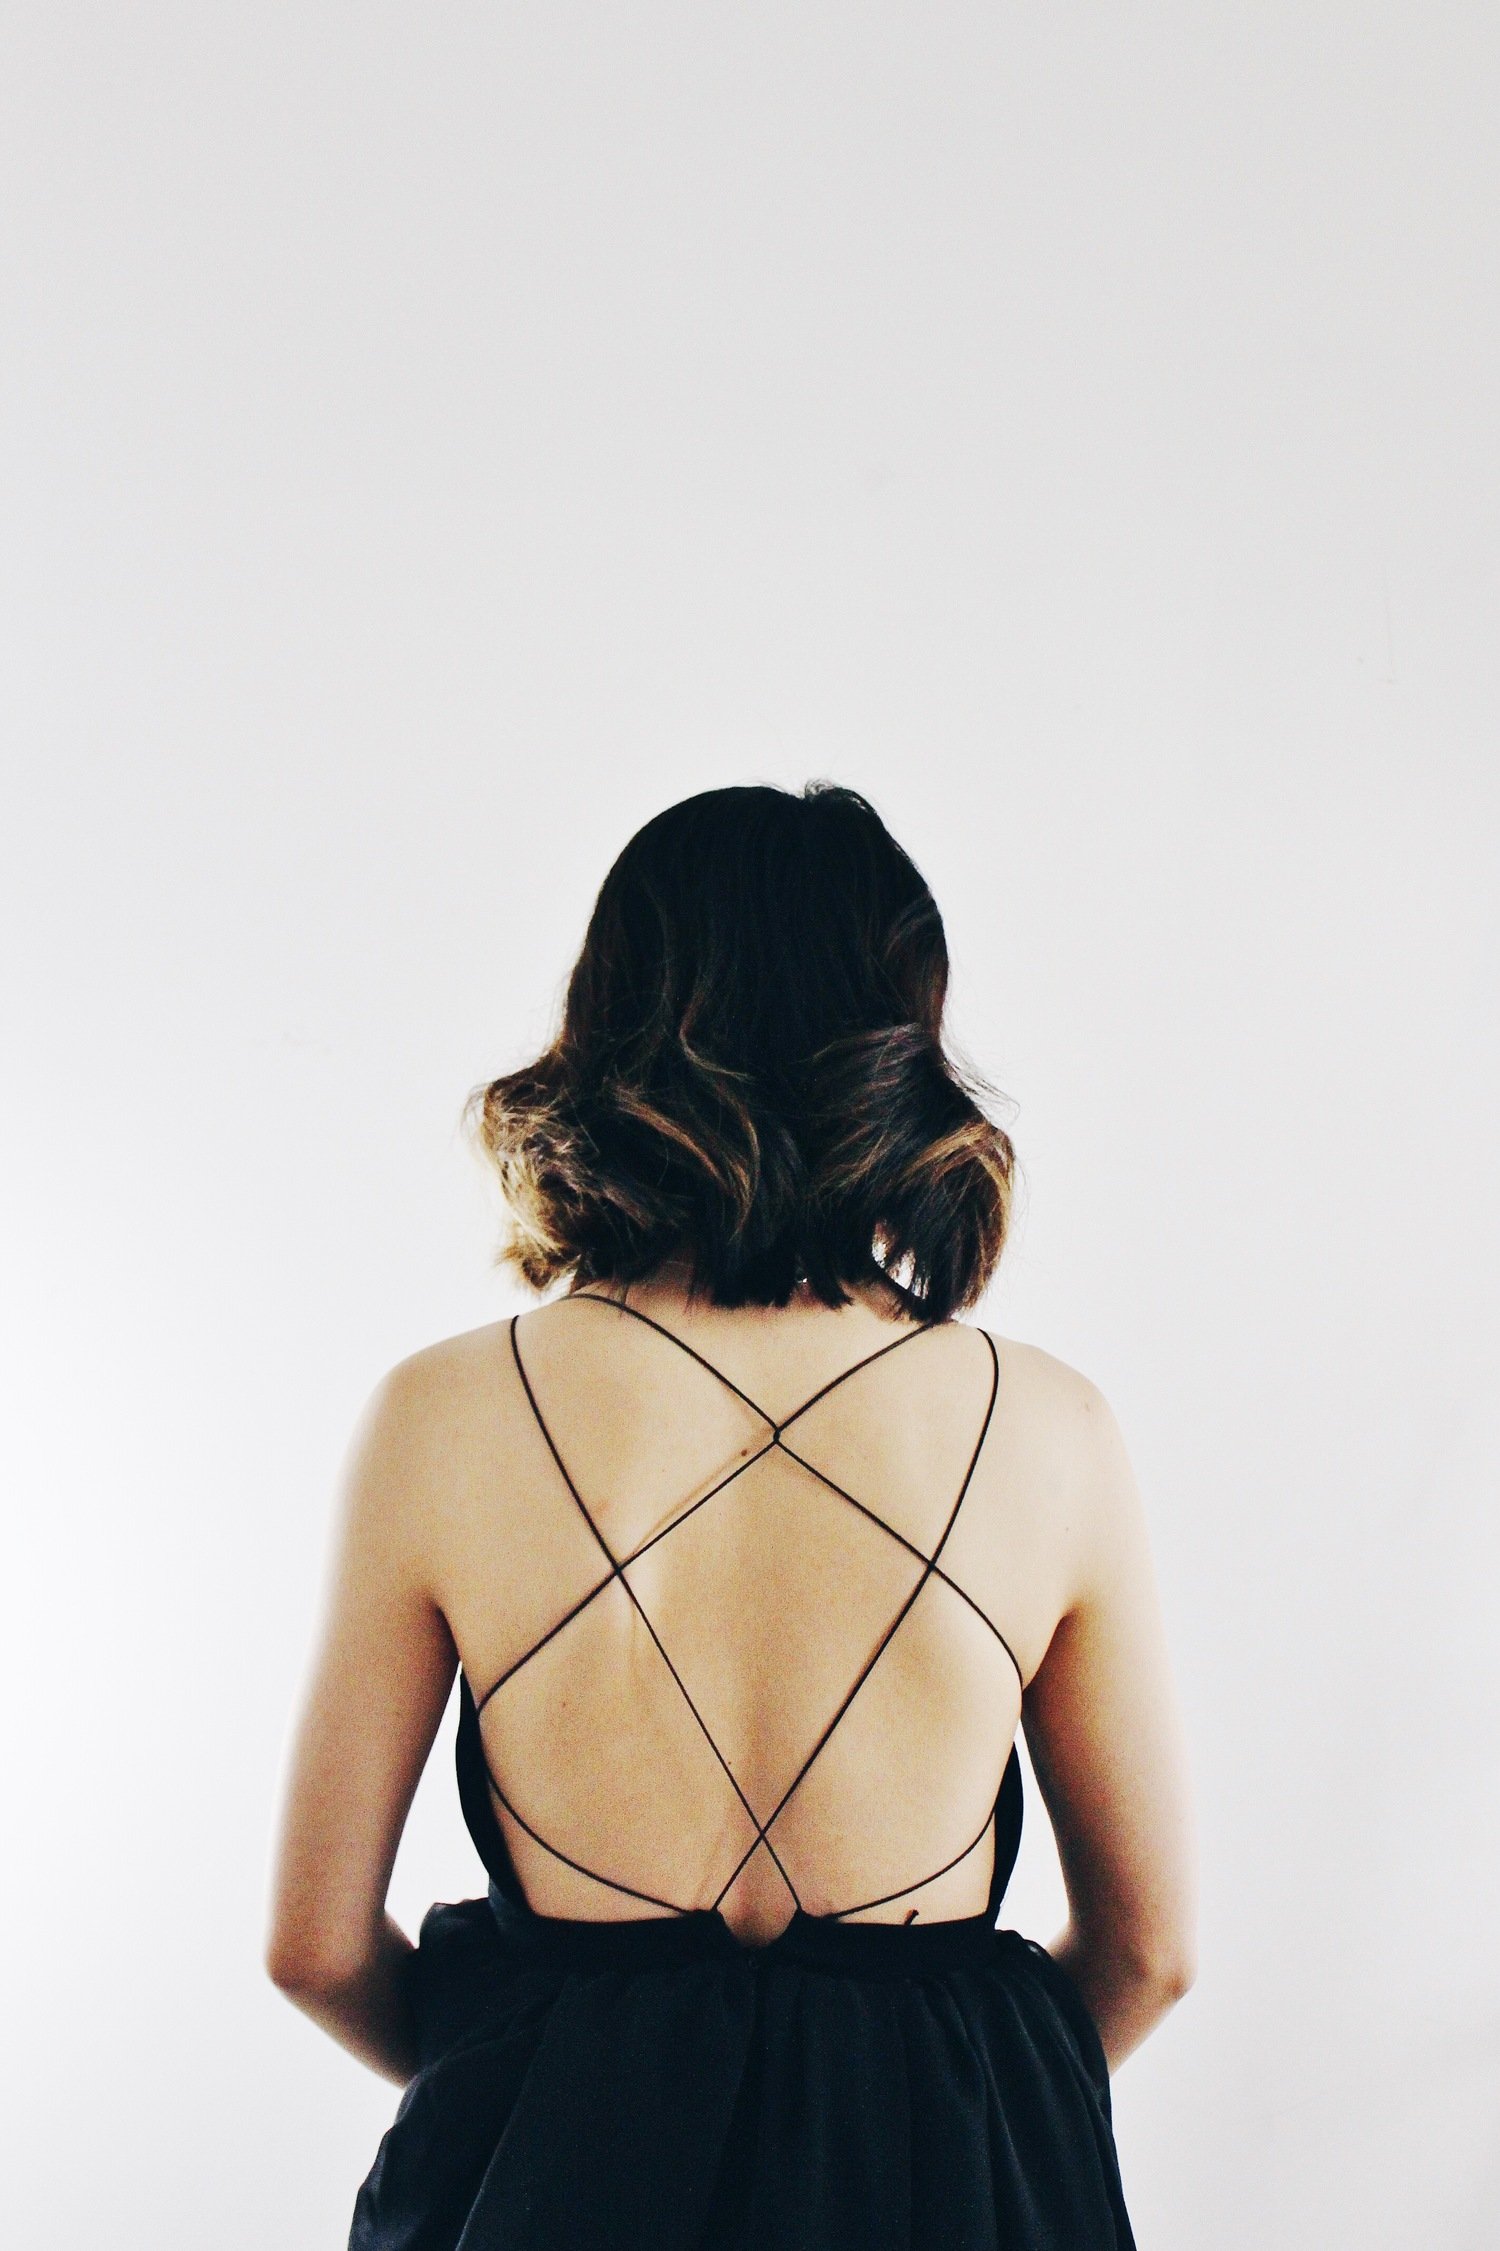
Make sure you try out lots of ways to lace up the back to find your favourite! When I reach the last loop for the cord, I tie two knots with the cord and tuck the leftovers into the dress to hide it away for next time.


Photography brought to you by the talented @kerenzayuen.
