Thrift flip (these sweaters needed it)
I’ve made it to the thrift store and have been looking for pieces that I can recreate into my favorite celebrity/designer looks in the last year.
Here’s what you’ll need…
Thrifted sweaters or ones you already own!
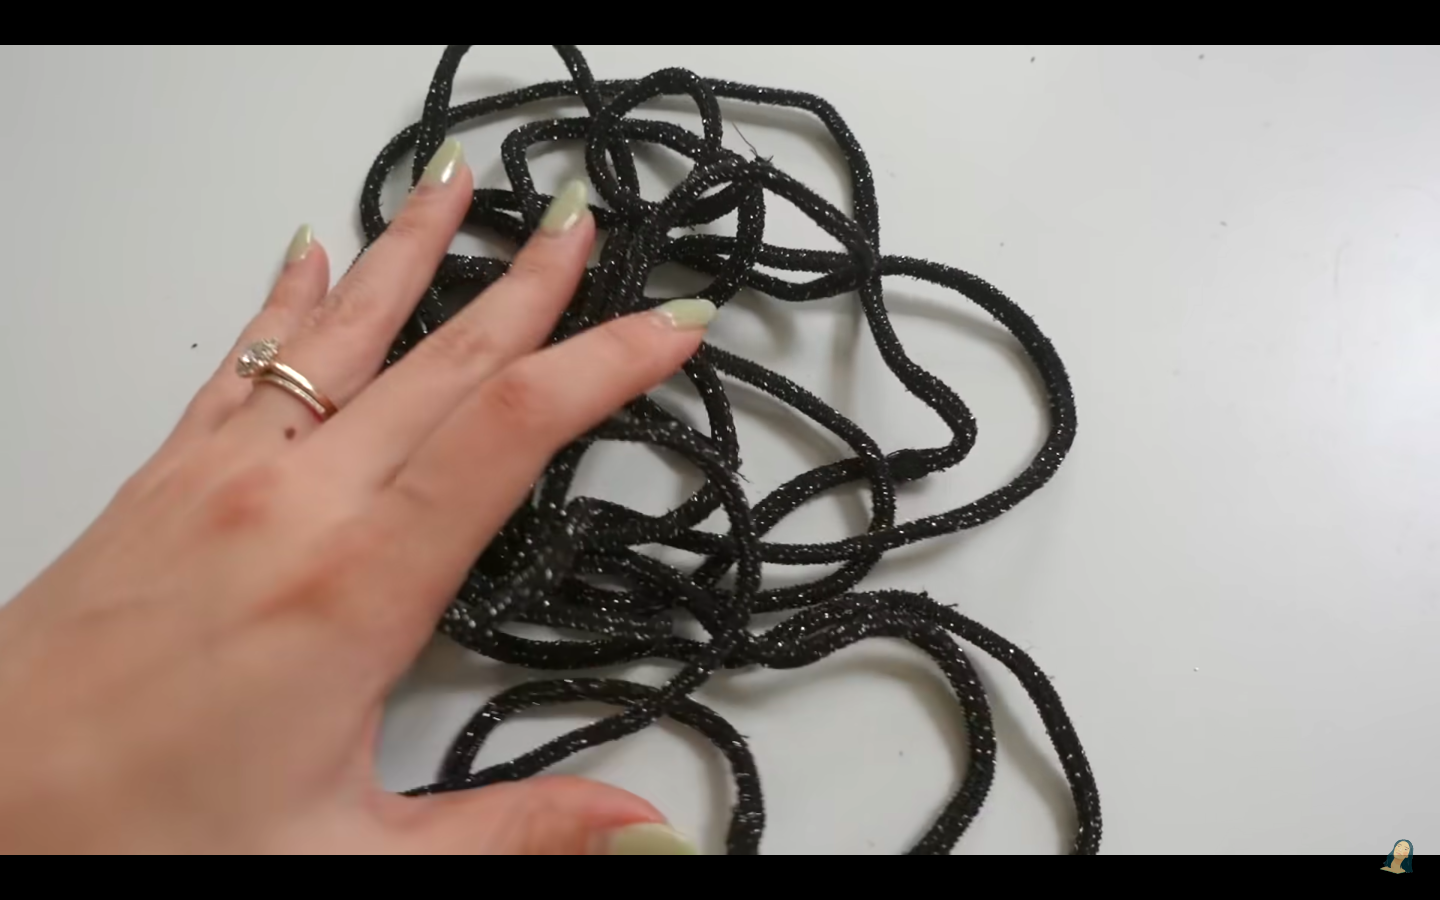
1/4” elastic cord
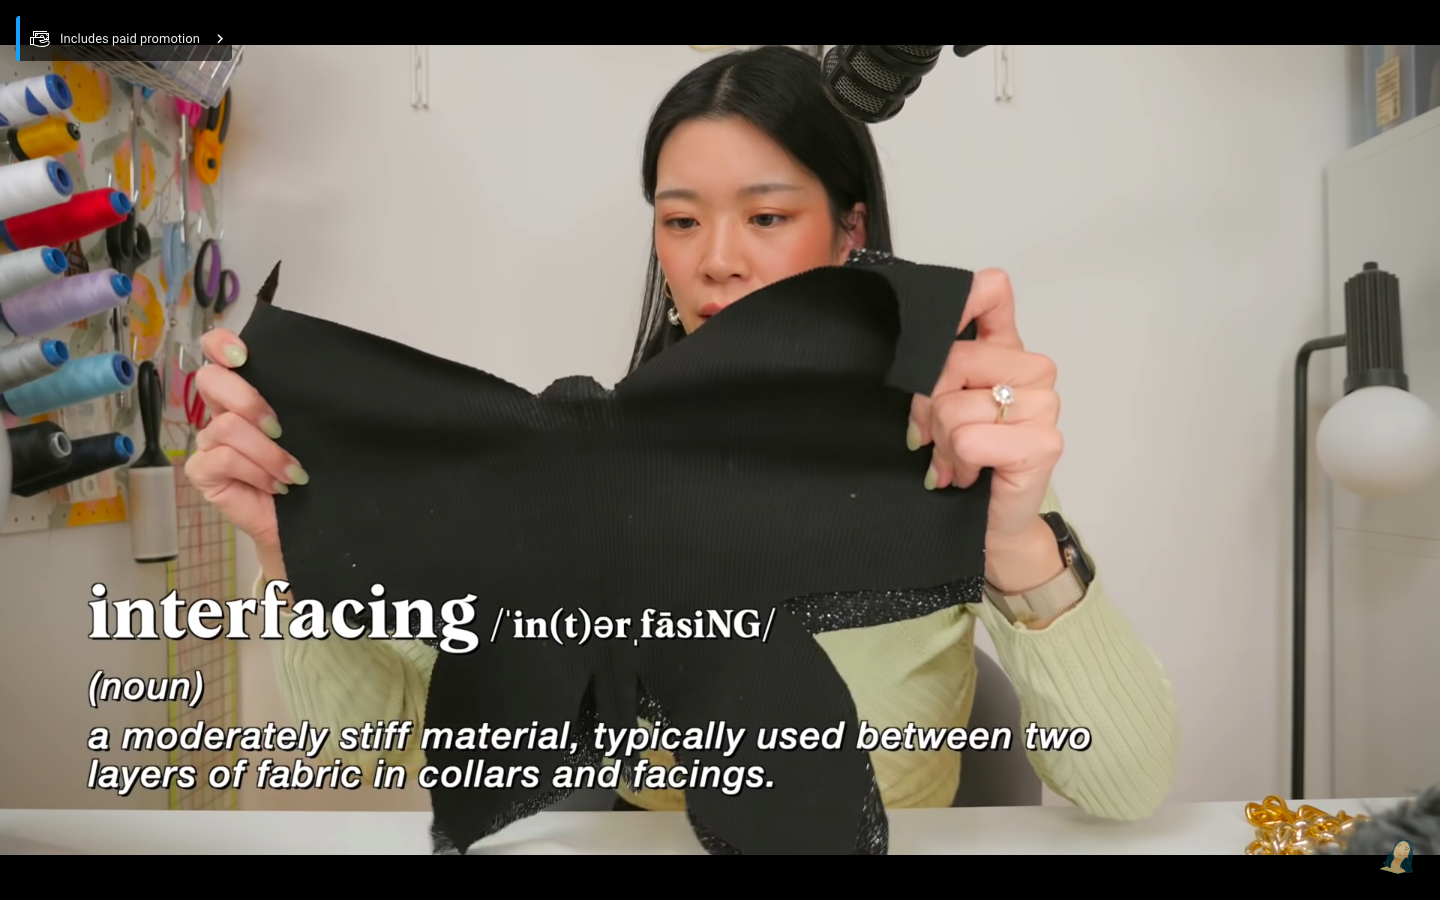
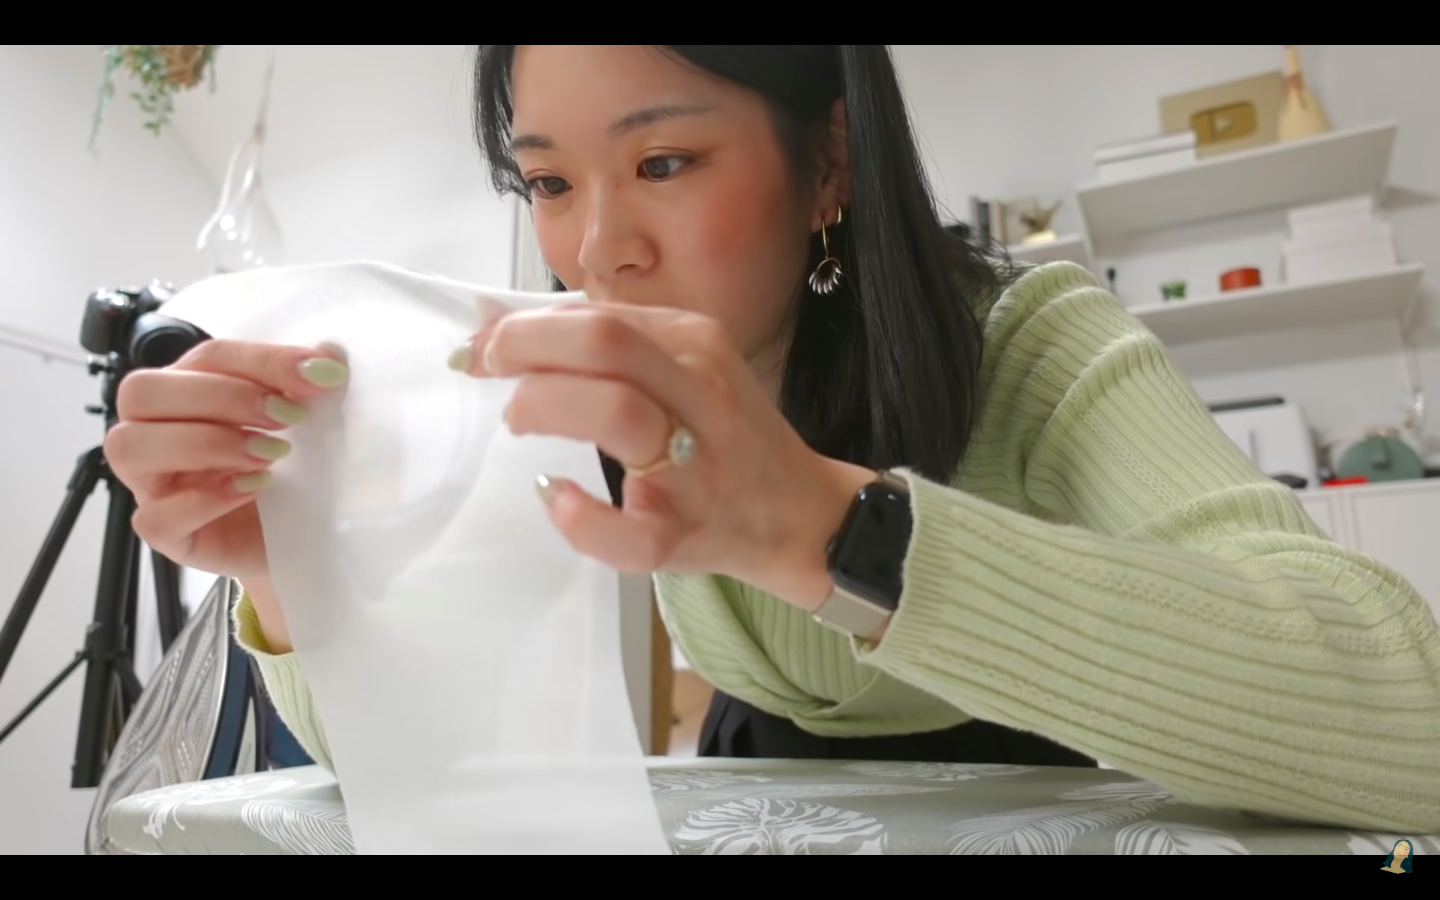
Interfacing


The Twist
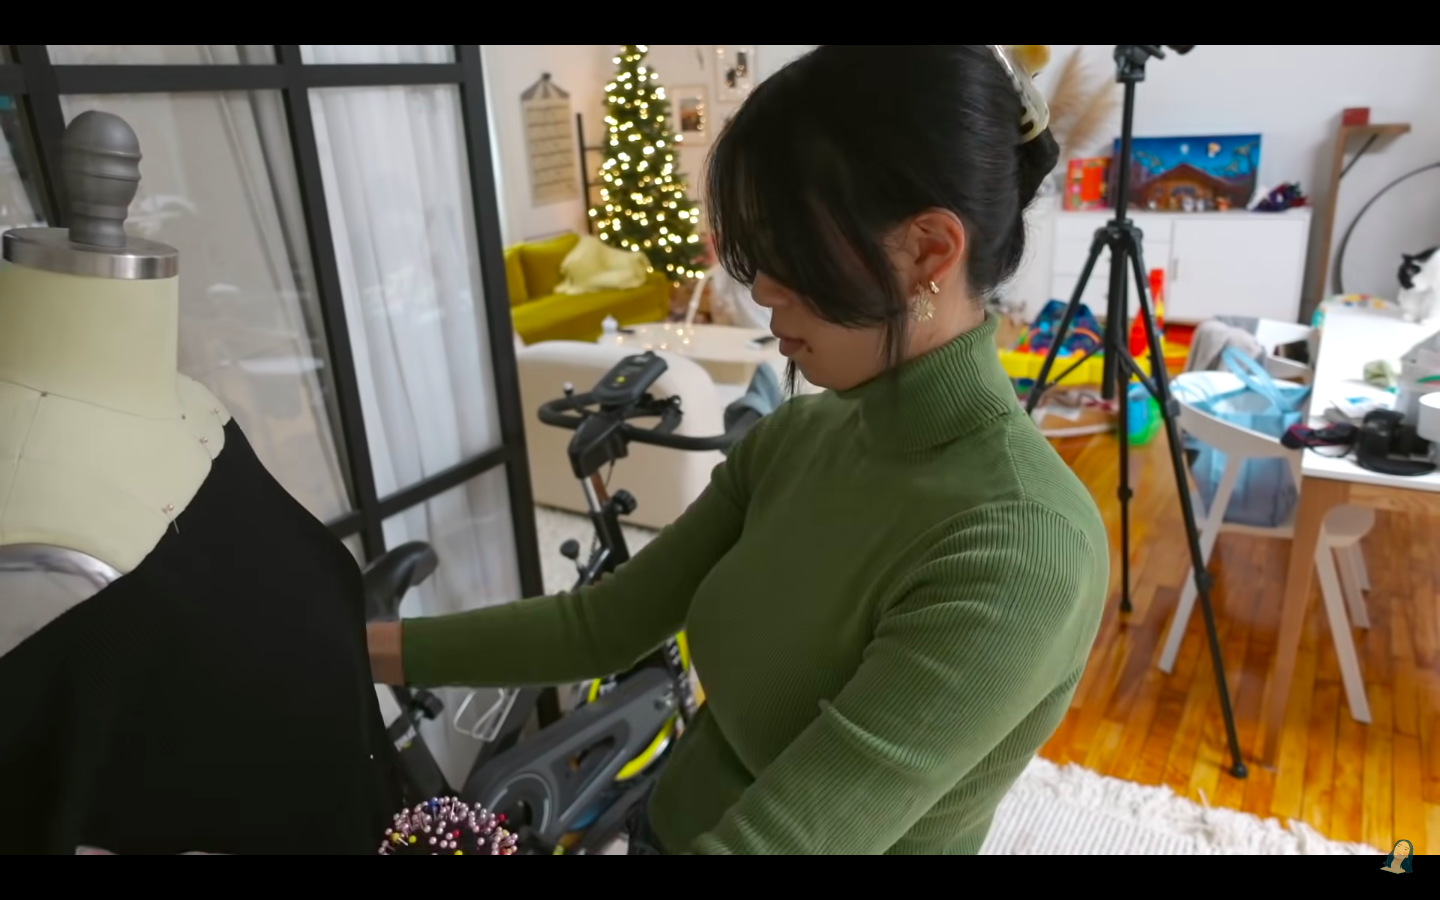
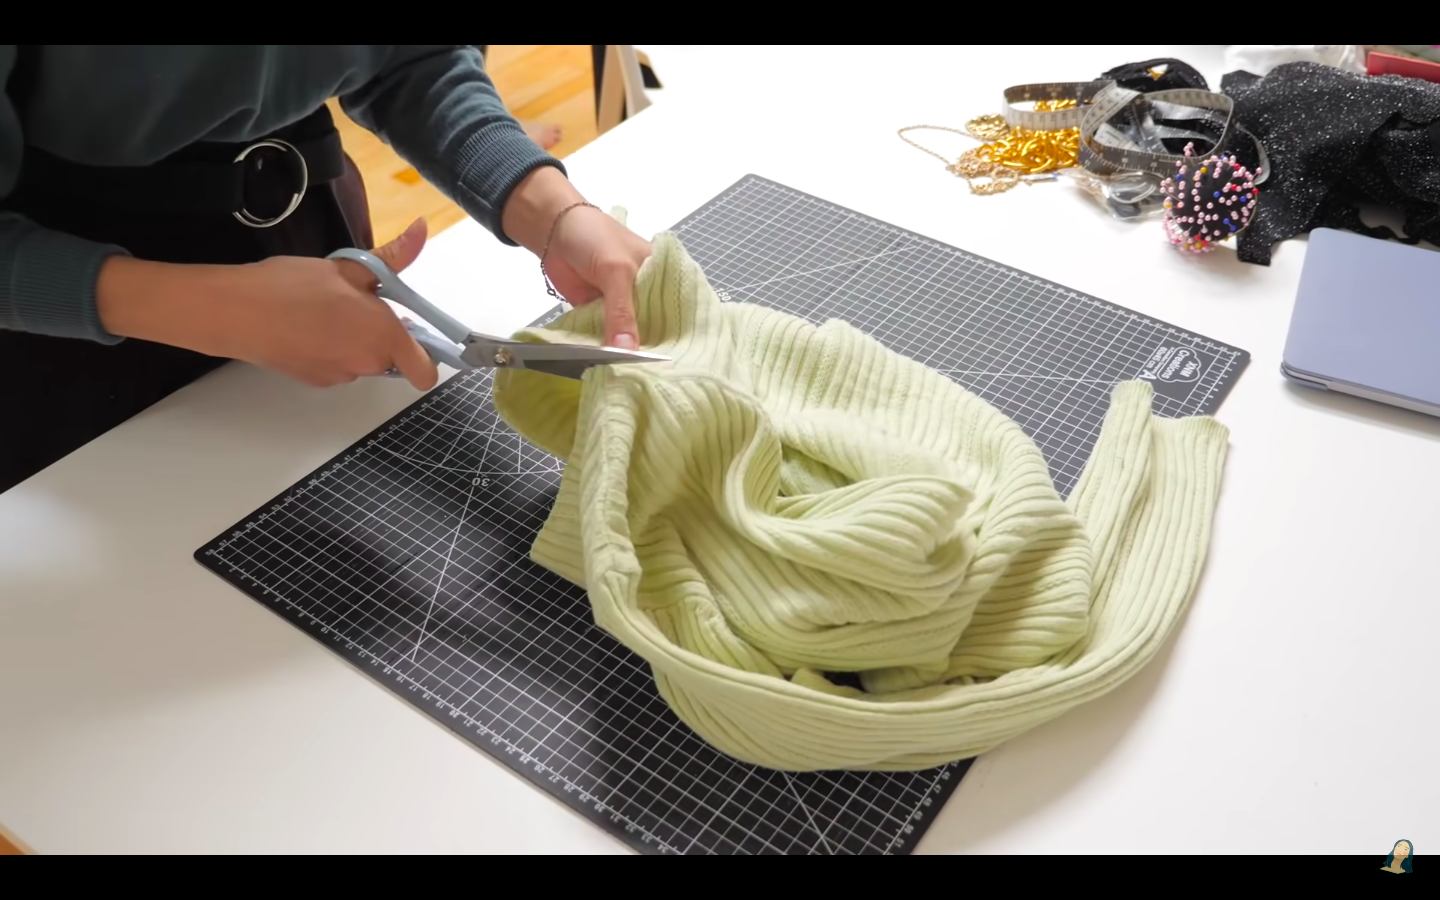
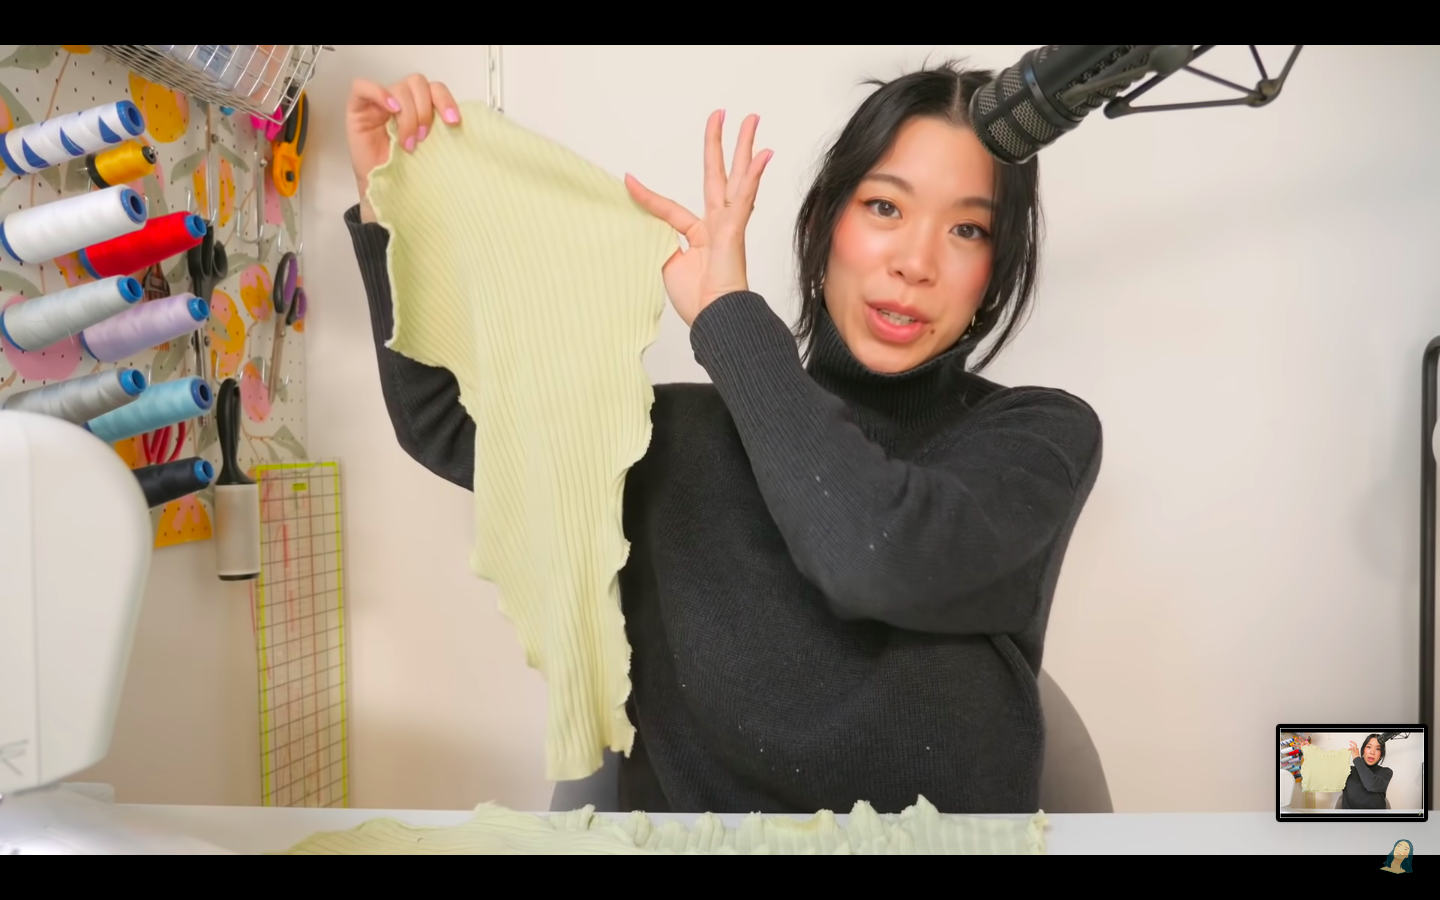
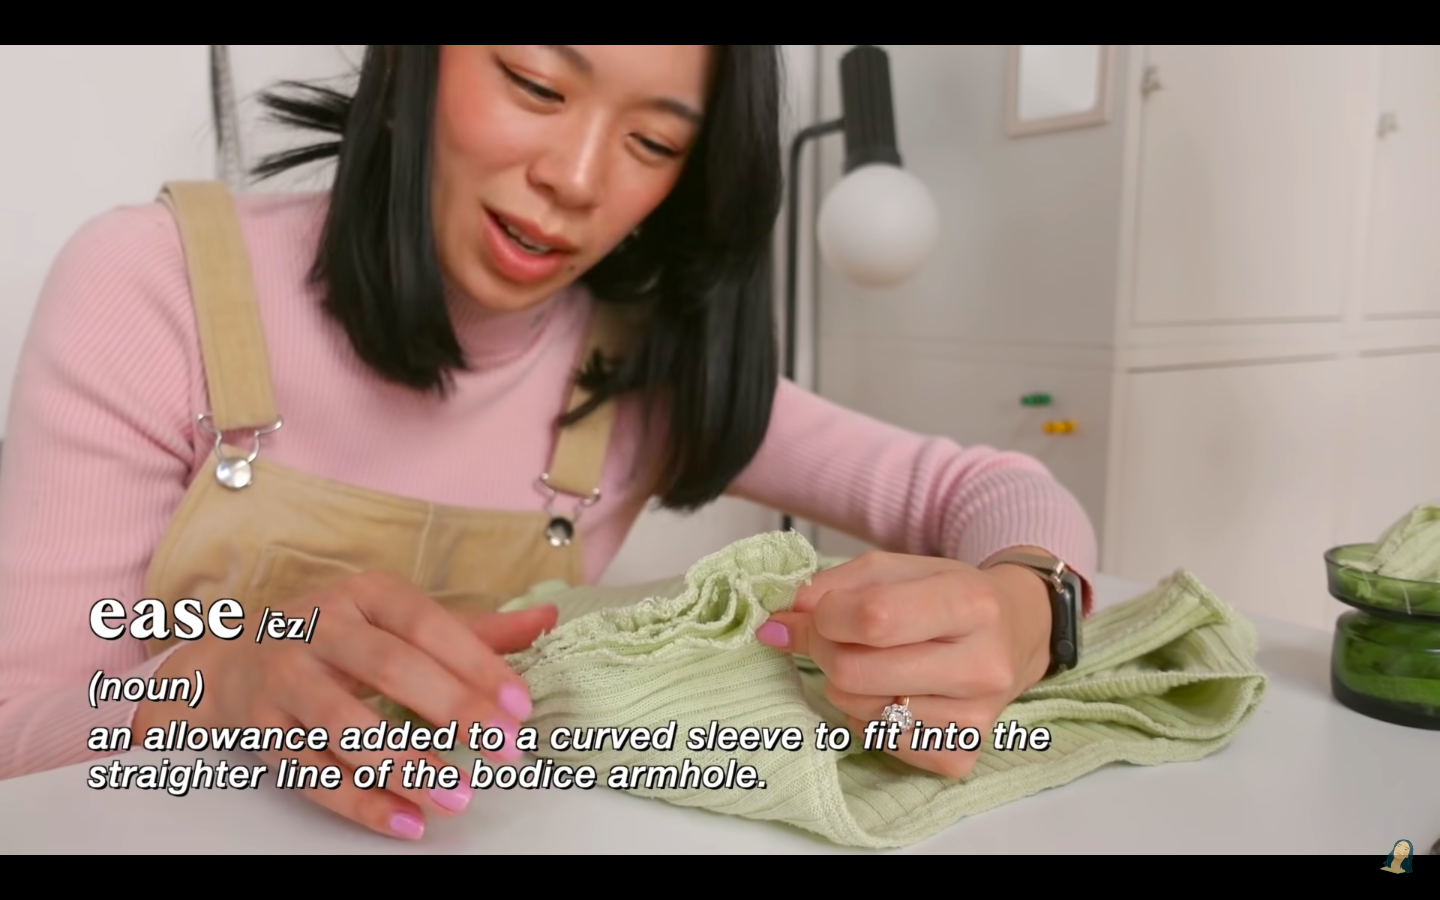
I thrifted this lovely green turtleneck but unfortunately, the neck-hole has some stiffness where it doesn’t quite suit me wearing up or down, the arm area is also quite baggy on me.
I’d love to do a twisting moment with this sweater as I love the way this would look with this citrusy color.
1. We will start by removing the turtle neck, cutting it in a crop top length, and saving that rectangle for our twist later on.
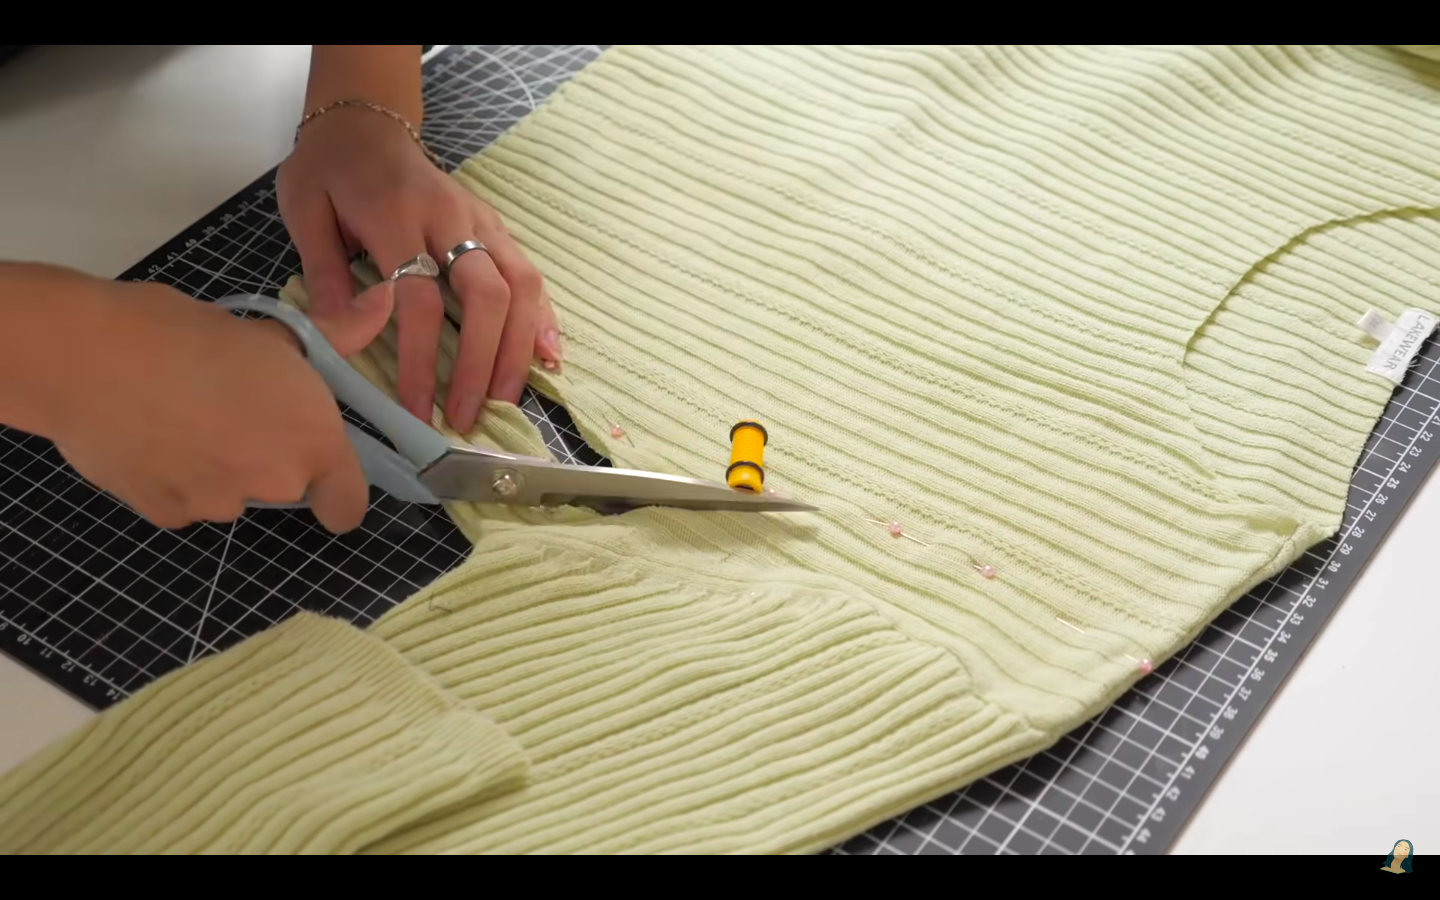
2. I then also made adjustments to the fit such as slimming down one of the sides and flipping it to redraw the other side, making sure it is symmetrical. Taking off some of the widths from both of the sleeves and then removing any extra material in the shoulders so we are the original edge for sewing.
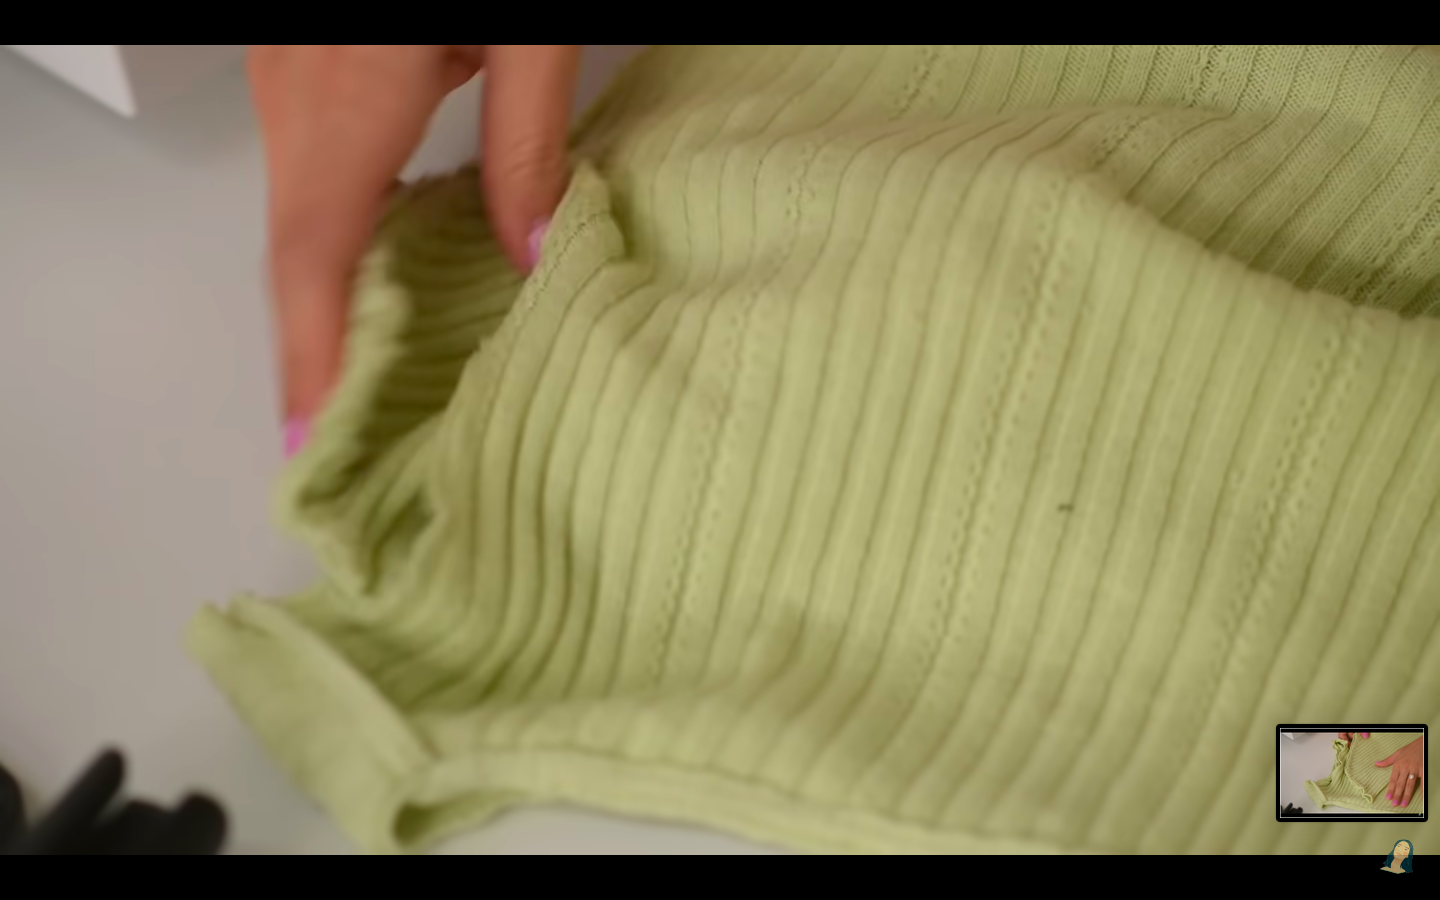
This leaves us with the torso, two arms, and two rectangles.
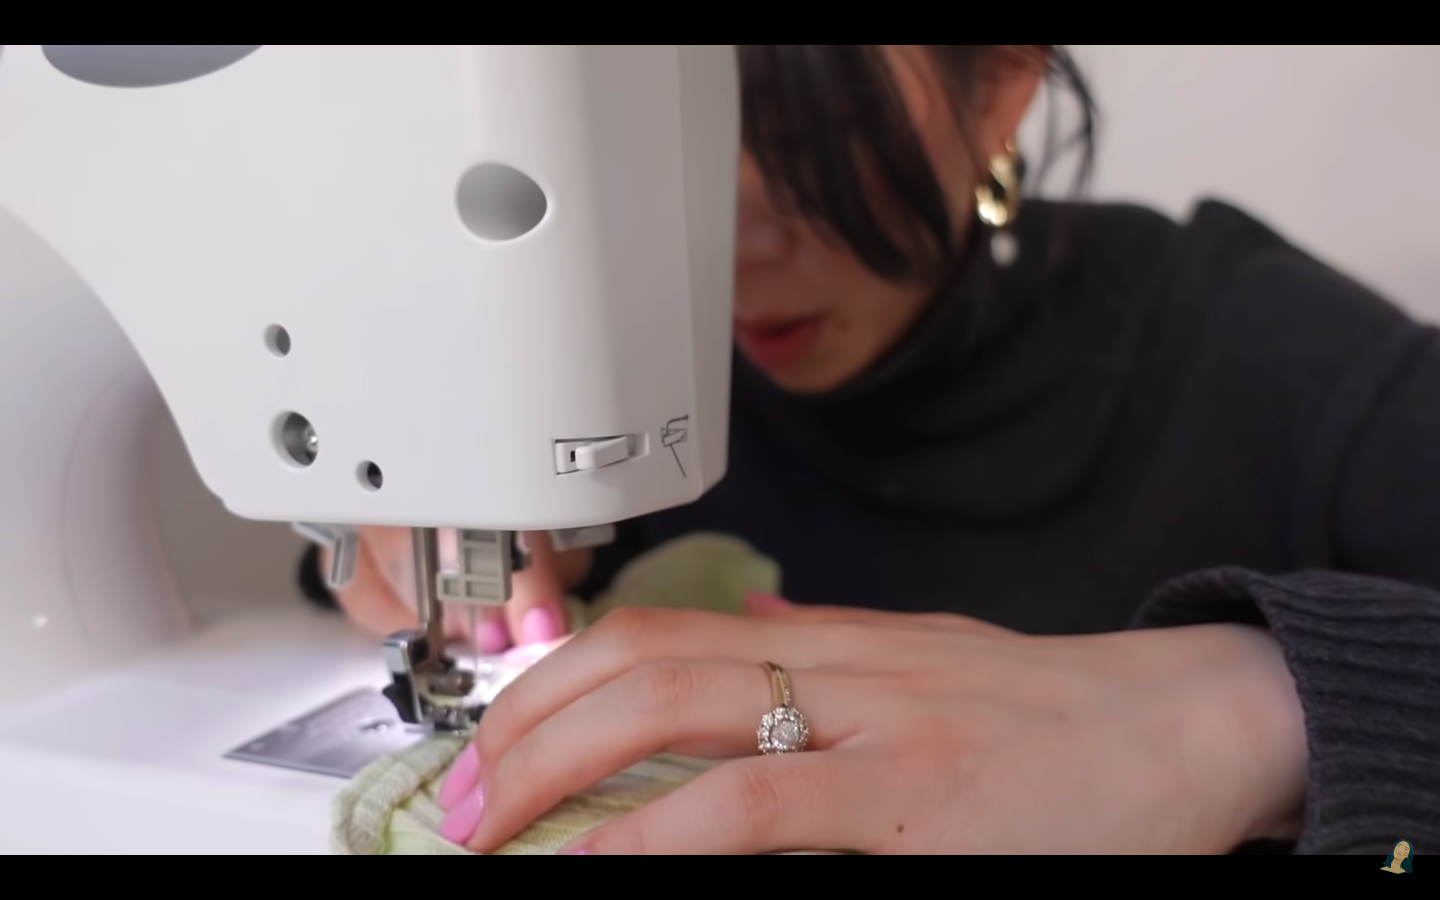
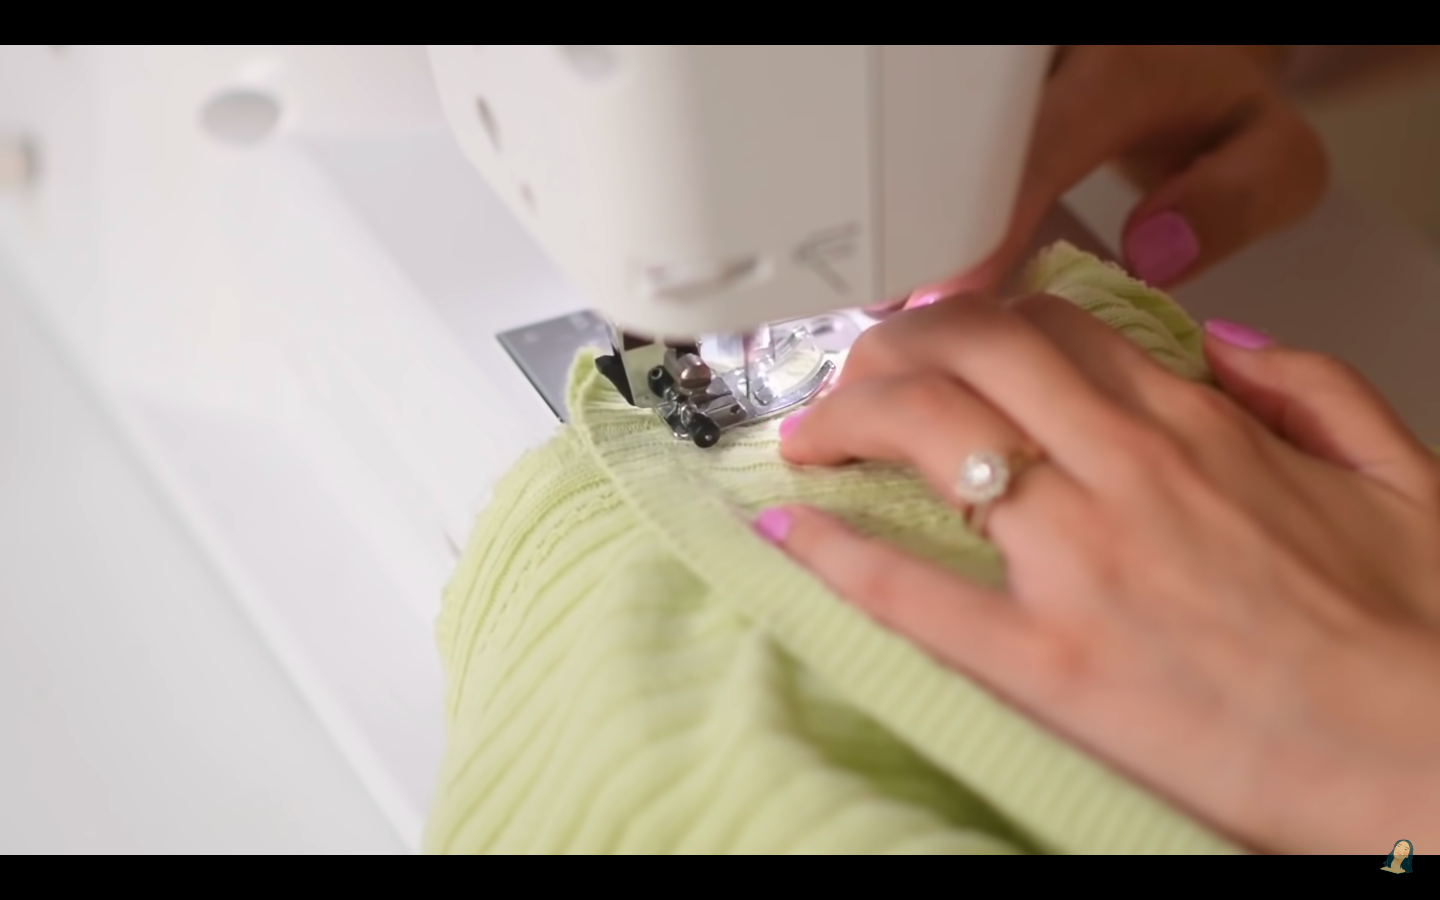
3. Hem the neck holes using a 1/4” elastic and zigzag stitch, folding it over once or twice and then with another additional stretch stitch over top.
4. Repeat this hemming technique on the bottom front edge of the sweater.
5. Pin the short end of the rectangle on one shoulder, curving around to the side seam, pinning the other short end of the rectangle.
I used the machine-finished edge of the rectangle on the outside so I can skip hemming it again, the other end will be hidden within the twist.
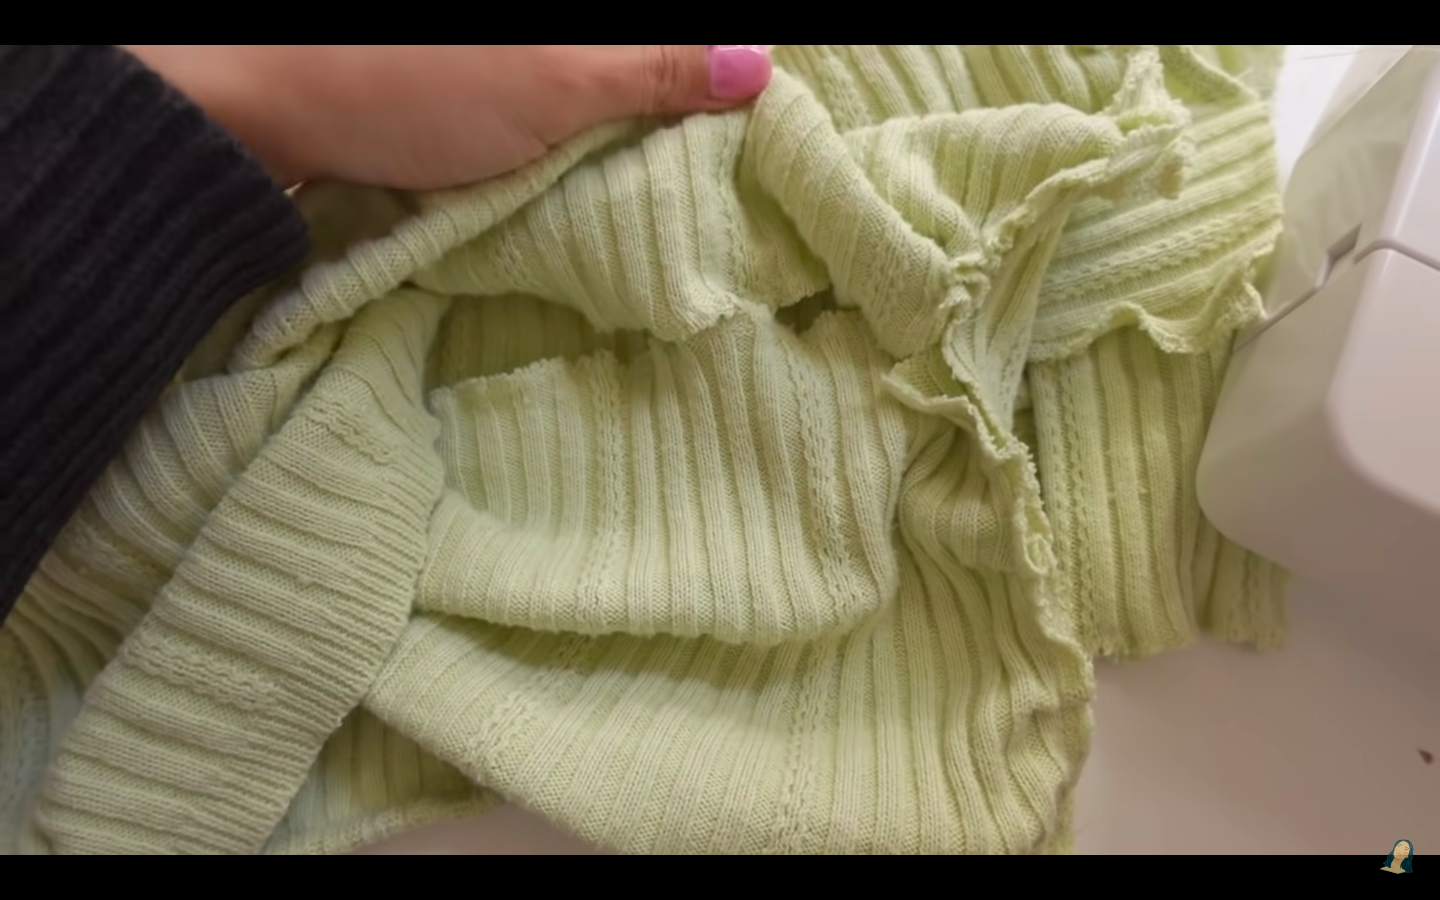
6. Baste the twist in place. Sew the raw edge right sides together, folding inwards.


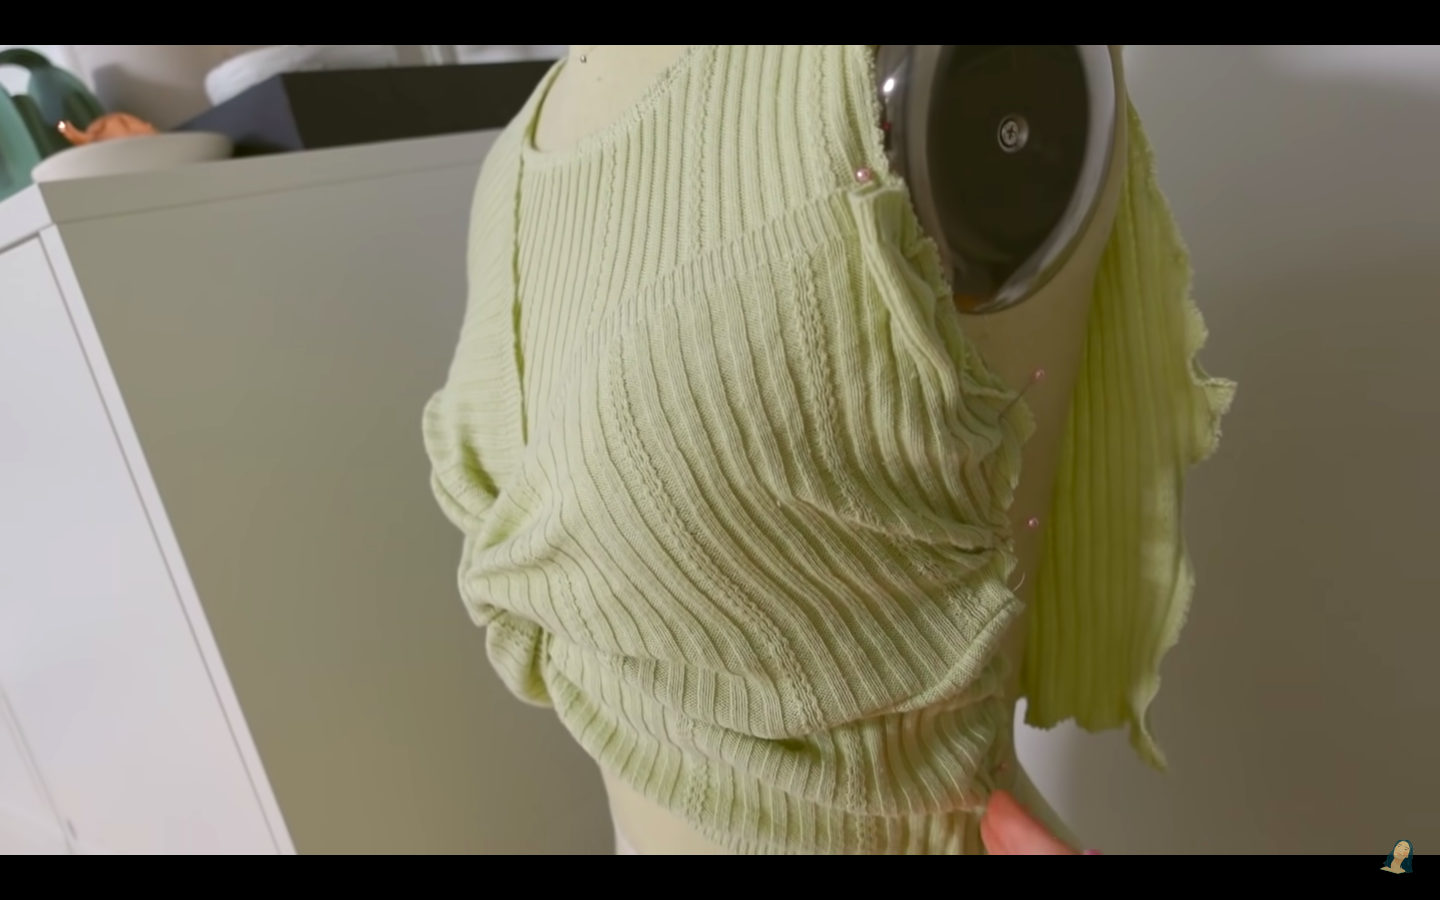
7. Pin the rest of the twist in place. It helps to have a mannequin to see how the finished look with sit.
Trim away any excess material.
8. Sew the side seams with the right sides together.
9. Try it on! Make adjustments as needed.
10. Attach the sleeves. Ensure the sleeve hole and armpit are the same circumferences, and make adjustments as needed.
Sew the arm shut, then pin the sleeve, and right sides together inside the sweater.


Finished Look #1


The Butterfly Top
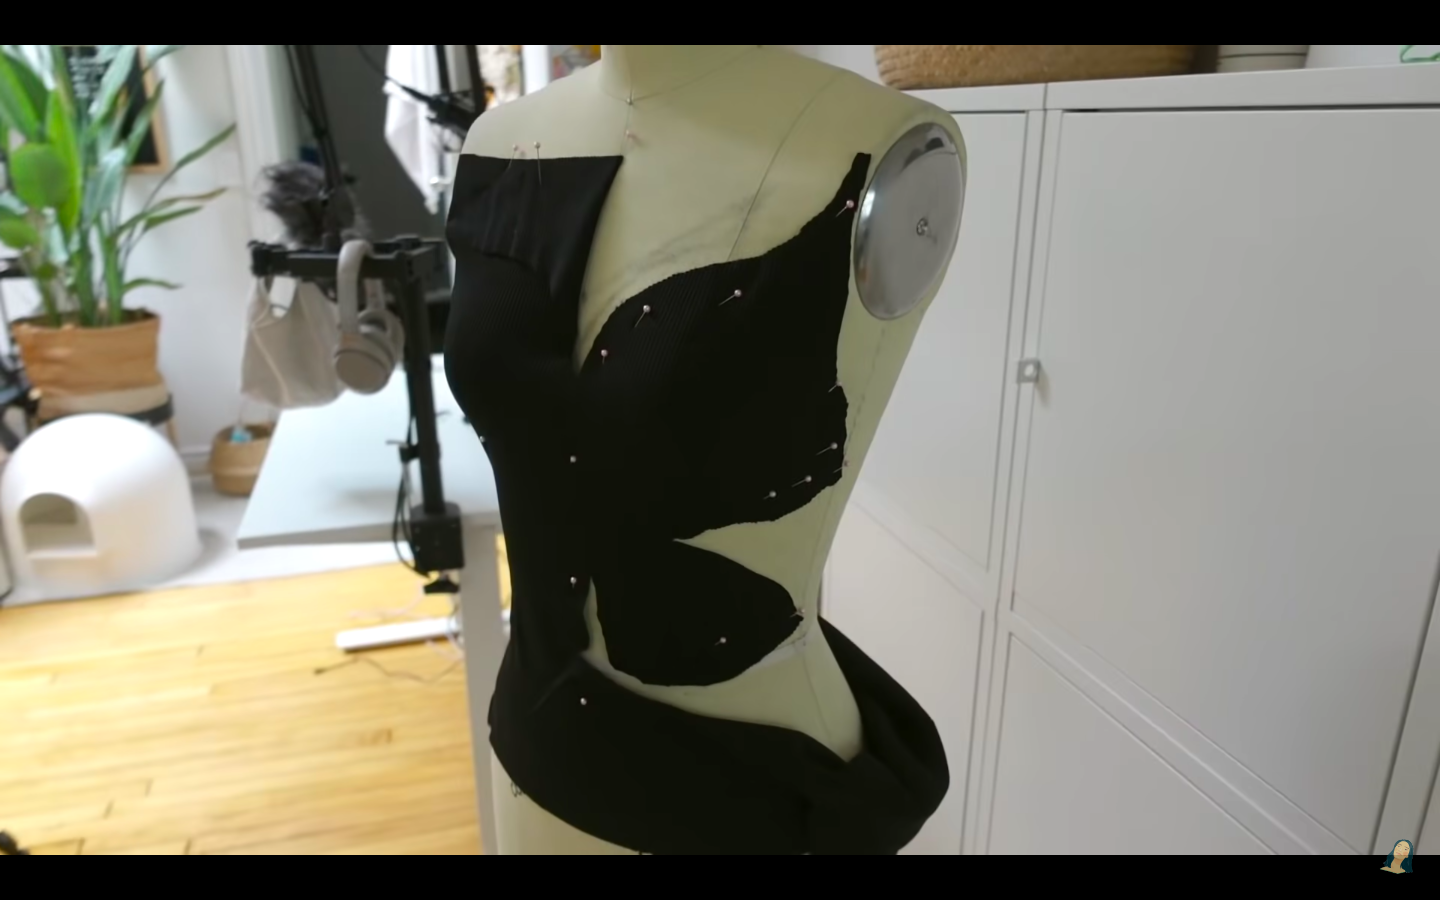
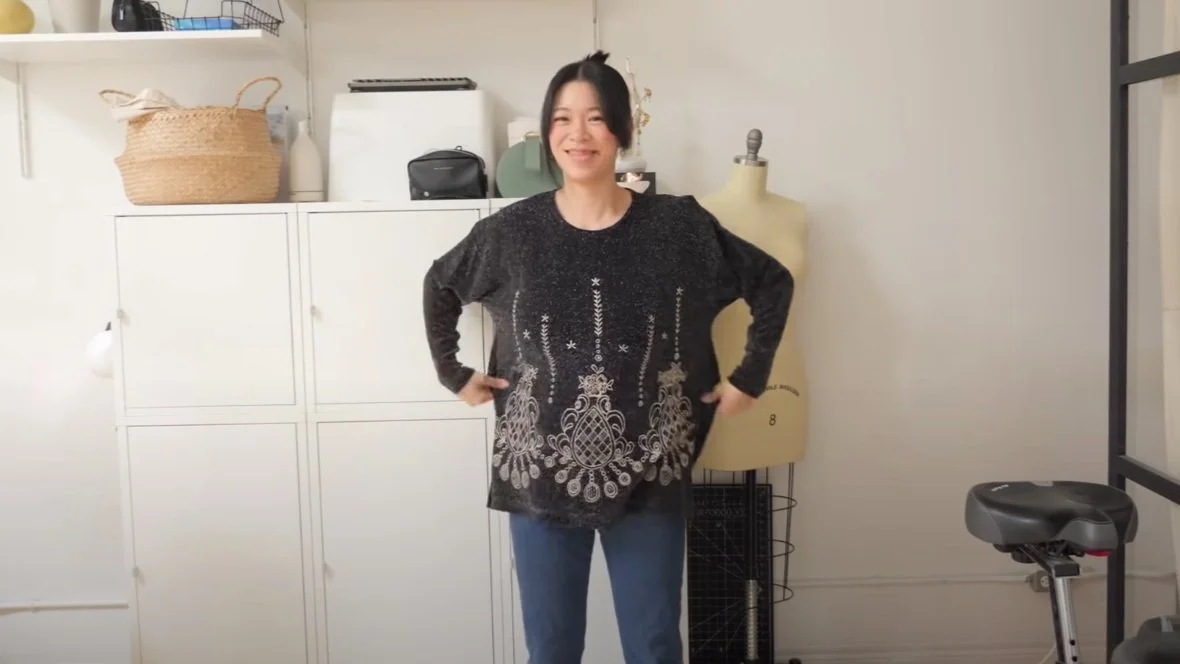
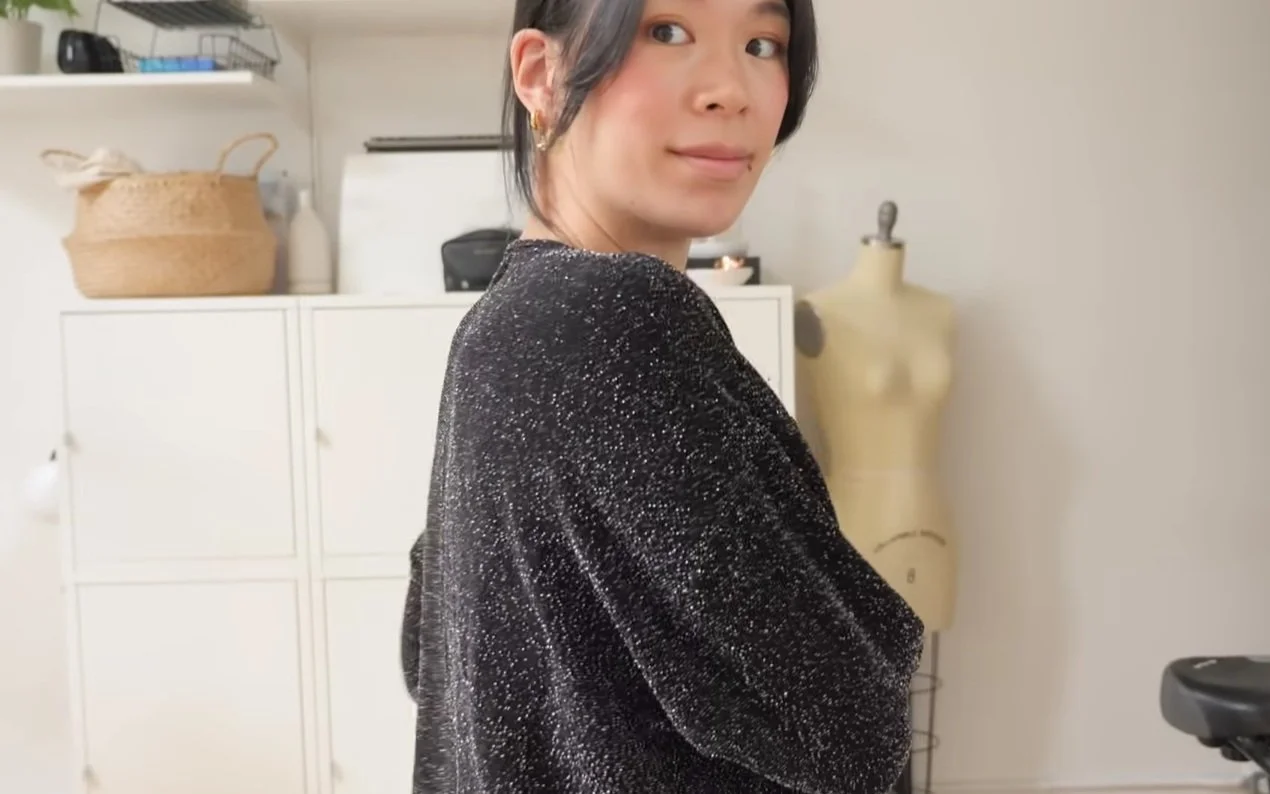
I found this lovely sparkly black sweater at the thrift store, the back was completely empty and I thought it would be the perfect material to try this butterfly top with!
Utilizing the empty back and embracing the sparkle!

1. I first pinned some knit fabric on my dress form and began drawing out a butterfly shape that covered the necessary spots.
2. Cut out the design.
3. I then used some interfacing, fusing it to the knit for more structure.
4. We then cut the design out in the sparkly material. As well as 4 little loops for the weaving of the shirt.
5. Make a long strap for the lacing of the shirt.
6. Pin the strap and loops in place, sandwiched between the lining and the outer material.
7. Sew the butterflies’ right sides together, and flip inside out, making sure to catch the straps and loops in the seam.
8. Unfold the top, and close the opening using a blindstitch by hand.
9. Lace the top up and you’re ready to go!