Worth $1000+? Annual Blanket Thrift Flip
This year one jacket has risen as “the jacket of the year”

(it’s me, hi)
Every year I take on the challenge of creating a jacket made from a blanket I find at the thrift store. This year the Toteme embroidered scarf jacket caught my eye and I knew I had to recreate my version.
Striking at the time of year when the 'Should I wear a scarf?' debate every morning is real, I can see why this jacket has become such a staple this season.
Materials:
Thrifted blanket
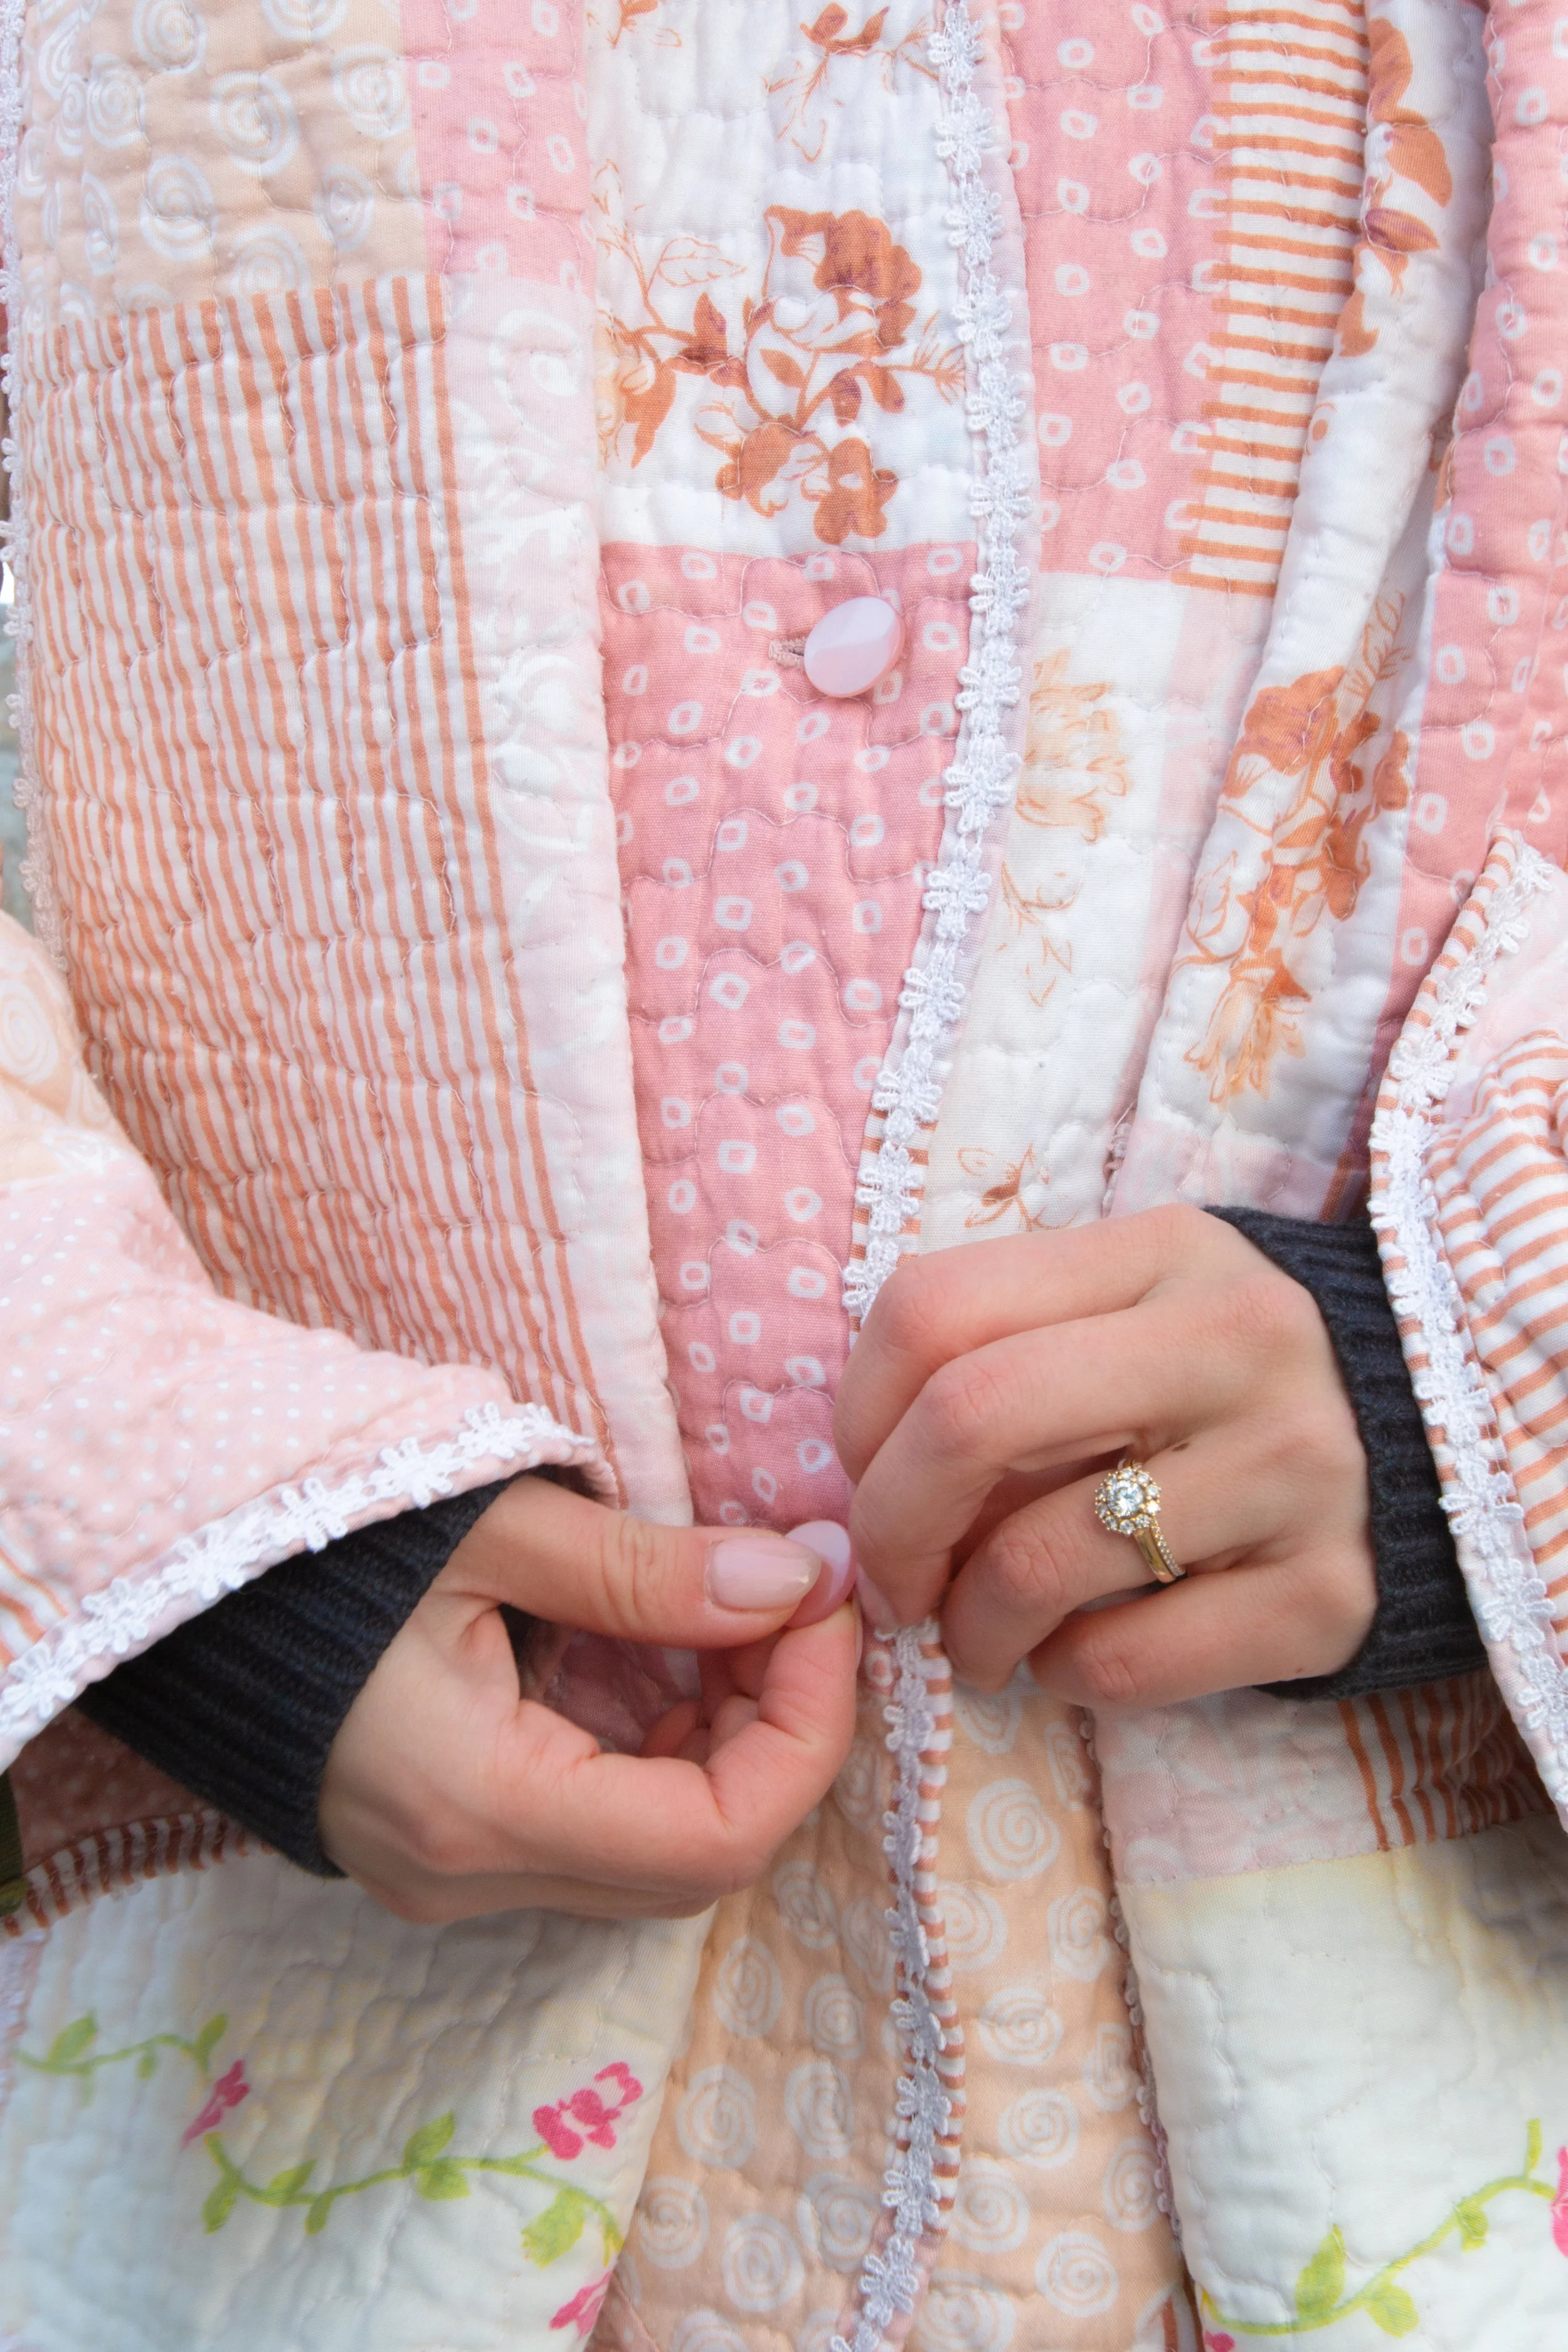
4 shank buttons
14 yards lace trim
Shop the Fashionary sketch tools: (use WENDY_10 for 10% off)
Shop Lutterloh kits: (use Wendy10 for 10% off)
Extra fabric for mock-up
I rarely make a mockup, but I guess I am slightly more stressed about getting the tailoring right on this one…
Mock-up:
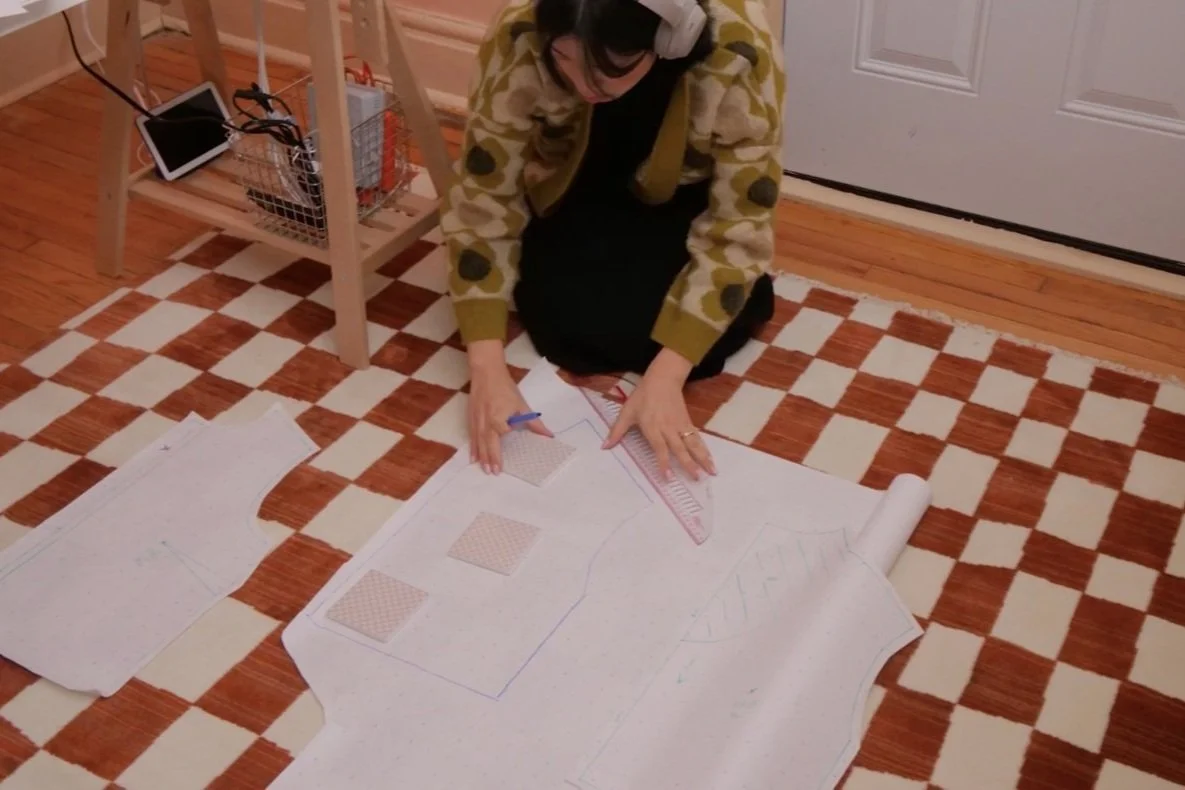
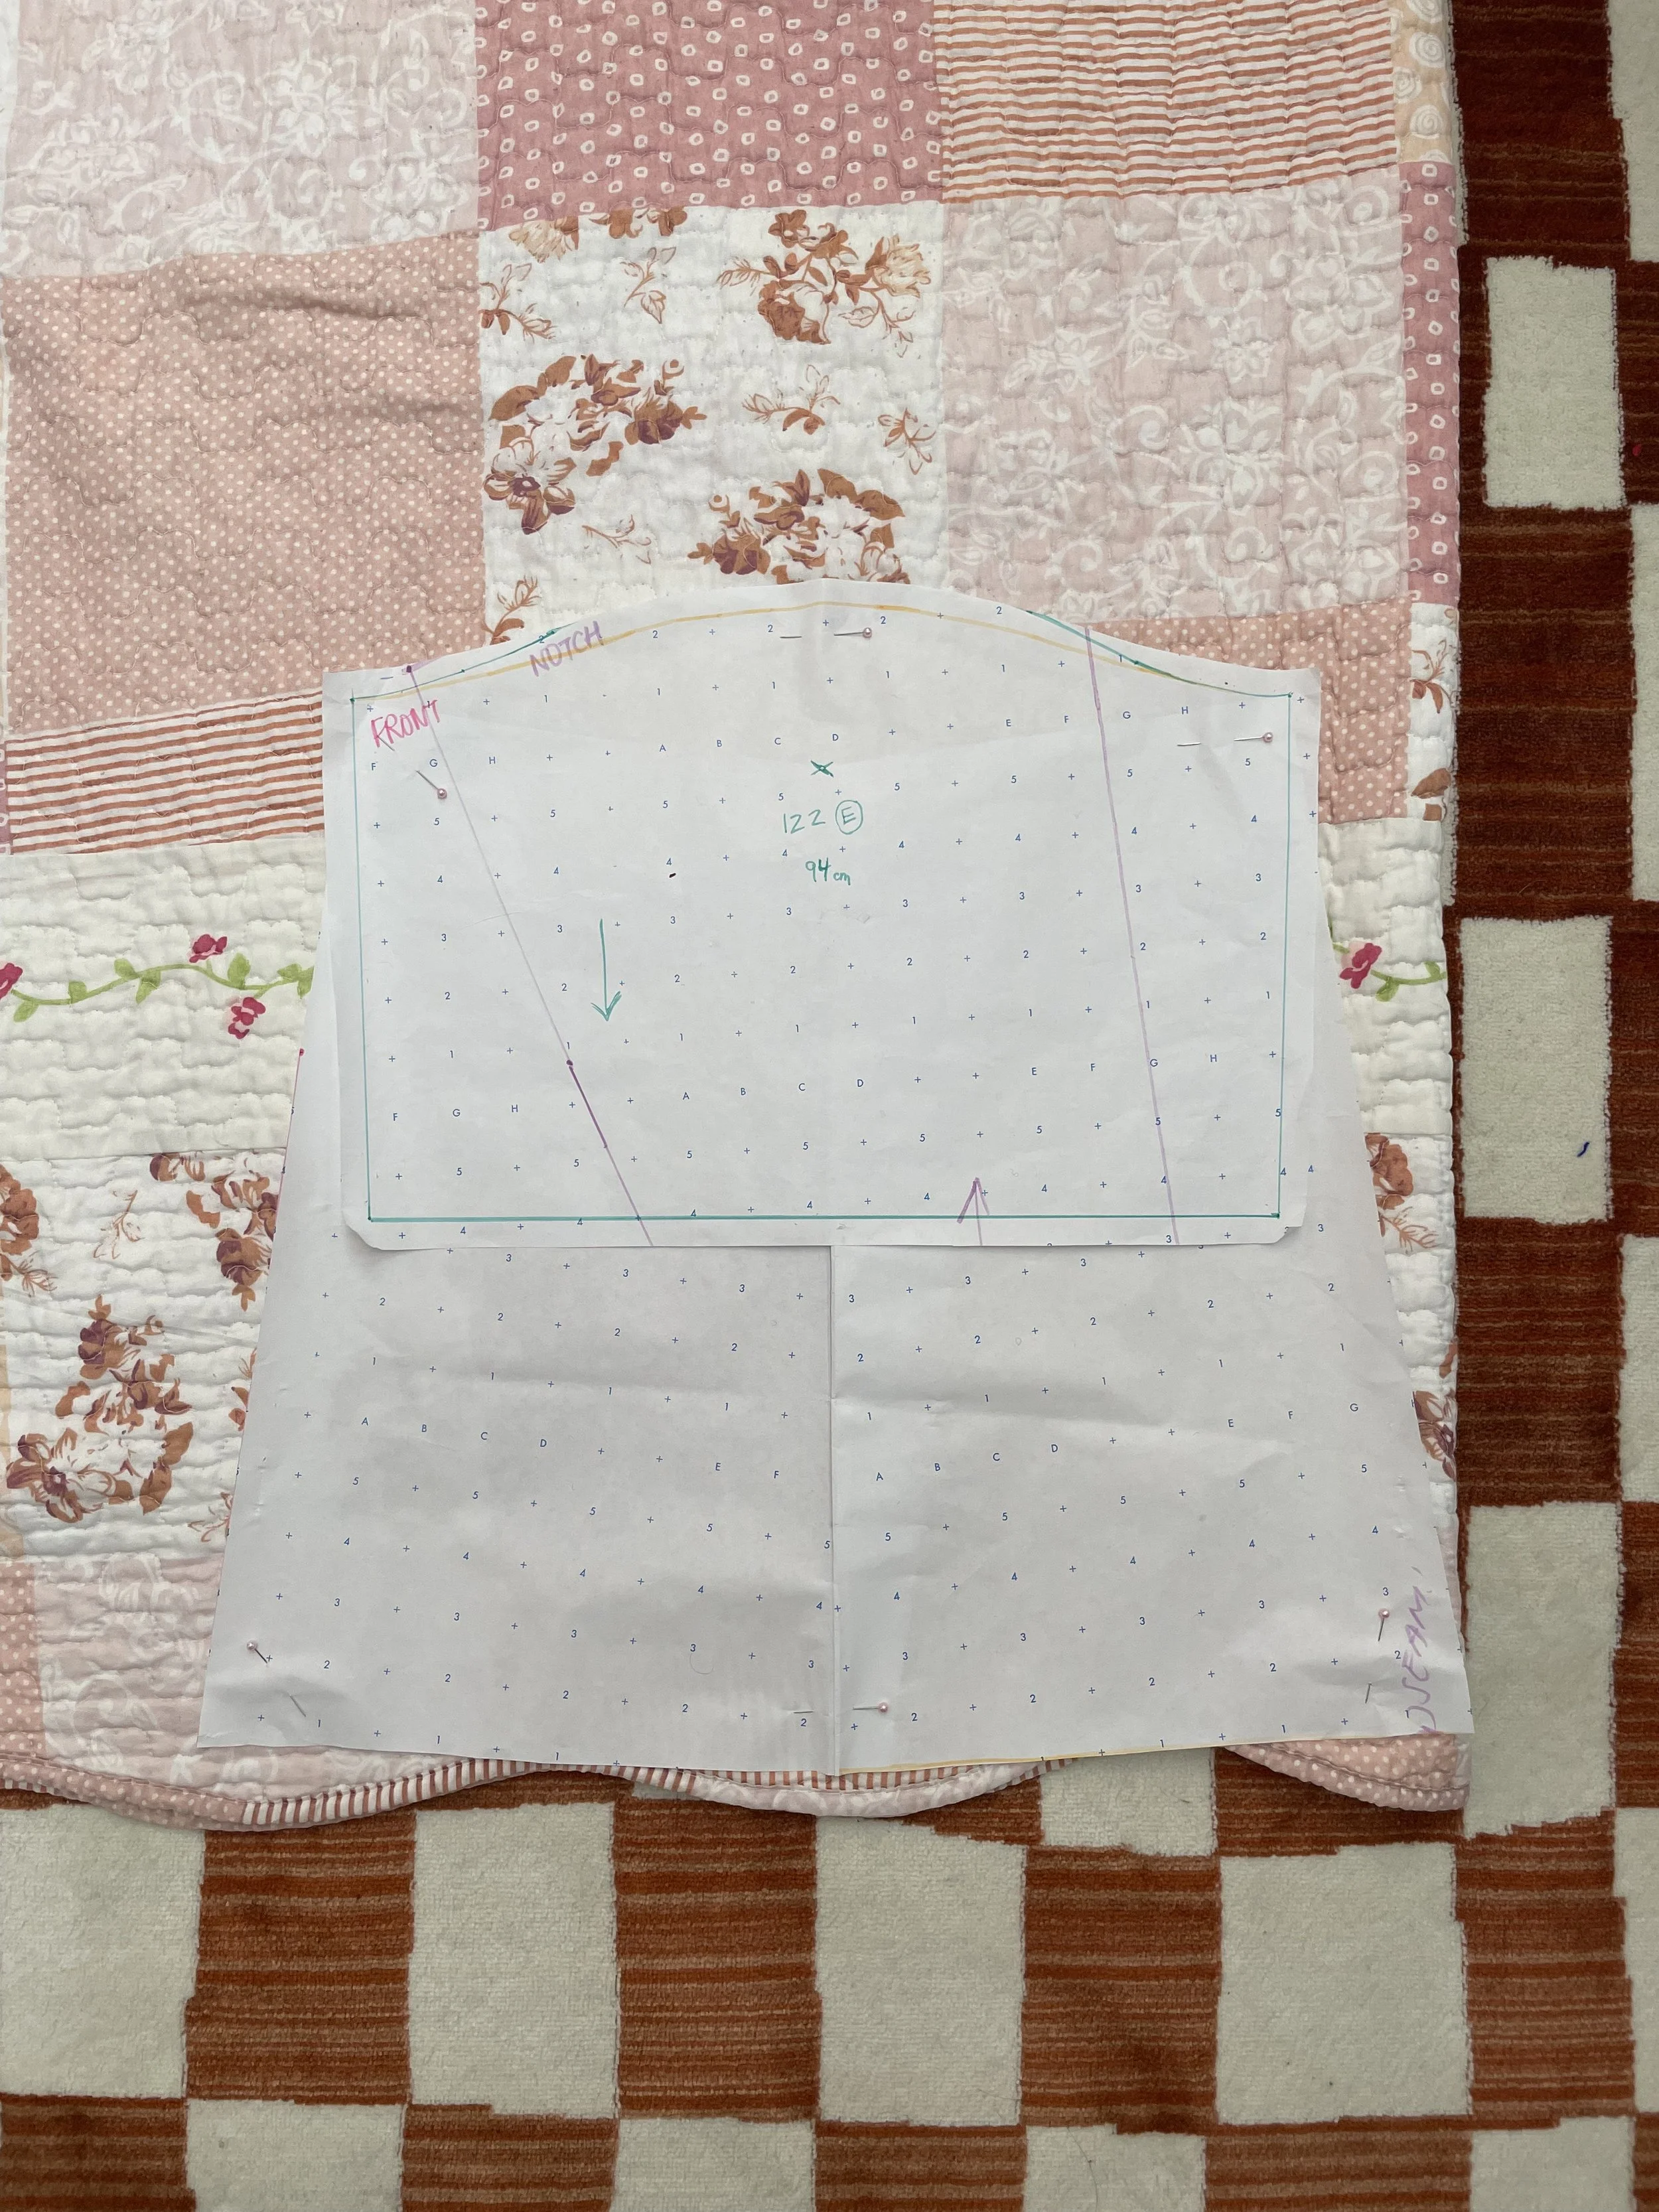
1. Grab any similar-weight fabric and begin cutting your pattern.
2. I found a pattern from my Lutterloh kit with a drop shoulder and loose fit, but it did not have the right neckline or a button closure, so I found another pattern that had what I was missing.
3. Trace the two patterns and cut them out.
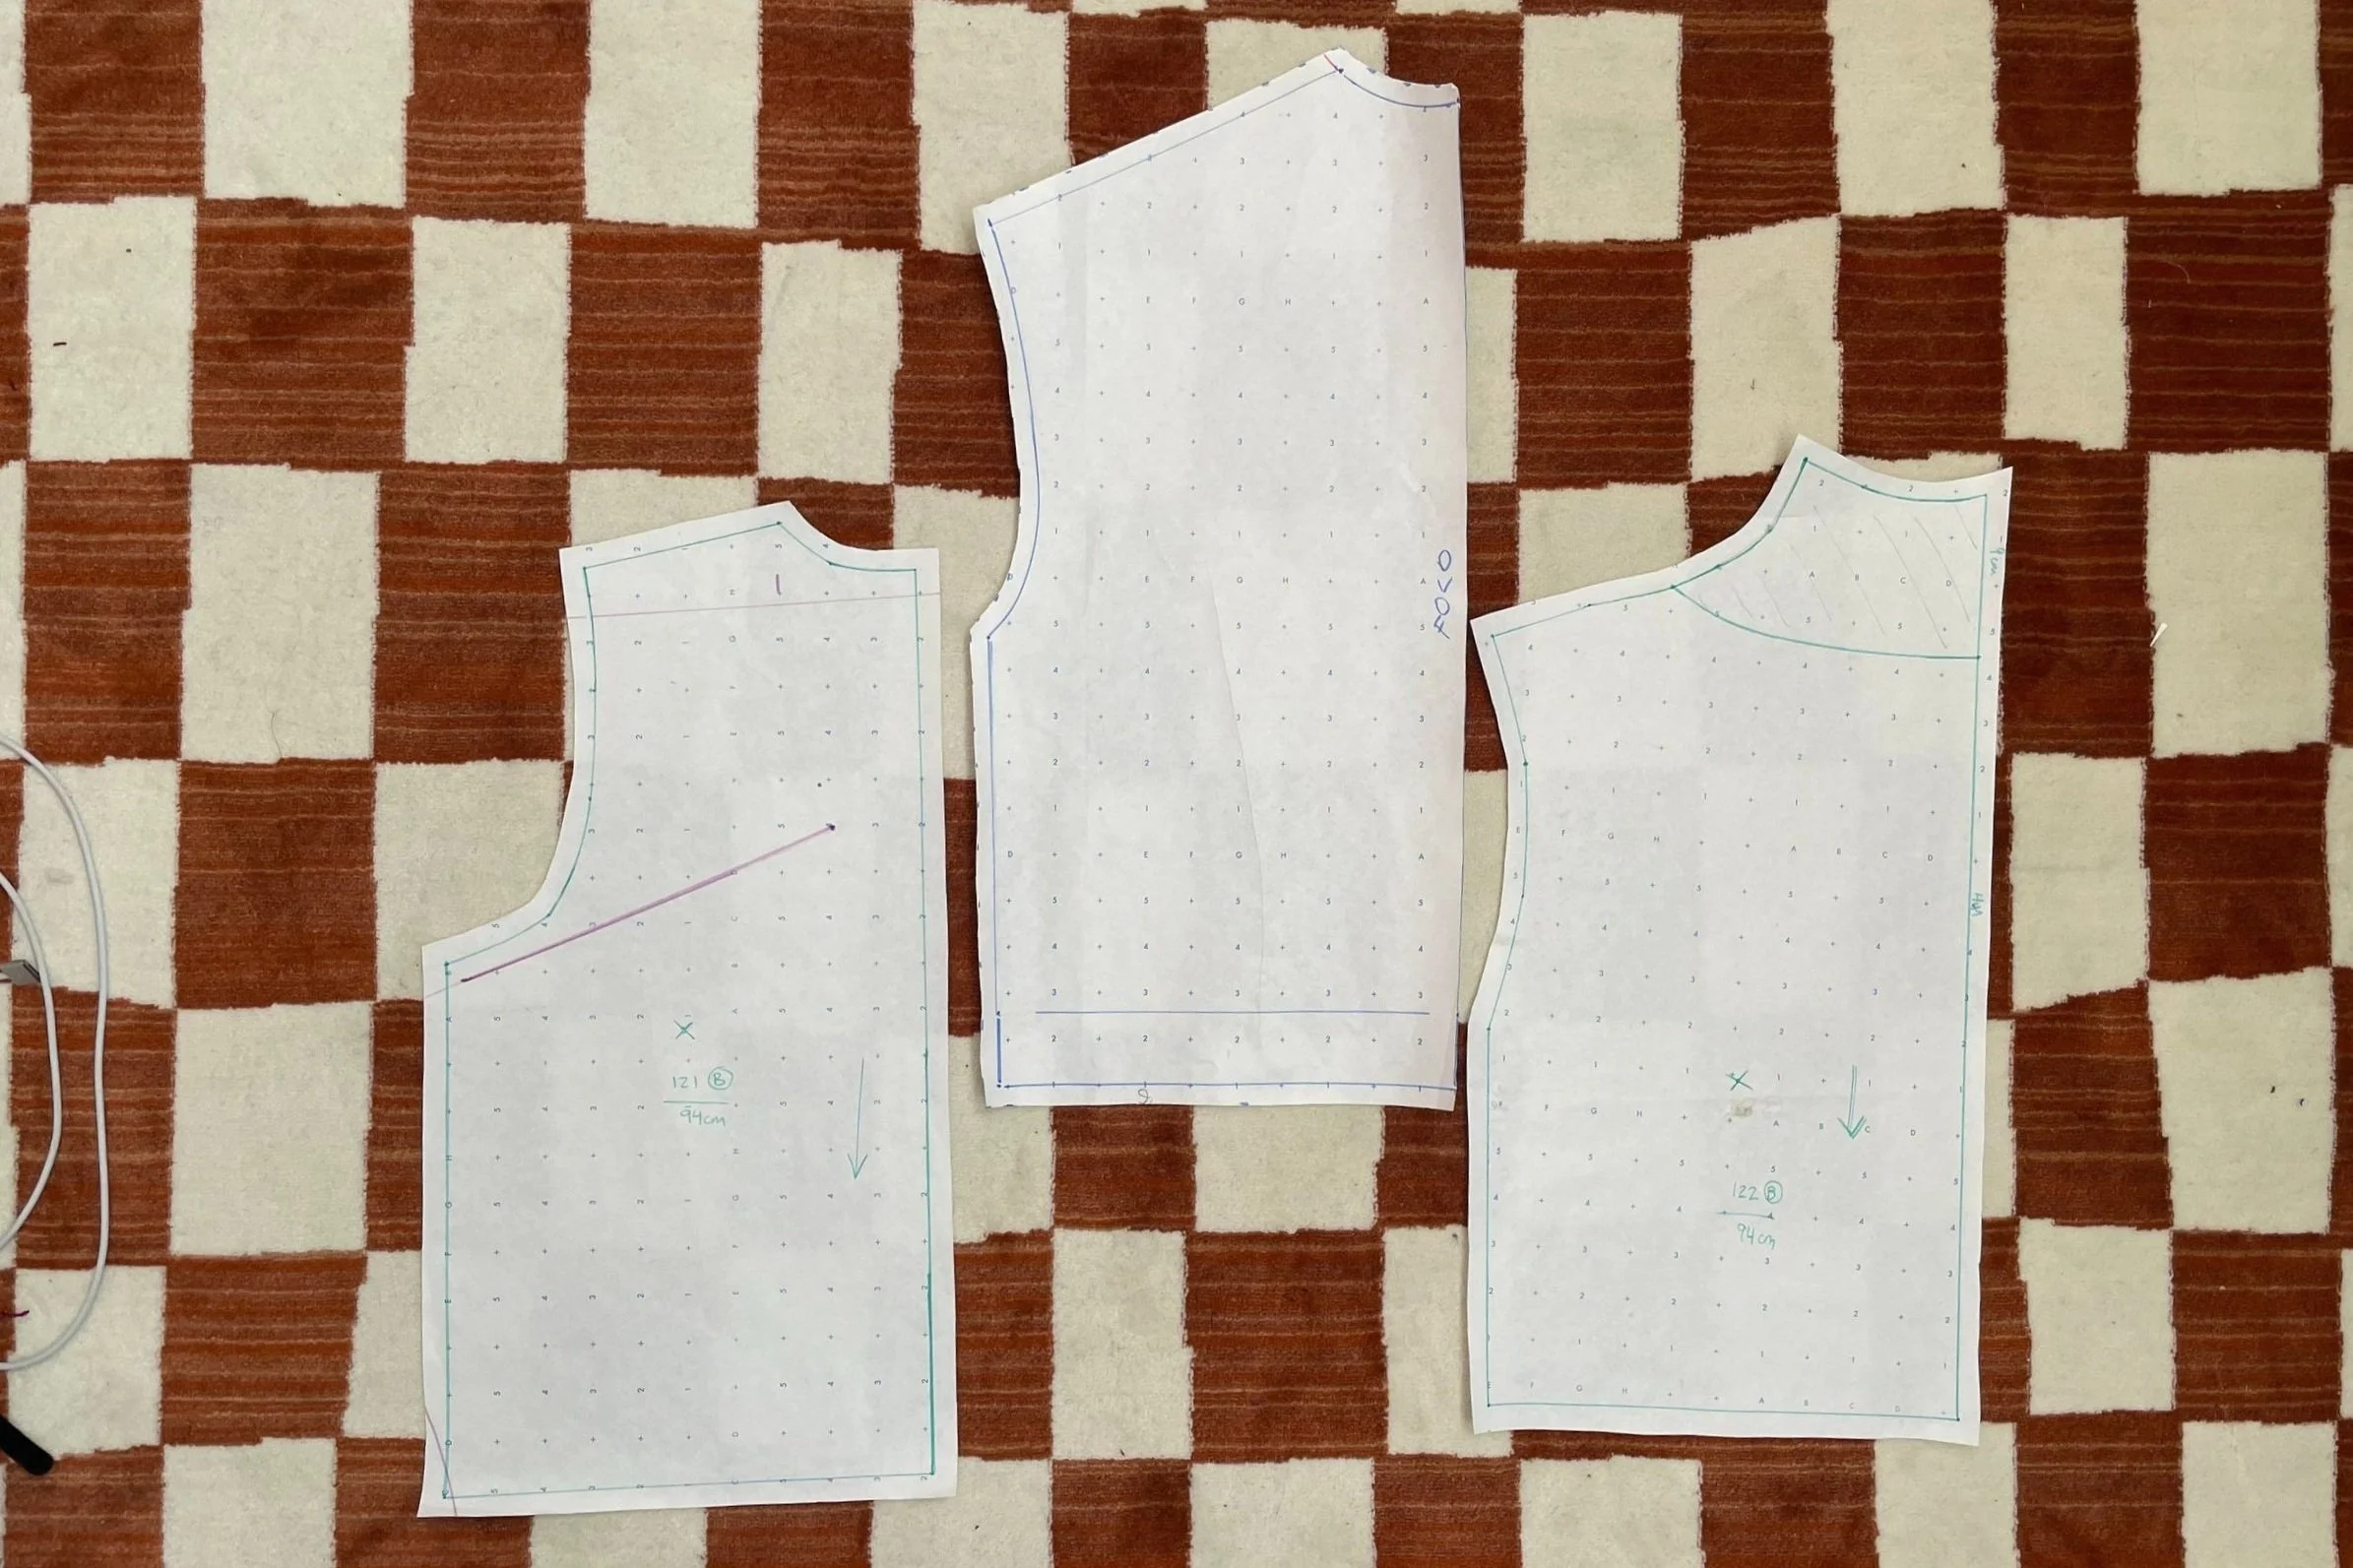
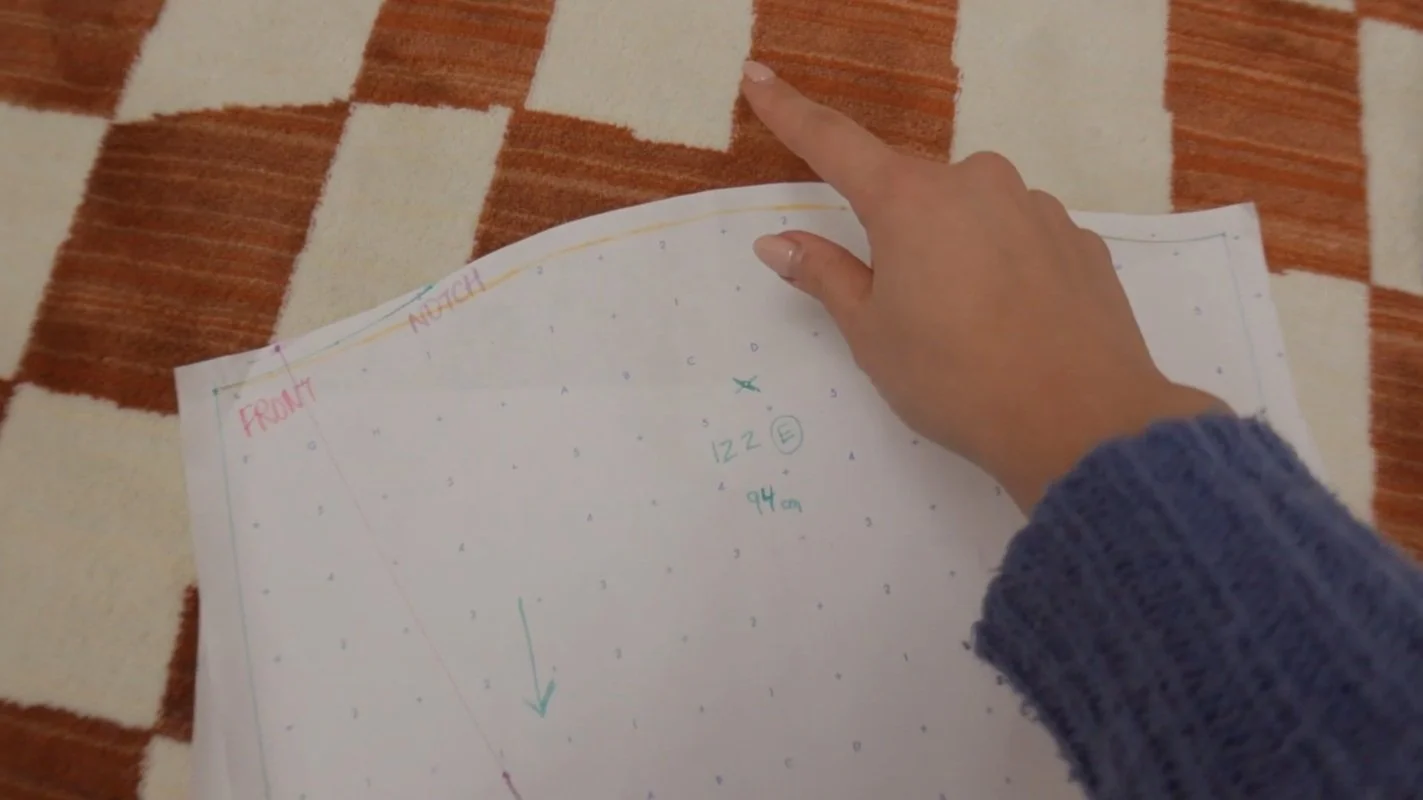
4. Merge the two front patterns together. I took the button closure and neckline from pattern A and the drop shoulder from pattern B, merging the two patterns by taking the bottom point of the armhole and the top point of the neckline to guide my connecting points. I then extended the bottom.
Repeat on the back pattern using the same connecting points. Make sure your front and back shoulder seams are the same length, the side of the front and back are the same length and the arm hole lines up with the sleeves.
5. Cut your new pattern pieces.
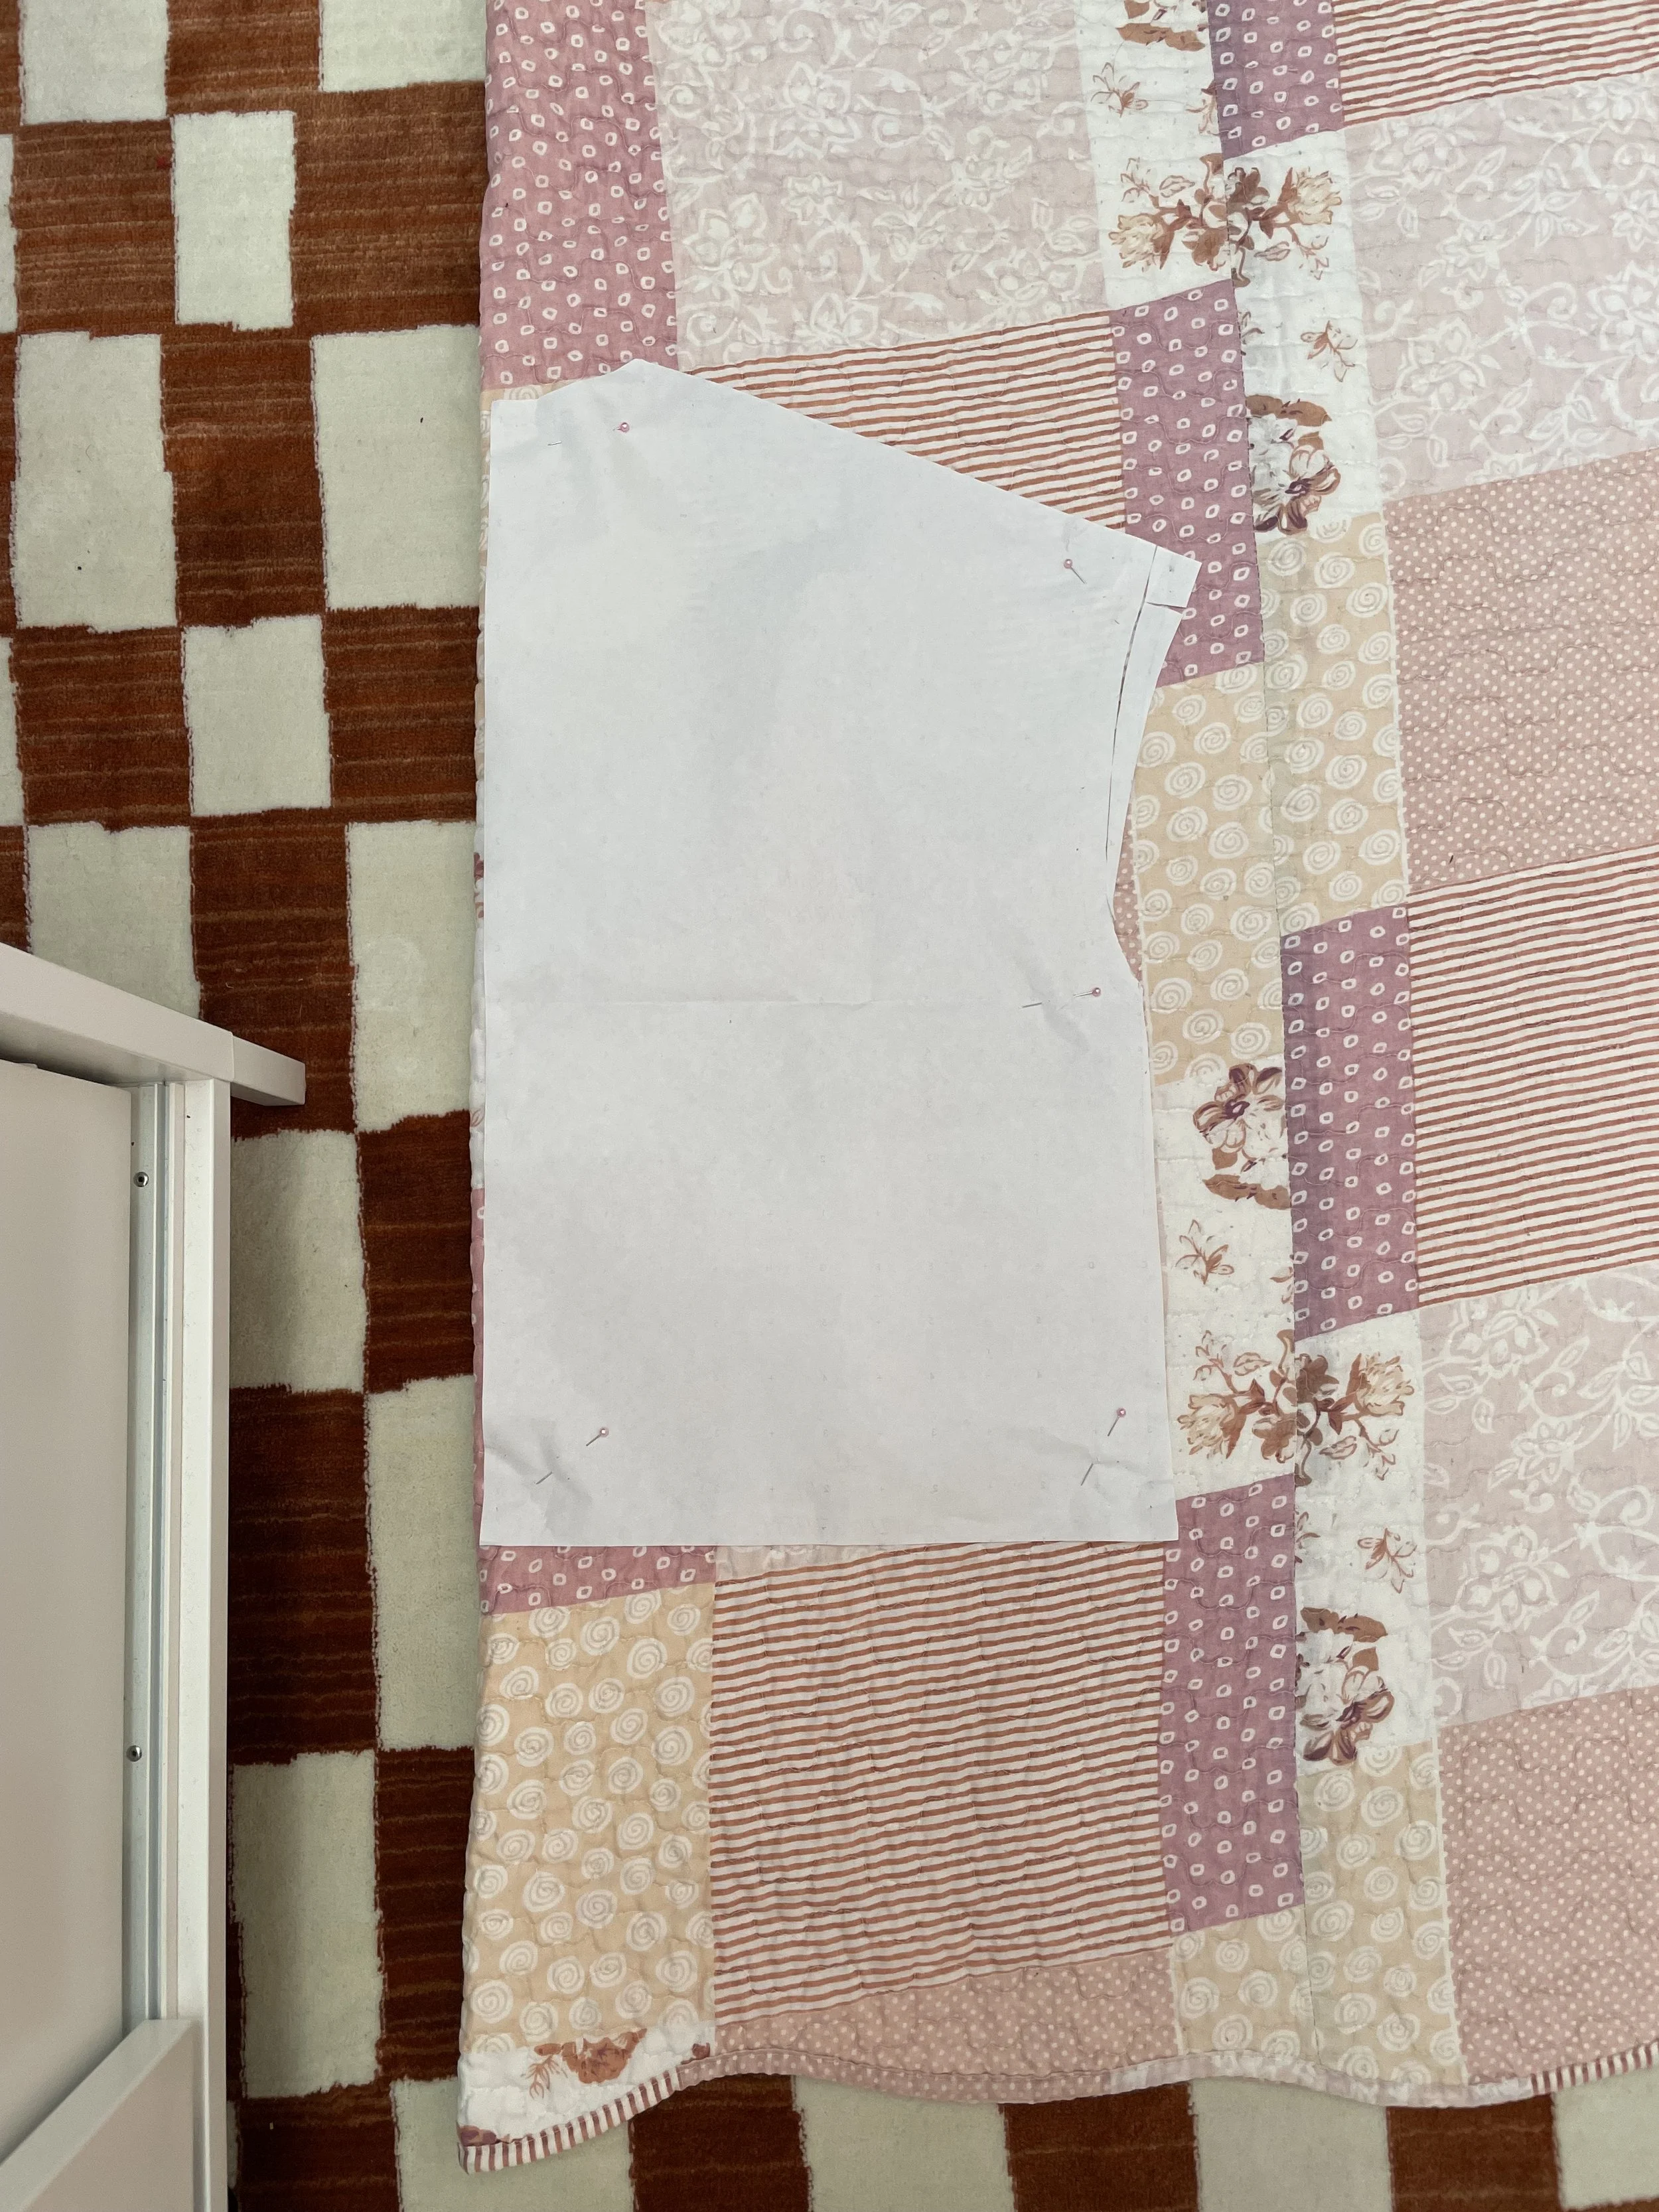
6. Sew the front pieces to the back, putting right sides together and joining them at the shoulder and side seam, creating a vest. Sew the sleeves to the vest, right sides together using a straight stitch.


7. Check the fit and make adjustments to your pattern as needed.
I ended up dropping the shoulder by another 3-5cm, lowered the neckline, extended the length of the sleeves and the length of the jacket and added more width to create a baggier fit.


8. Cut and sew the new adjustments.
9. Sew the front to the back and the sleeves to the arm holes.
10. Check the fit and see how the adjustments altered the garment. Make any minor adjustments if needed.


In the second round of my adjustments, the fit is looser, the drop shoulder is lowered and the bottom hem and sleeves are longer, aligning at the tip of my fingers.
Looking at our reference photo, I still feel like my drop shoulder could be lowered and the sleeves could be slightly shorter than the hem line.

Check to see that the shoulder seams, side seams, and sleeves line up with the front and back.
Overall, a successful second draft!
Grab your blanket and let’s begin…
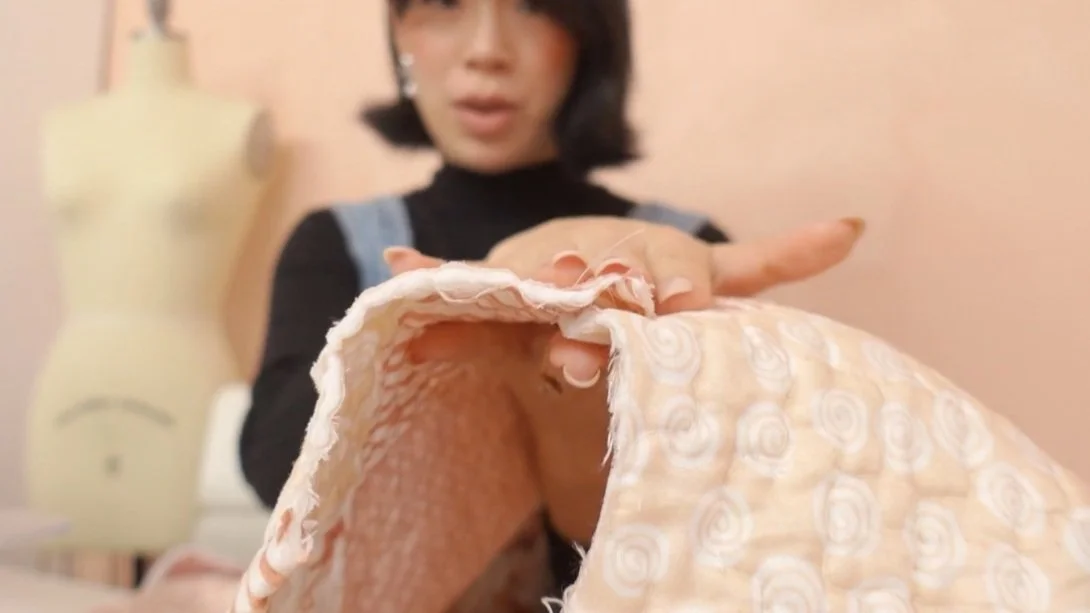
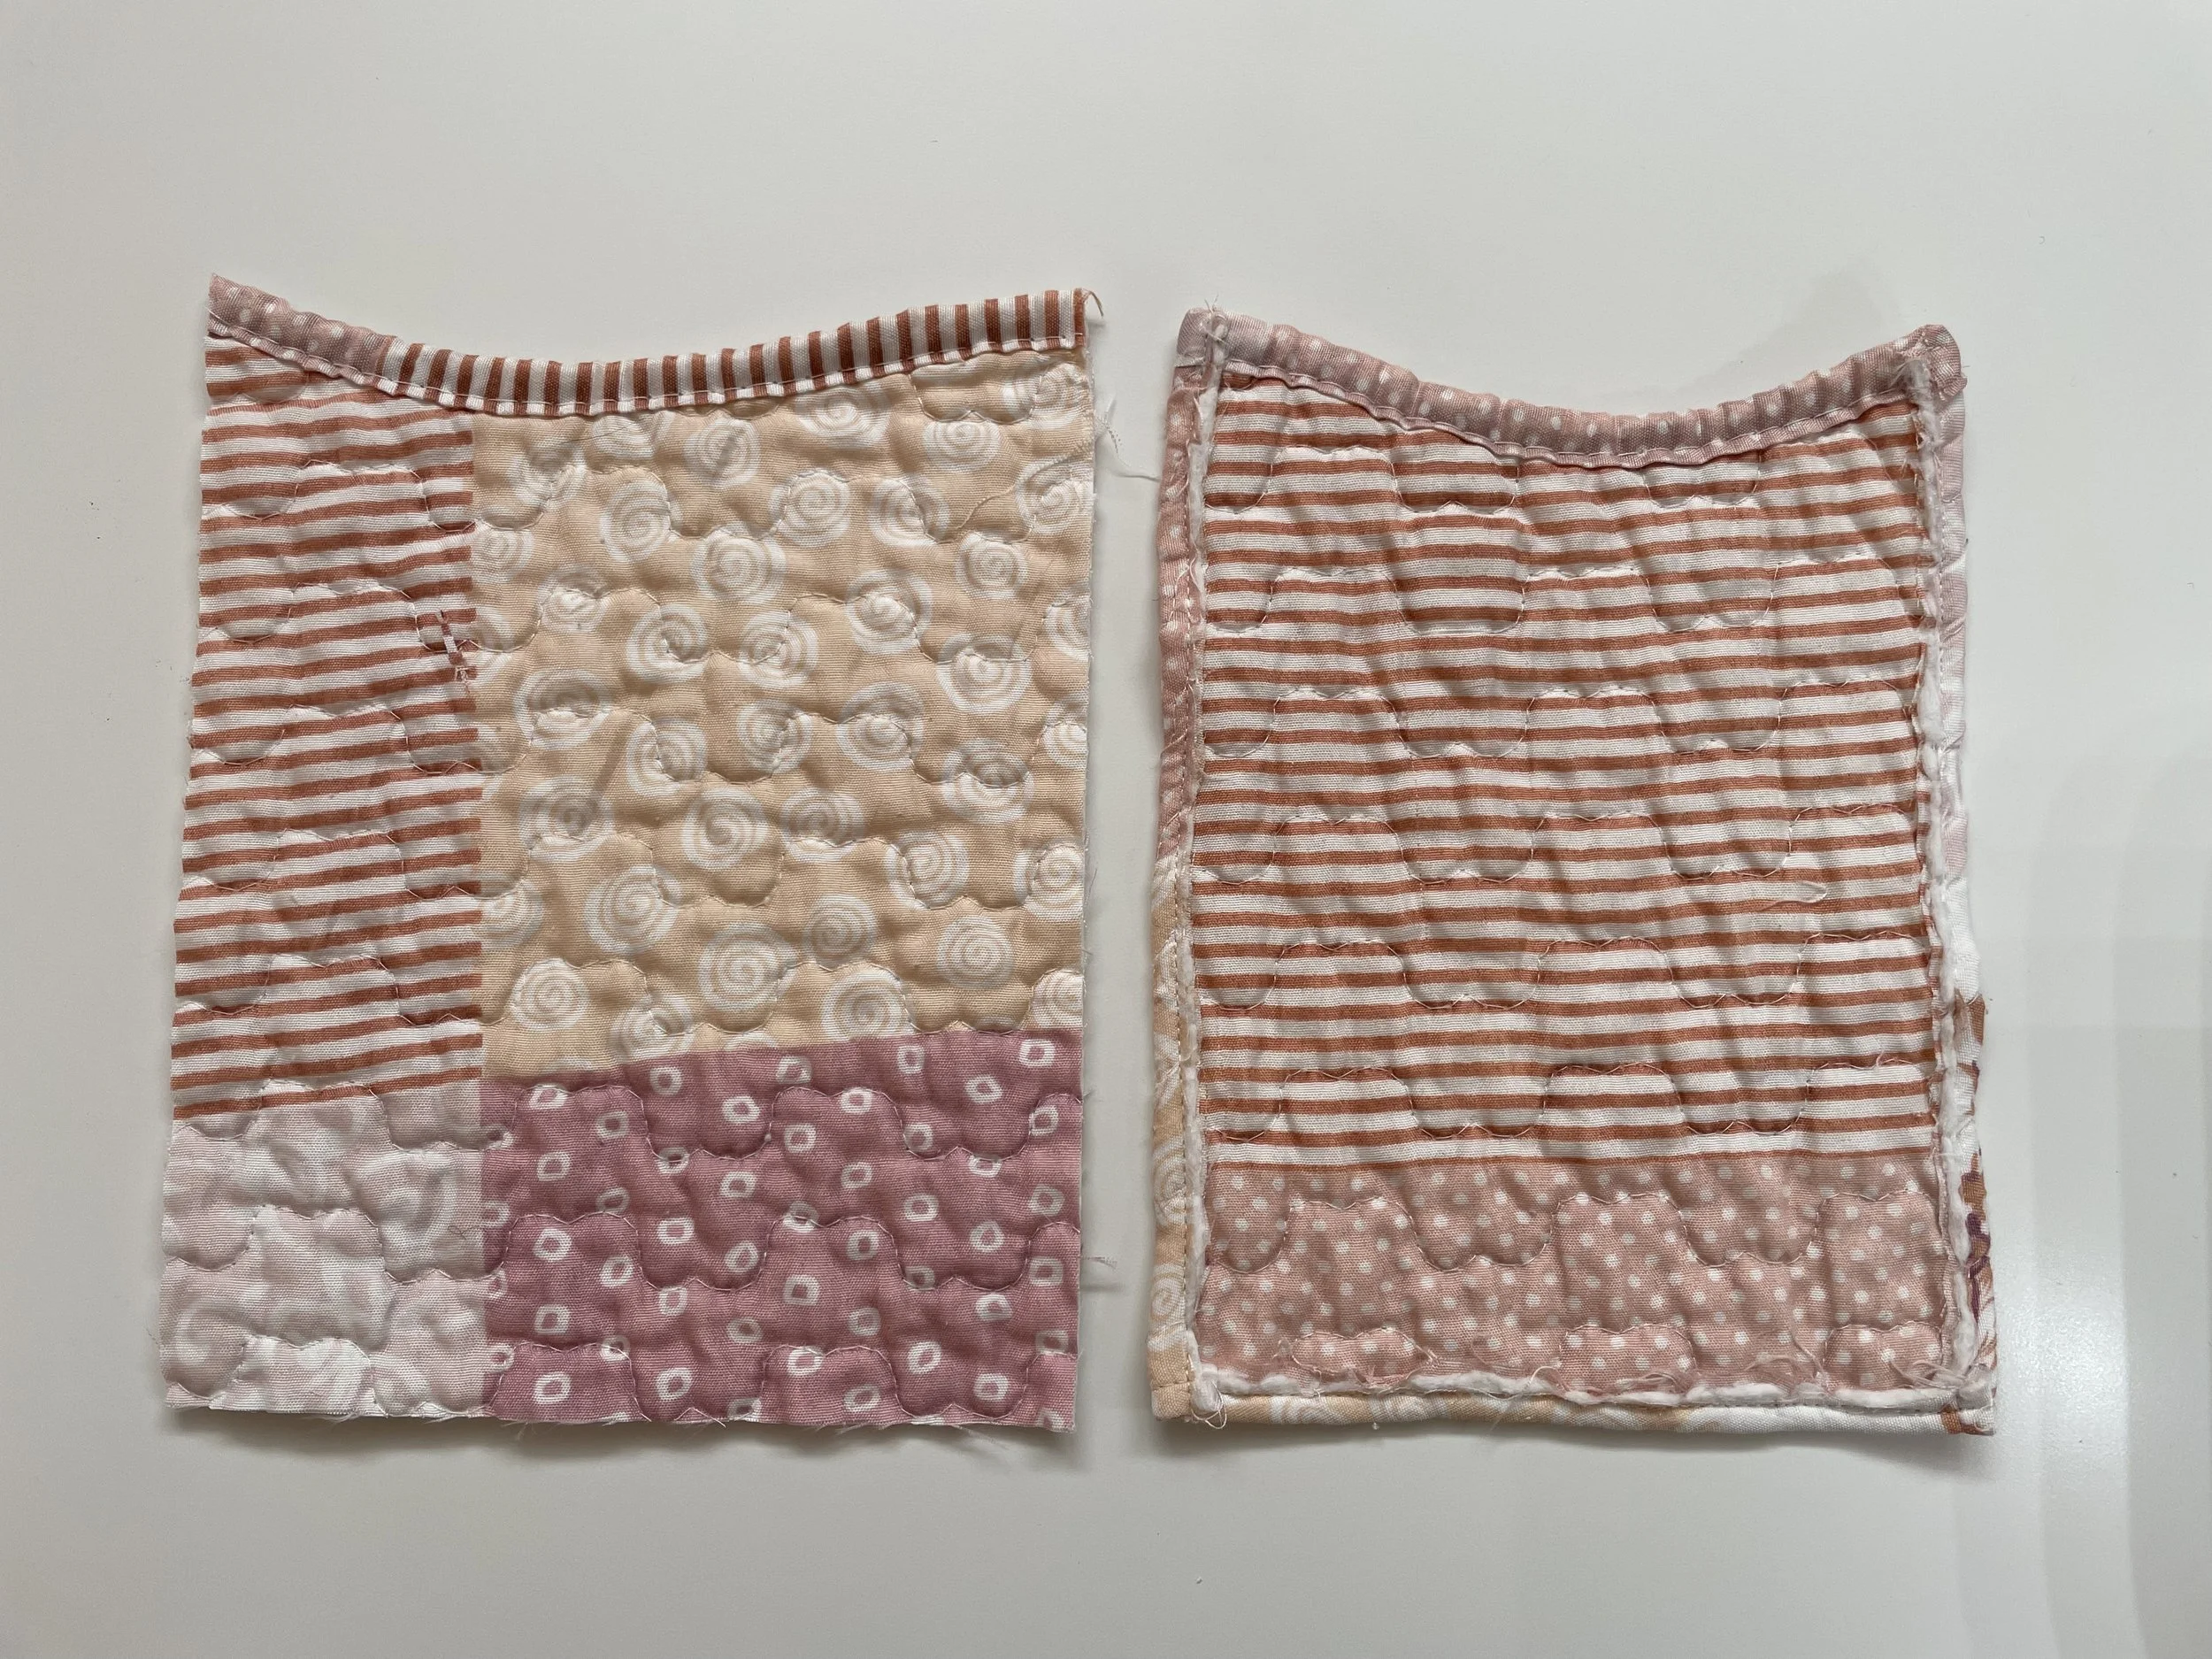
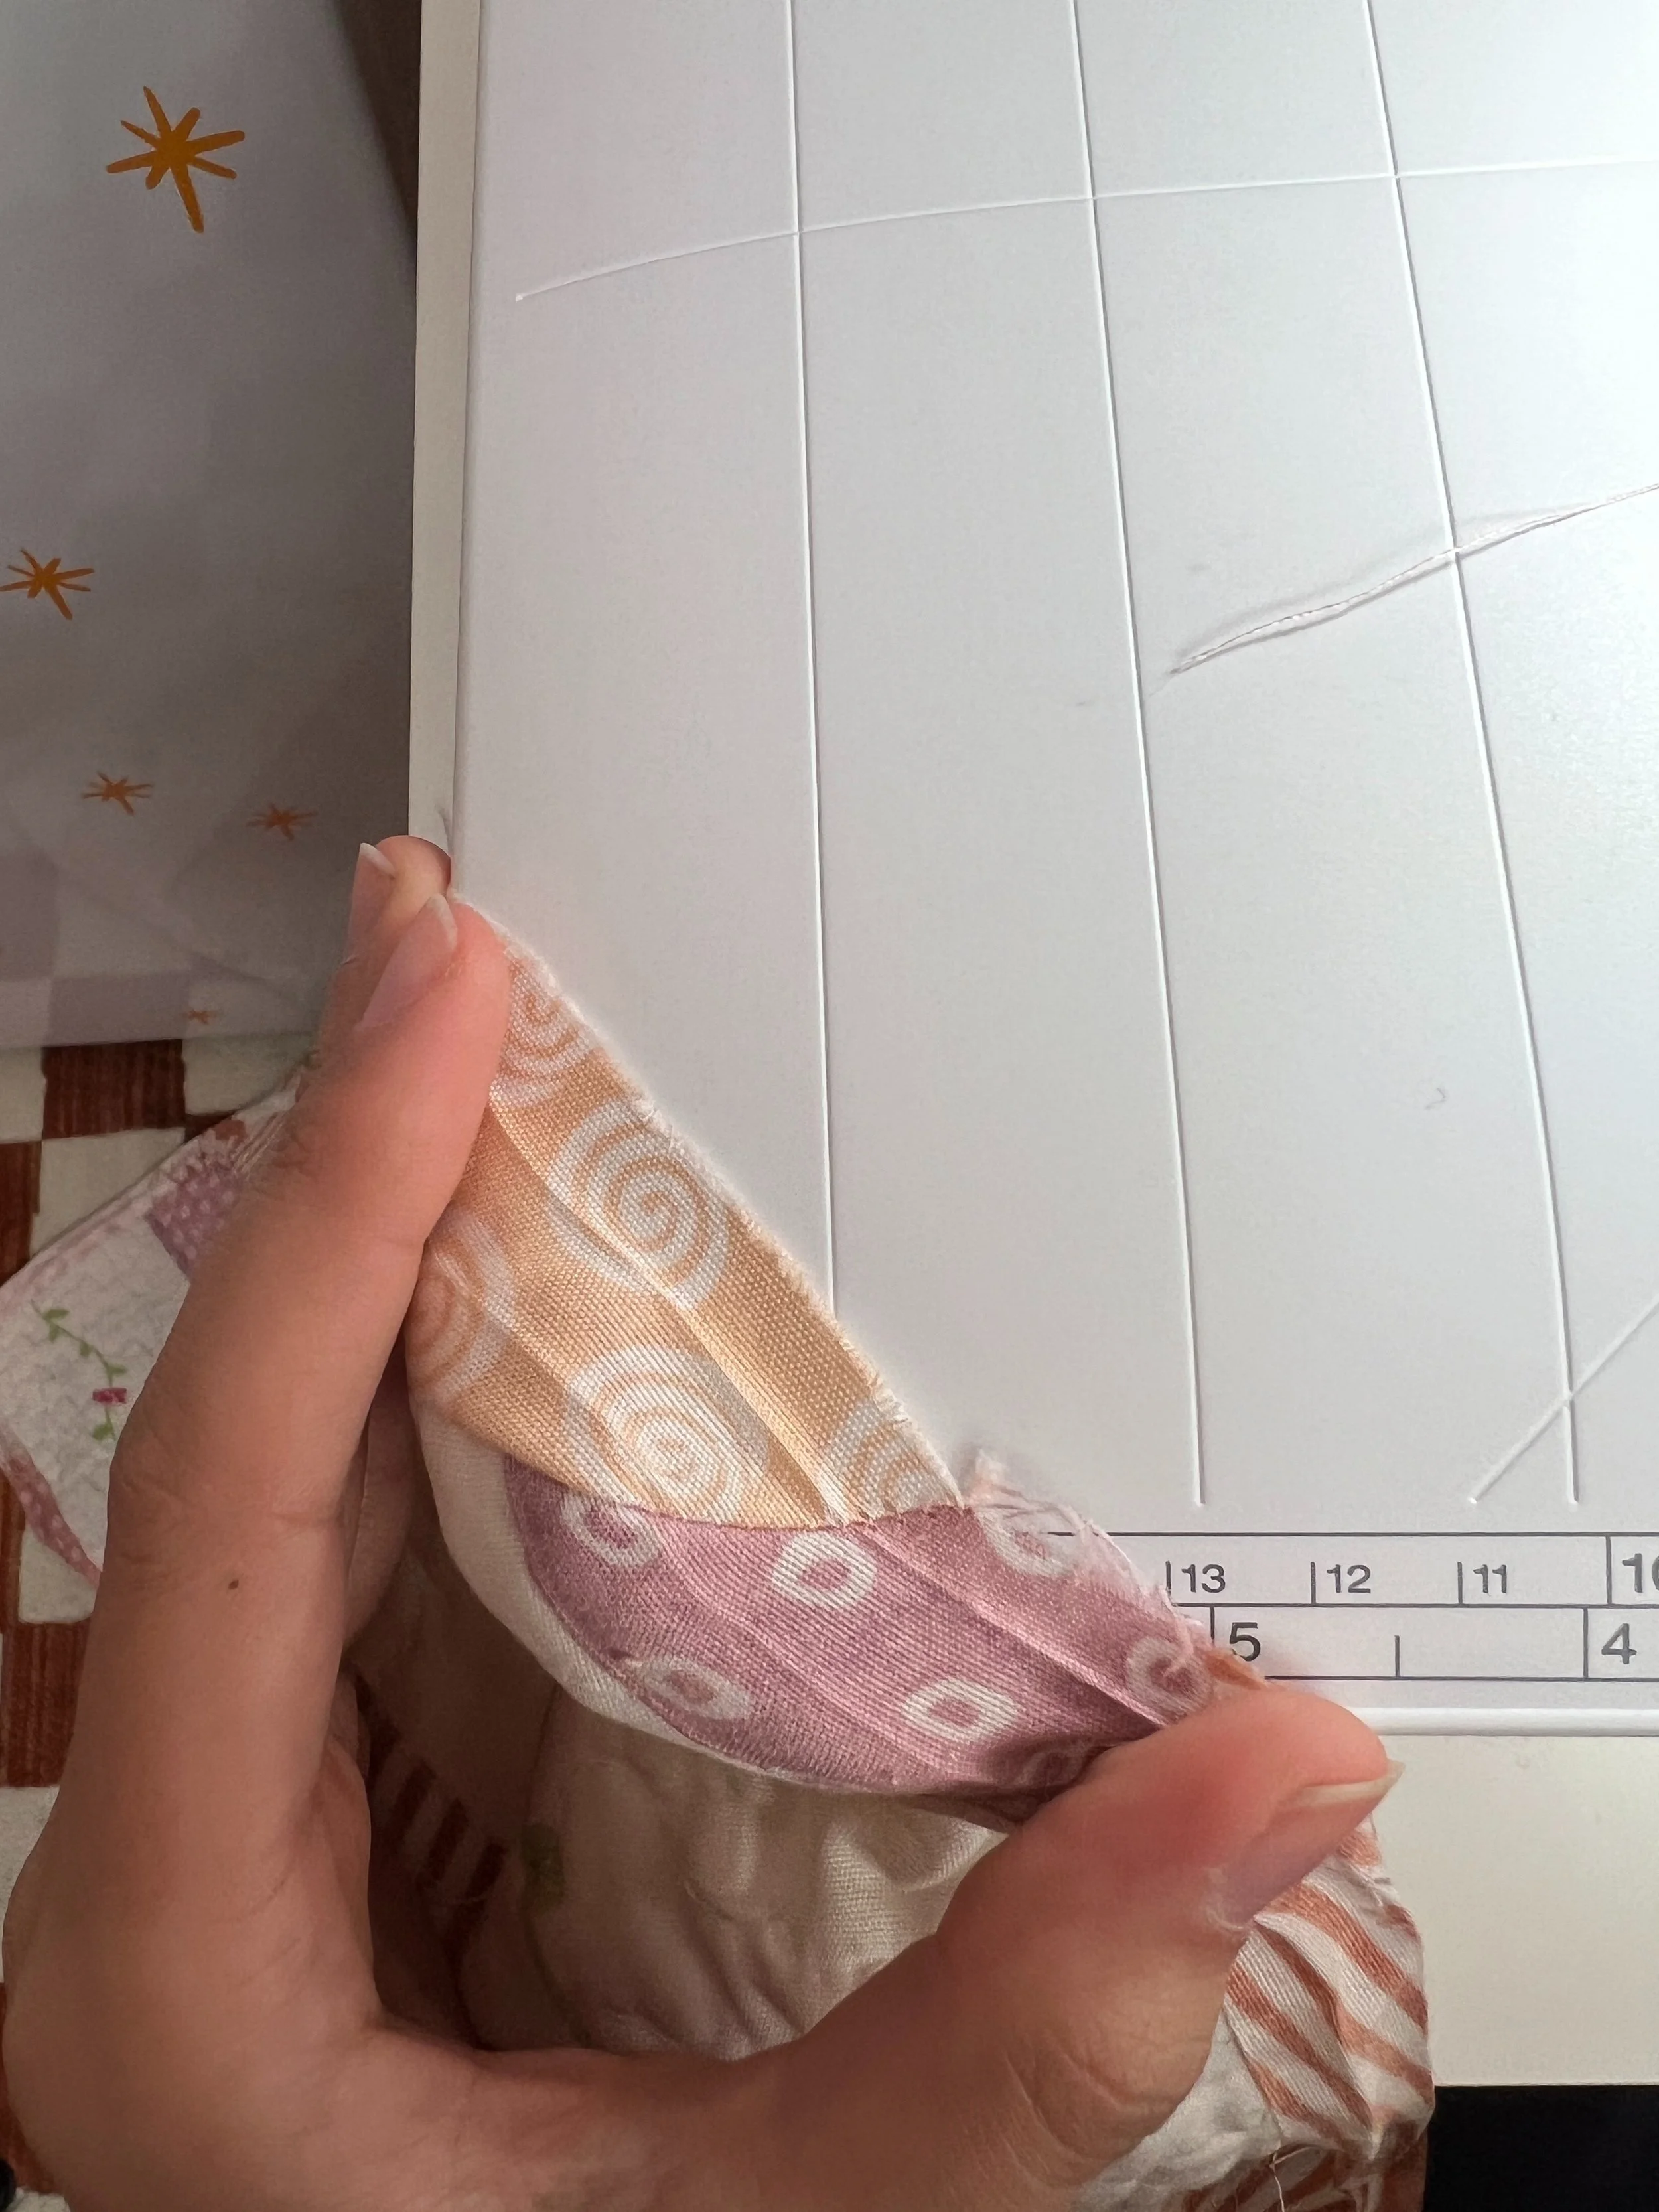
1. Using your newly adjusted template, cut out the pattern from your blanket, taking into consideration any design elements that can be utilized in the pattern.
I used the scalloped edge of my quilt for the edge of my jacket to save me the extra step of hemming.
Cut out the scarf.
To close off the seams so the jacket could be reversible, I used a flat felled seam.
A flat felled seam is a seam with two parallel stitches to completely hide the raw edge, often used on sturdy fabric such as denim.
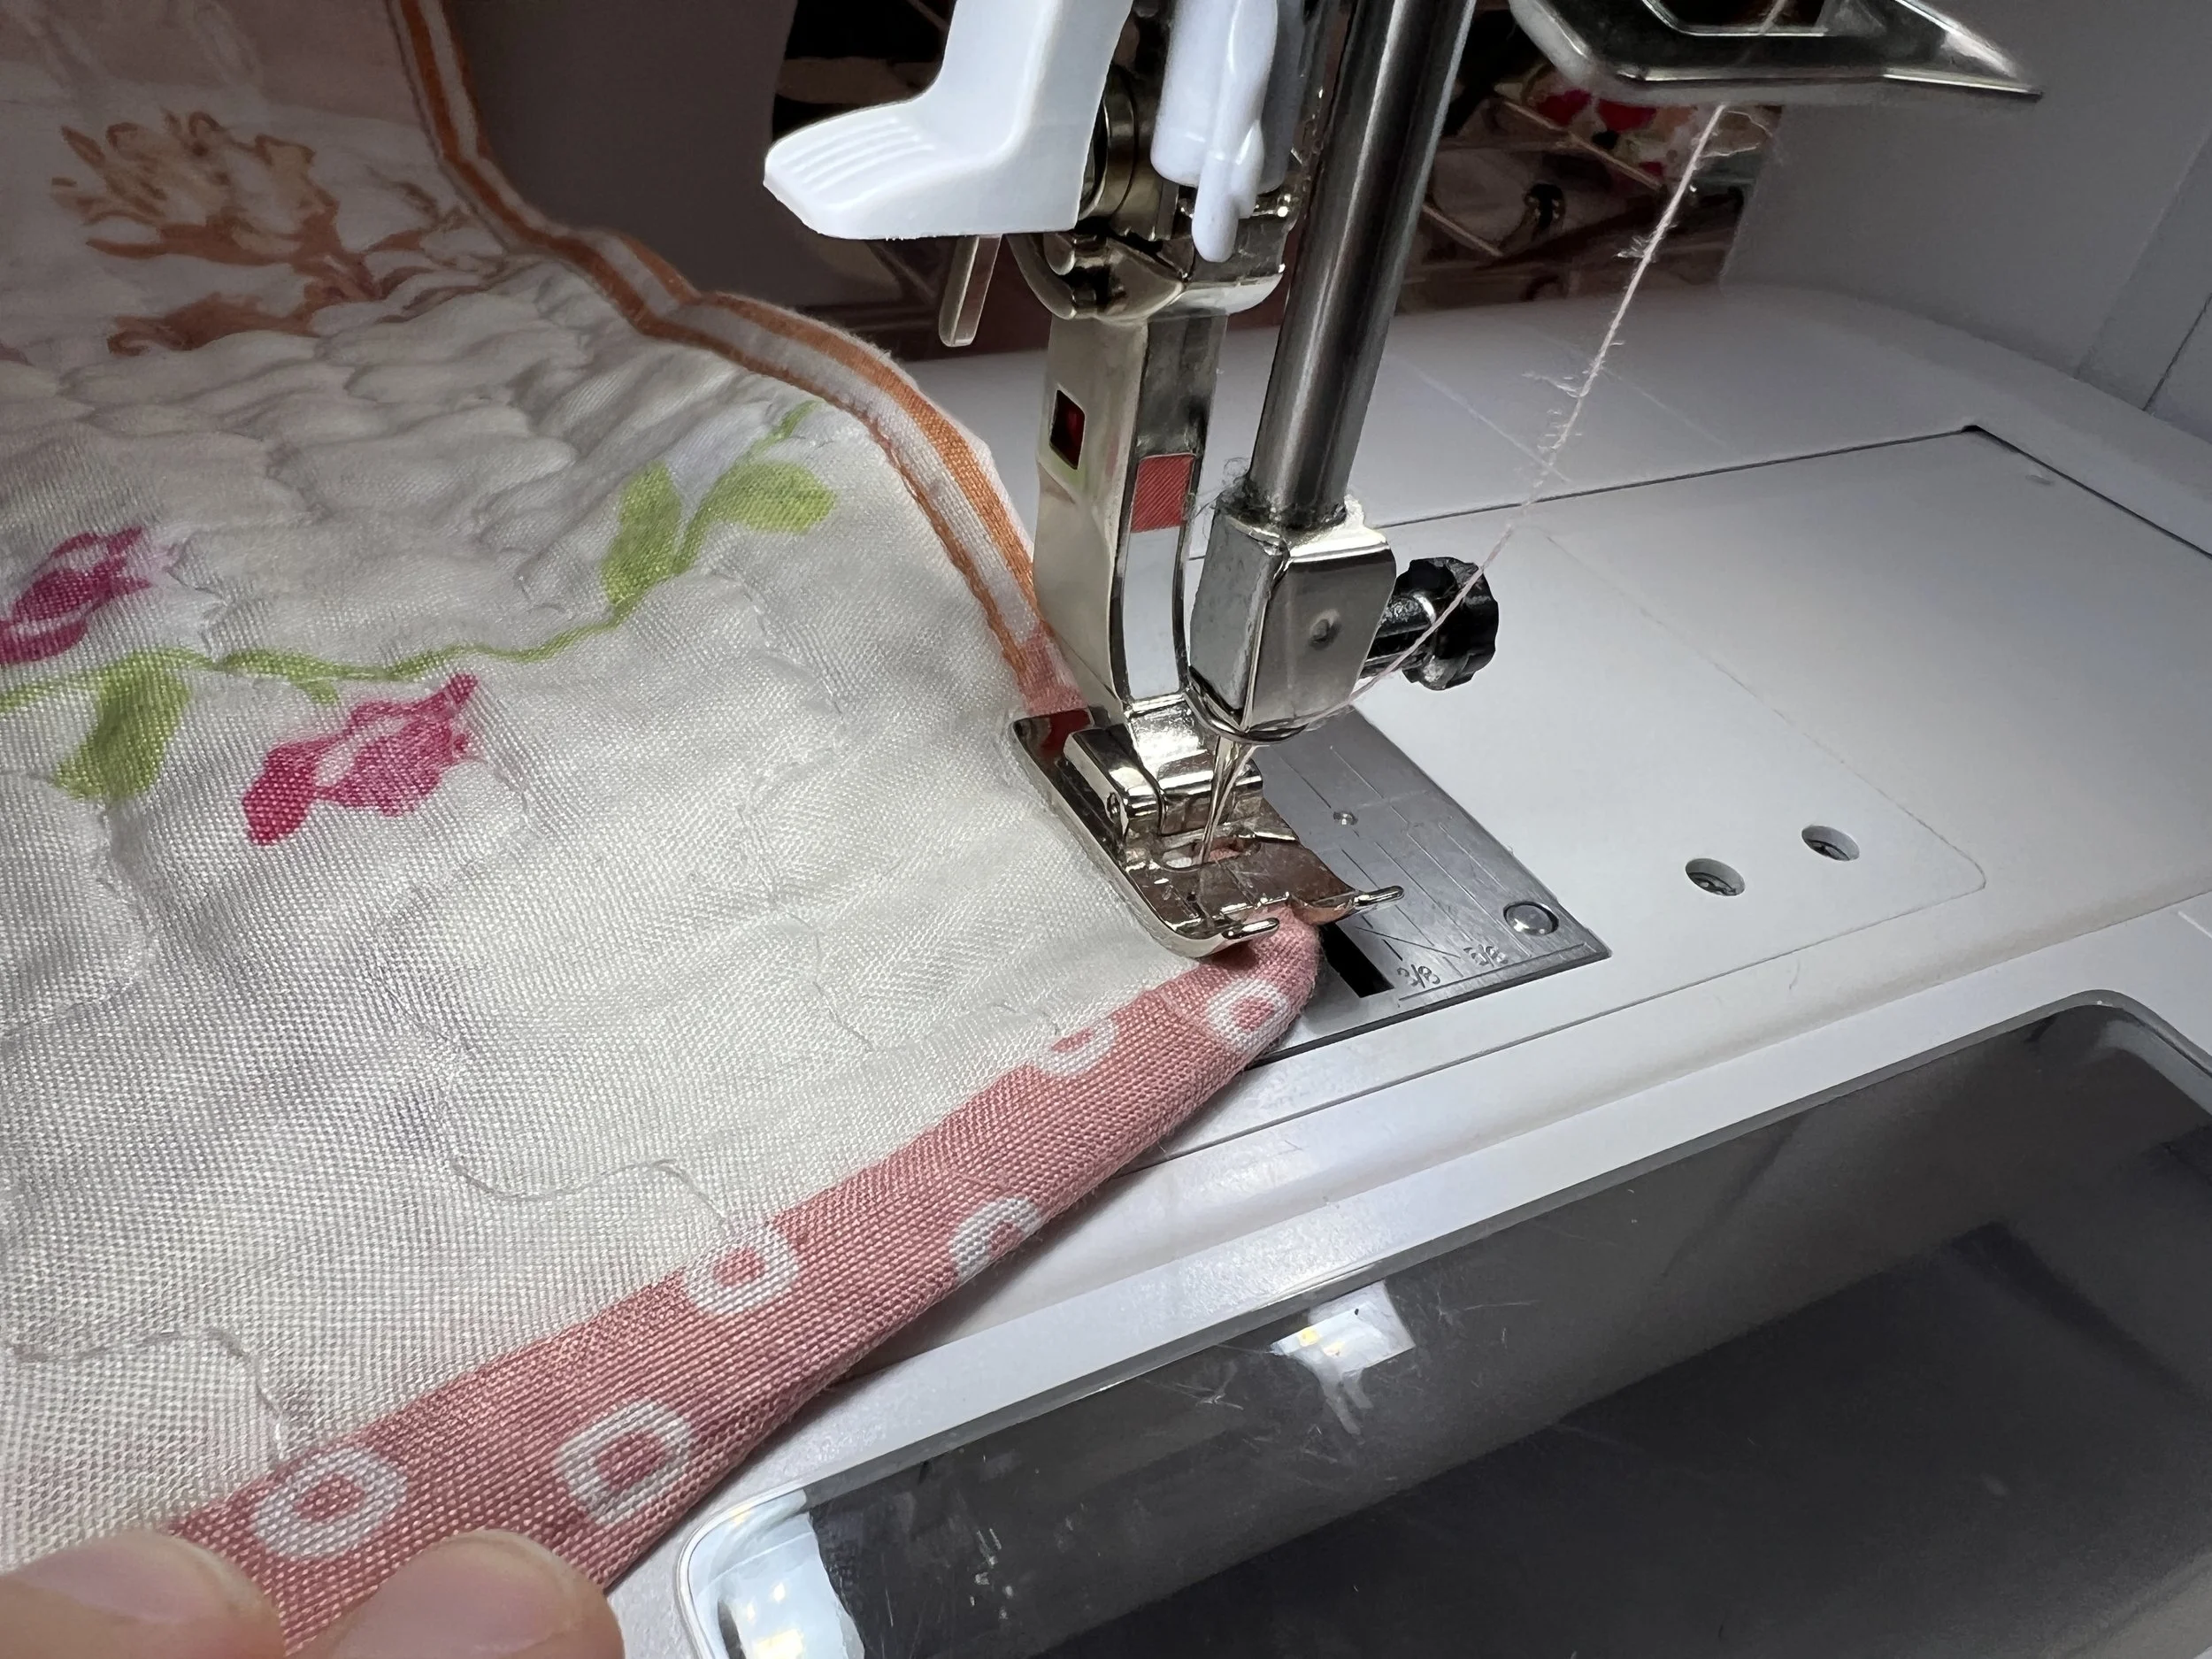
2. Using a double overlock stitch set to the longest stitch length, sew the front to the back of the jacket, wrong sides together. This sews the front to the back of the jacket at the shoulder, with the edges touching to reduce bulk in the seam.
Switching back to a straight stitch, I then offset the seam so the overlocking stitch is only seen on one side of the jacket, giving you room to fold the seam over and top stitch it in place.
The overlocking stitch gives you the option to fully hide the raw edges, tucking it away in the flat felled seam with less bulk.
3. Sew all the seams shut on the vest and the sleeves.
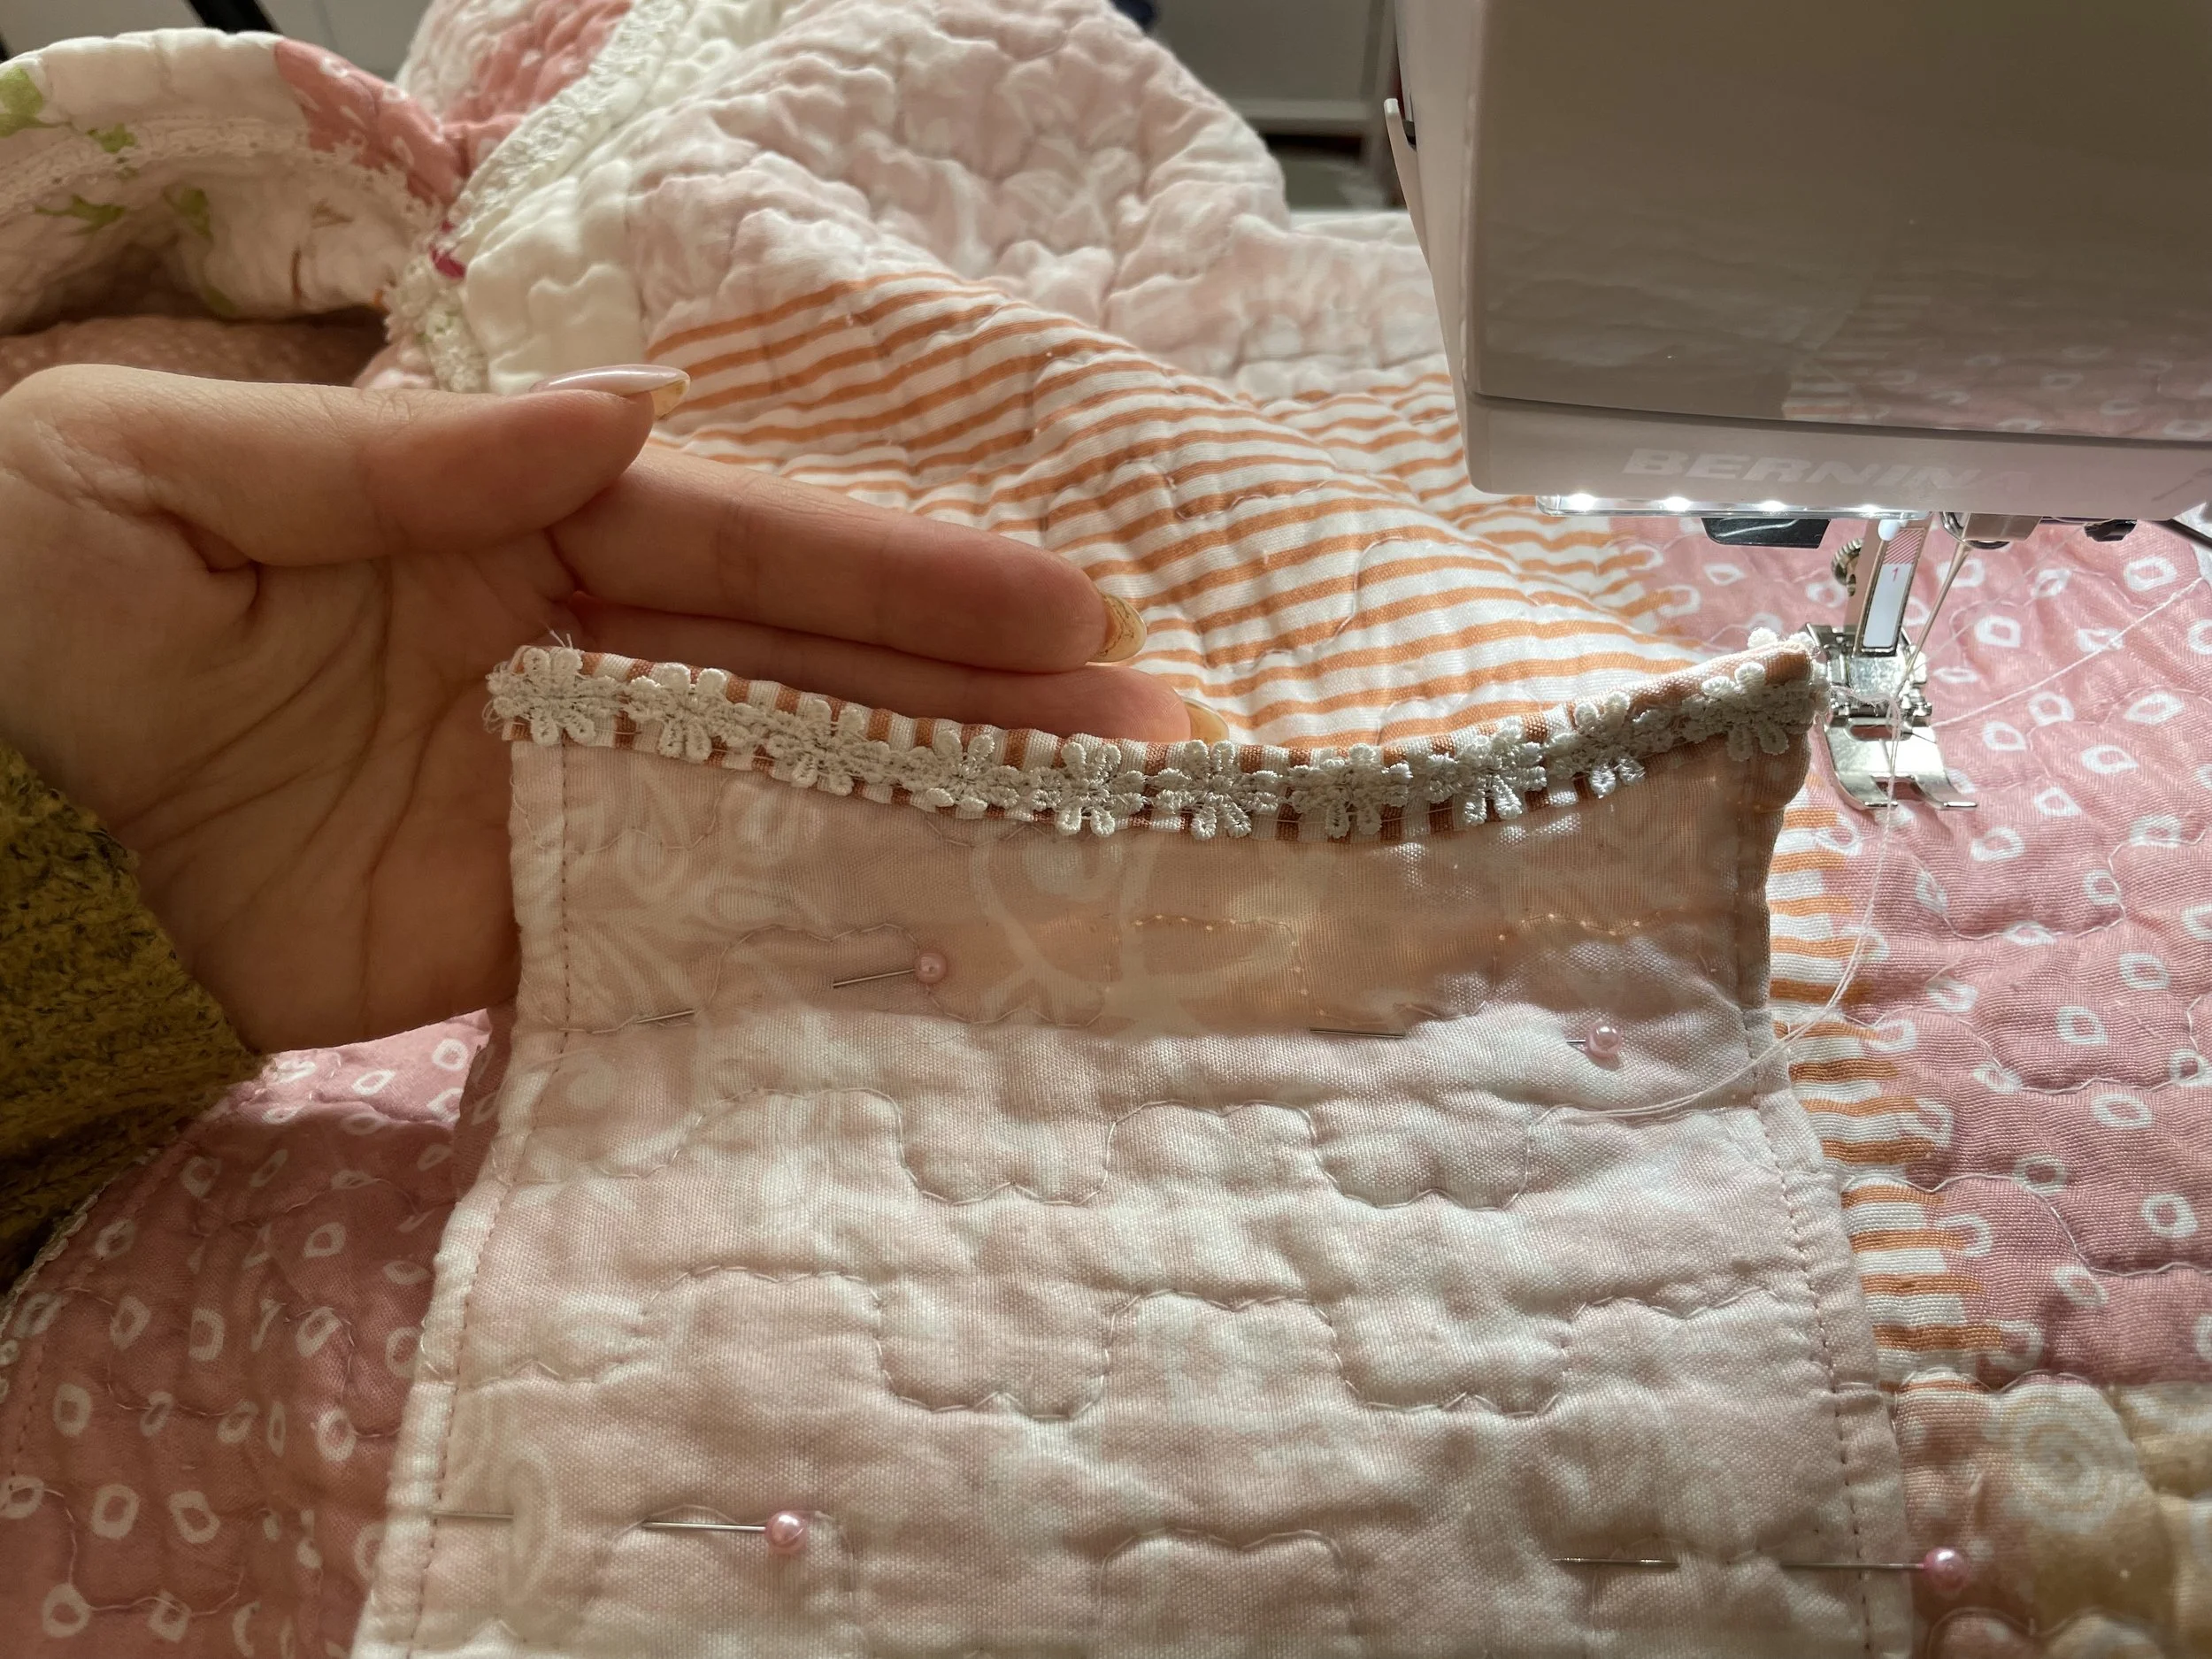
4. Begin adding your lace trim. (Jump to Adding the Lace Trim…)
5. Once all your trim is sewn, sew the sleeves to the armholes.
6. Close the neck opening with a bias trim.
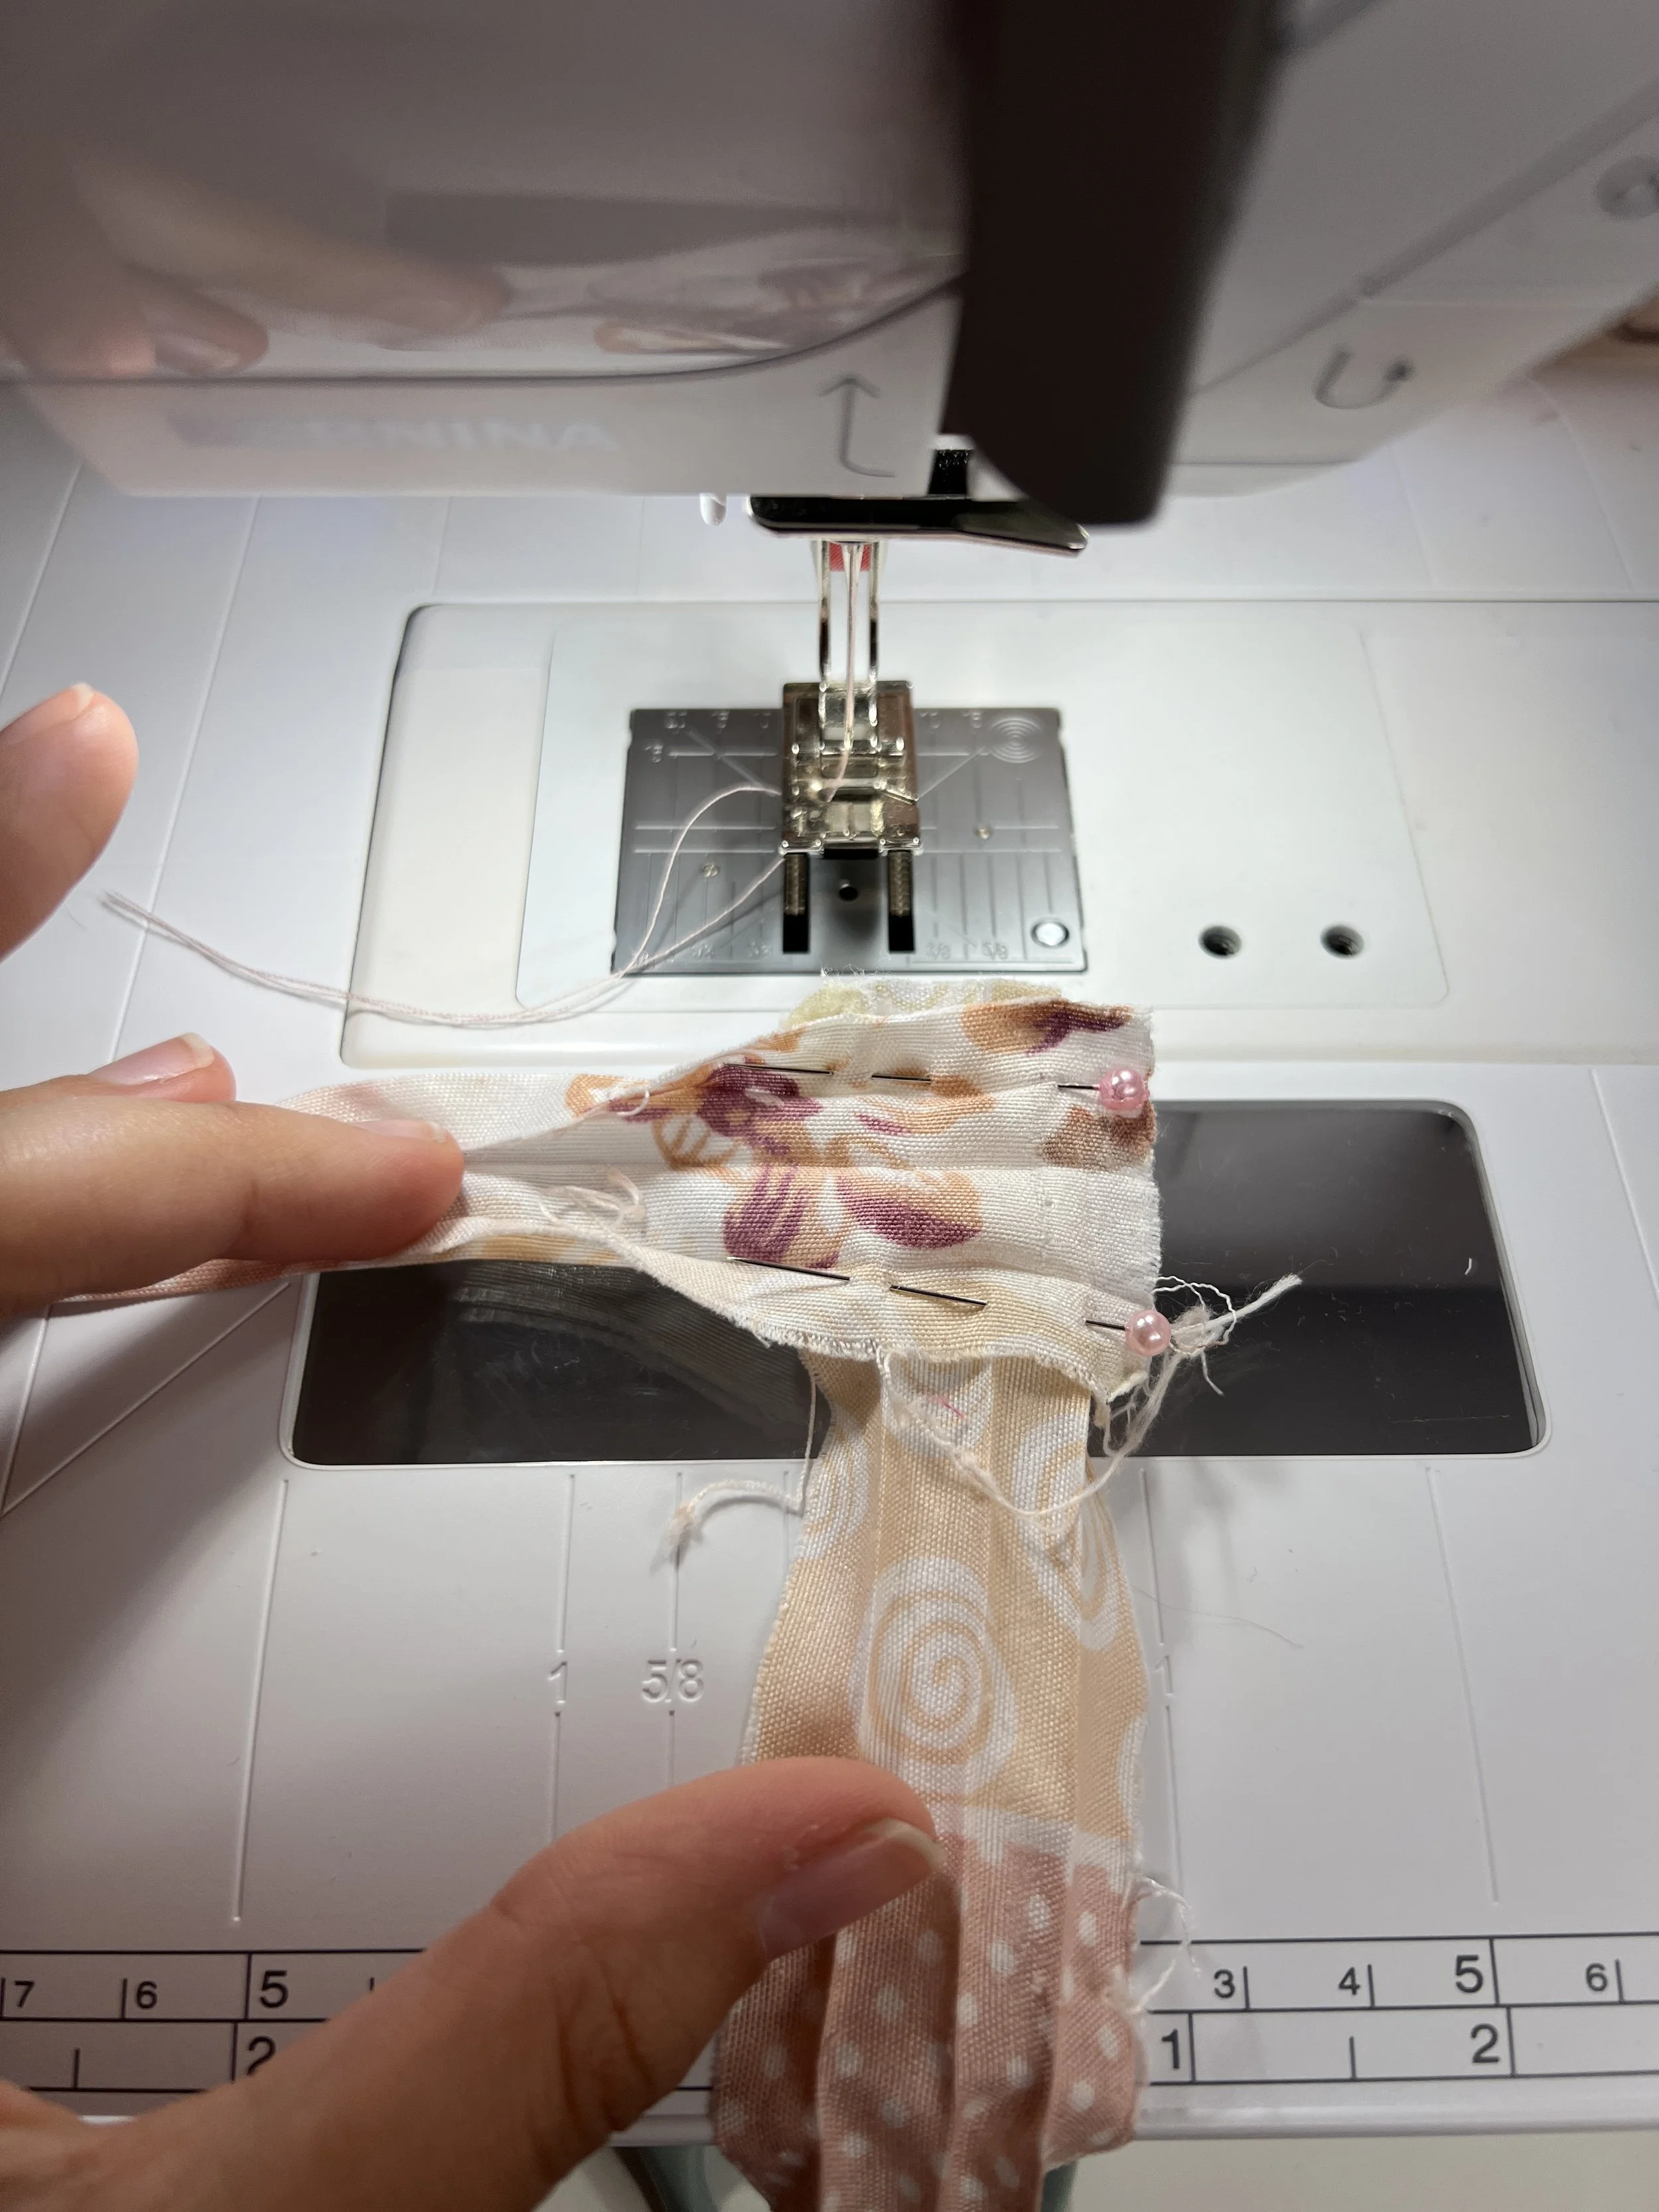
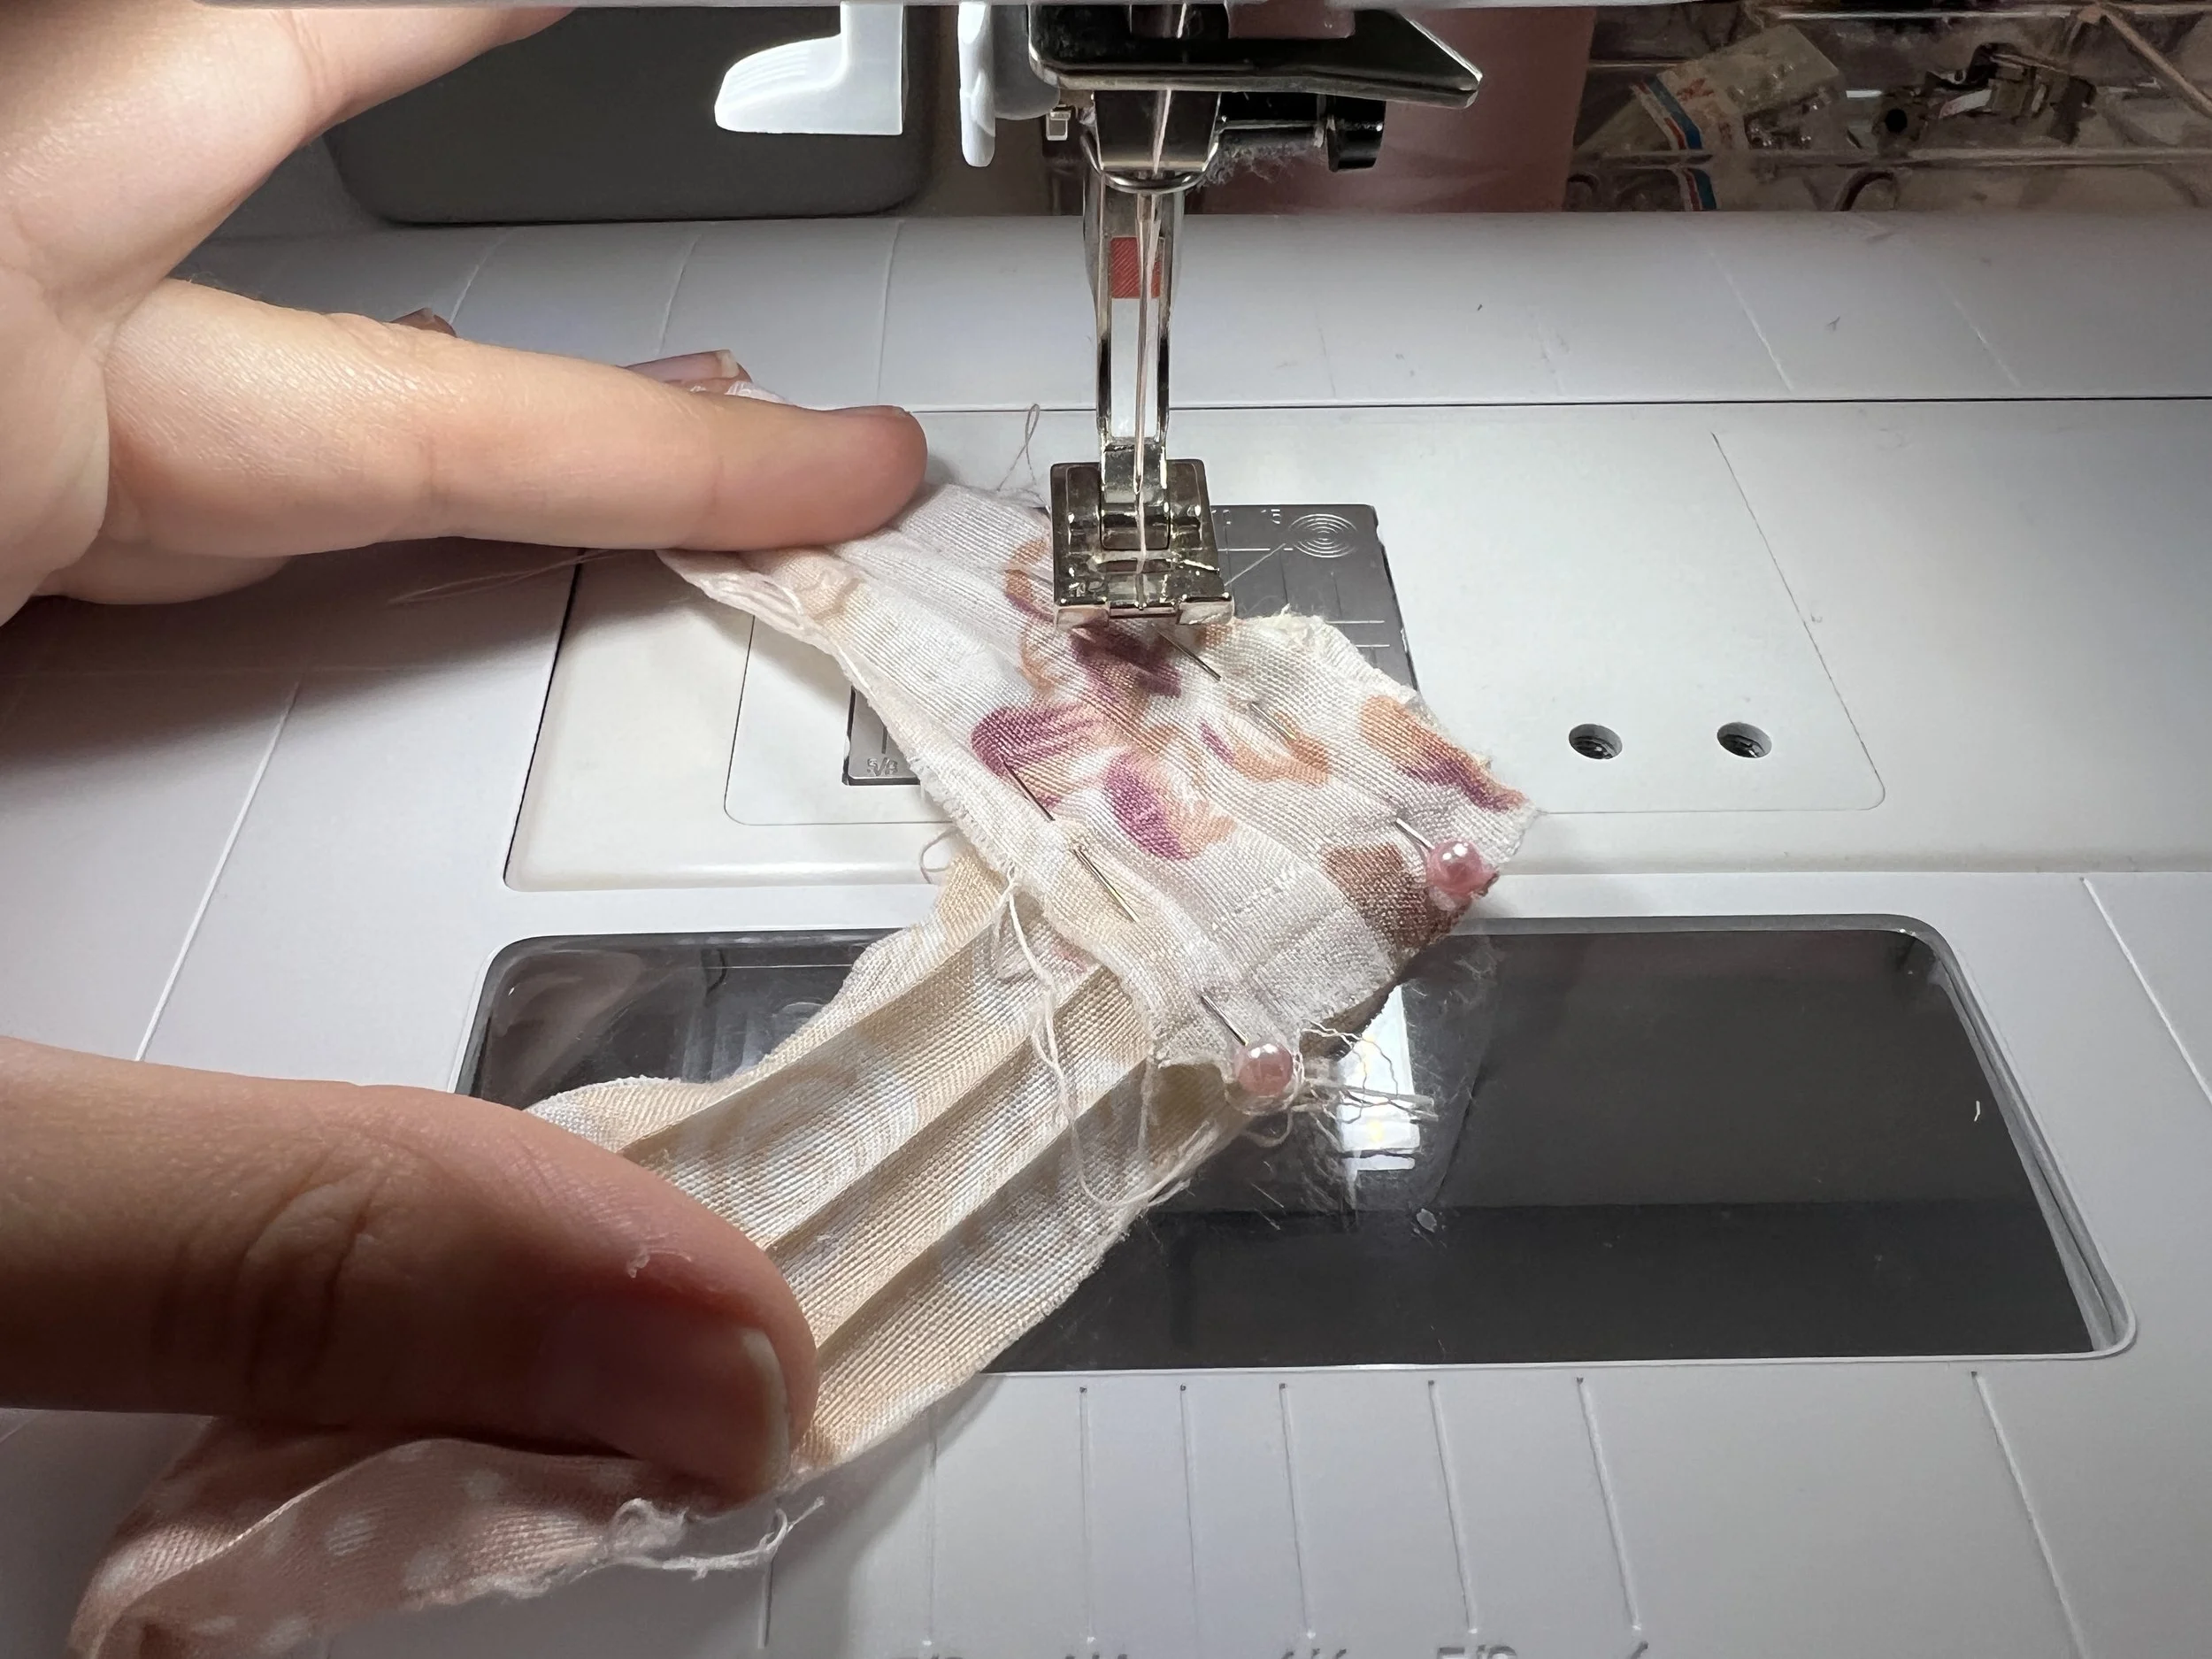
7. Measure the distance you’d like your buttons to sit on the jacket. I put 4 buttons at a 16cm evenly spread distance.
8. Attach the finished scarf to the neckline using a straight stitch.


Adding the Lace Trim…
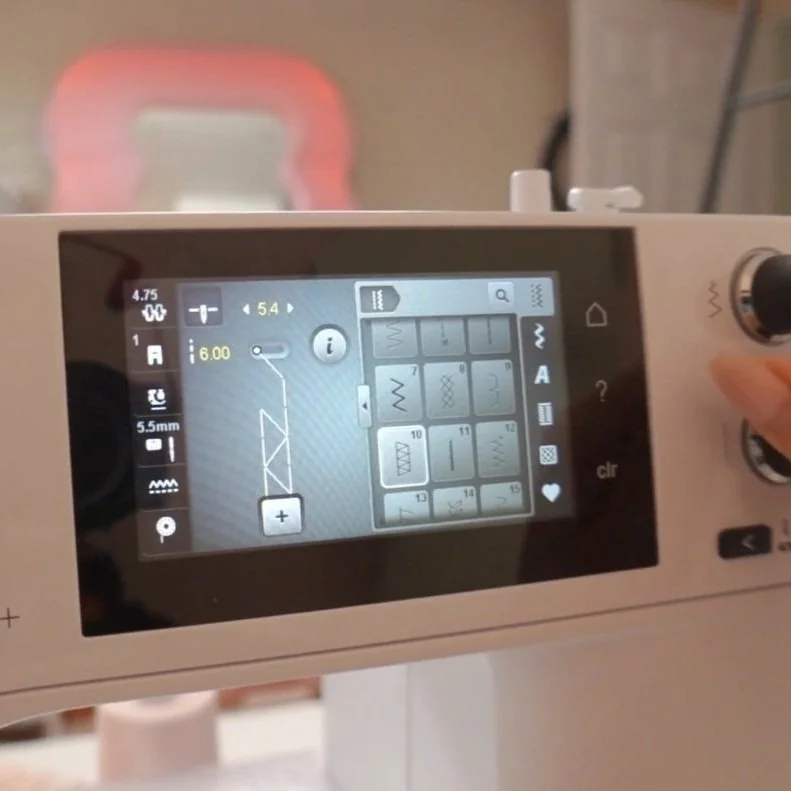
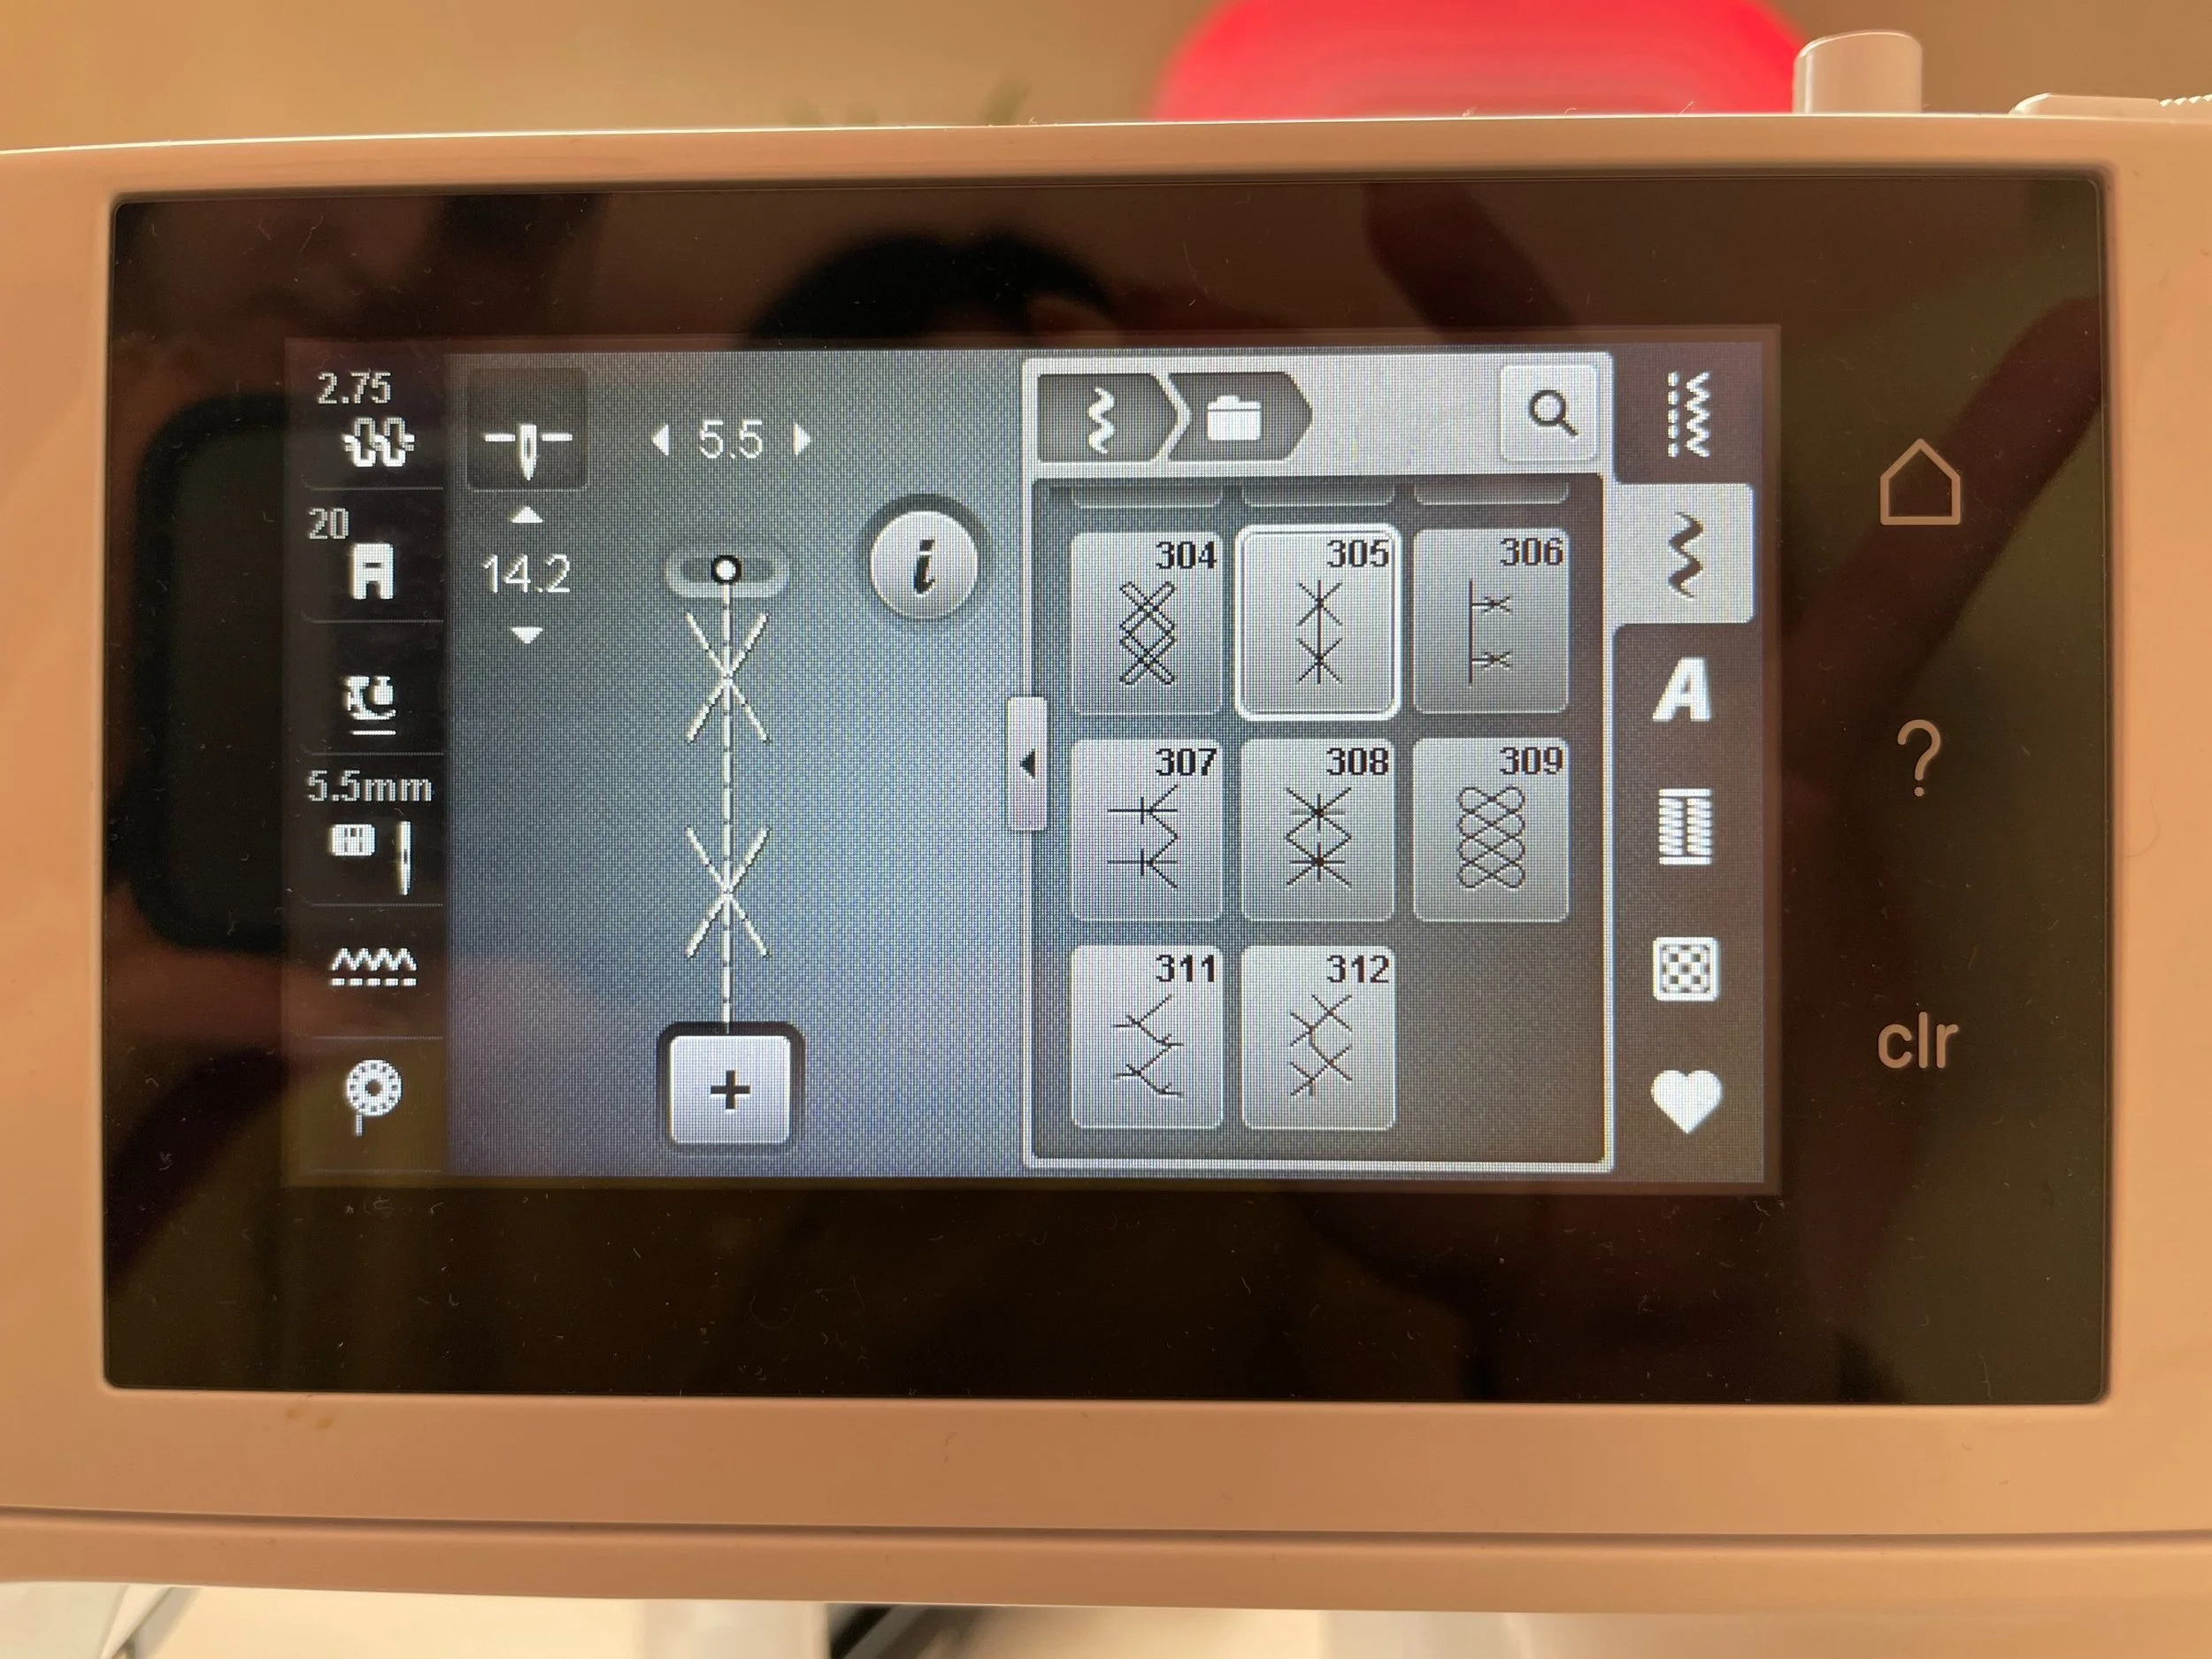
1. Using the snowflake stitch on my machine, adjust the stitch that best suits your lace depending on what options your machine offers.
(You can use any decorative stitch your machine has or a simple zigzag or straight stitch. You want to make sure your lace is stitched enough that it lays flat all around to avoid creasing edges.)
2. Line up the lace with the hem.
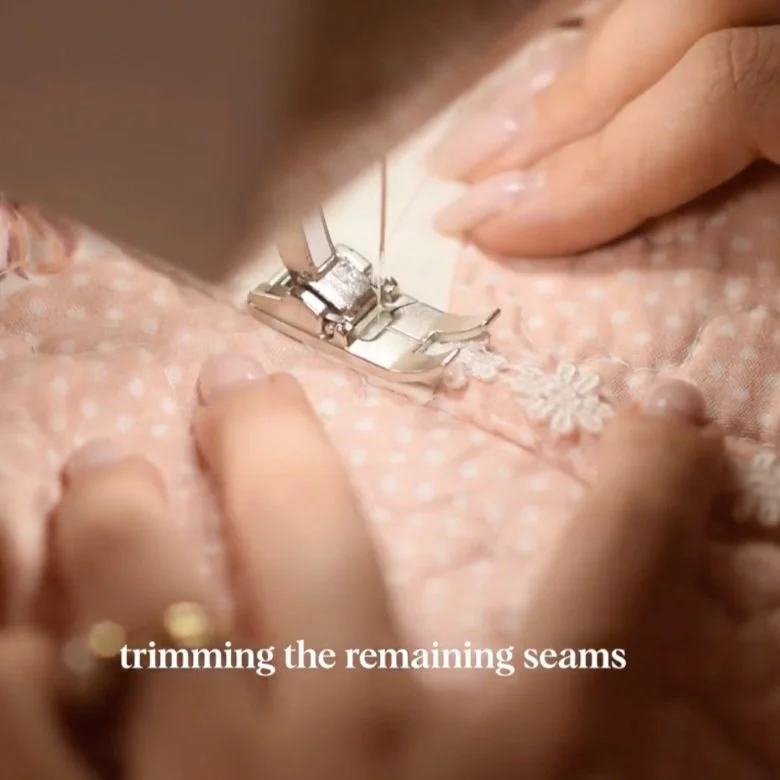
3. Begin stitching. Using your thumb and index finger to help guide the lace around the hemline, firmly hold the lace being careful not to pull the lace as you sew.
4. Trim the lace once you’ve reached the end of your hemline. I tried to keep each flower fully intact at the end of each section.
5. Line up the lace in your next section, setting your machine back to the beginning of the stitch pattern to ensure a clean finish on both sides of the fabric.
I used this snowflake stitch as it creates a decorative pattern on both sides, making this coat reversible.

Adding the Pockets…
1. Cut out your pockets.
2. Fold the raw edges inside, creating a clean edge.
3. Sew the edges flat using a straight stitch.
4. Lay your pockets on the jacket, pinning them in place.
5. Sew the pockets and lace trim in one go, using the snowflake stitch on the machine.

Making the Bias…
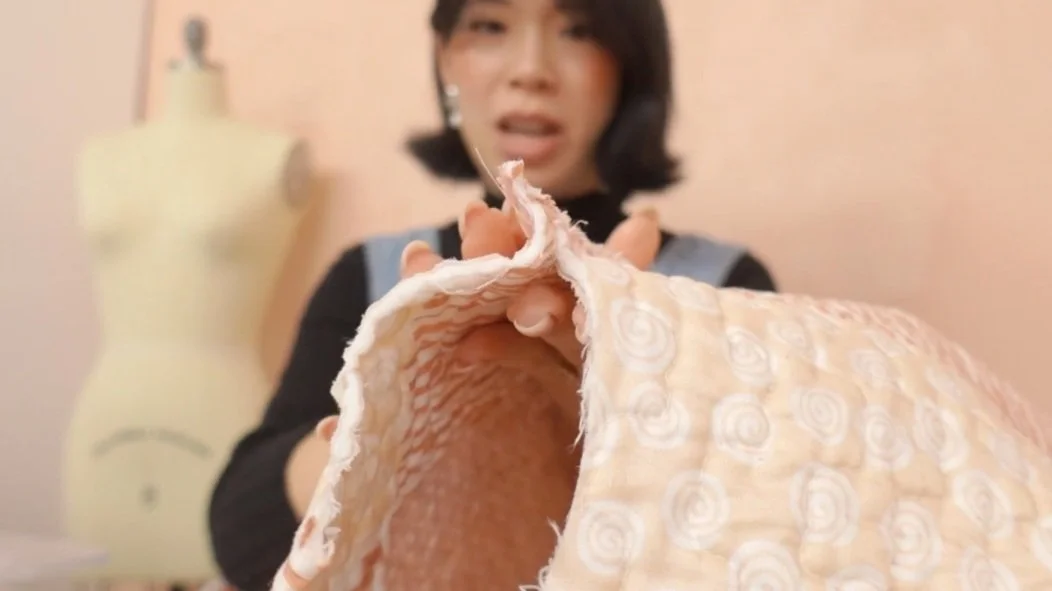
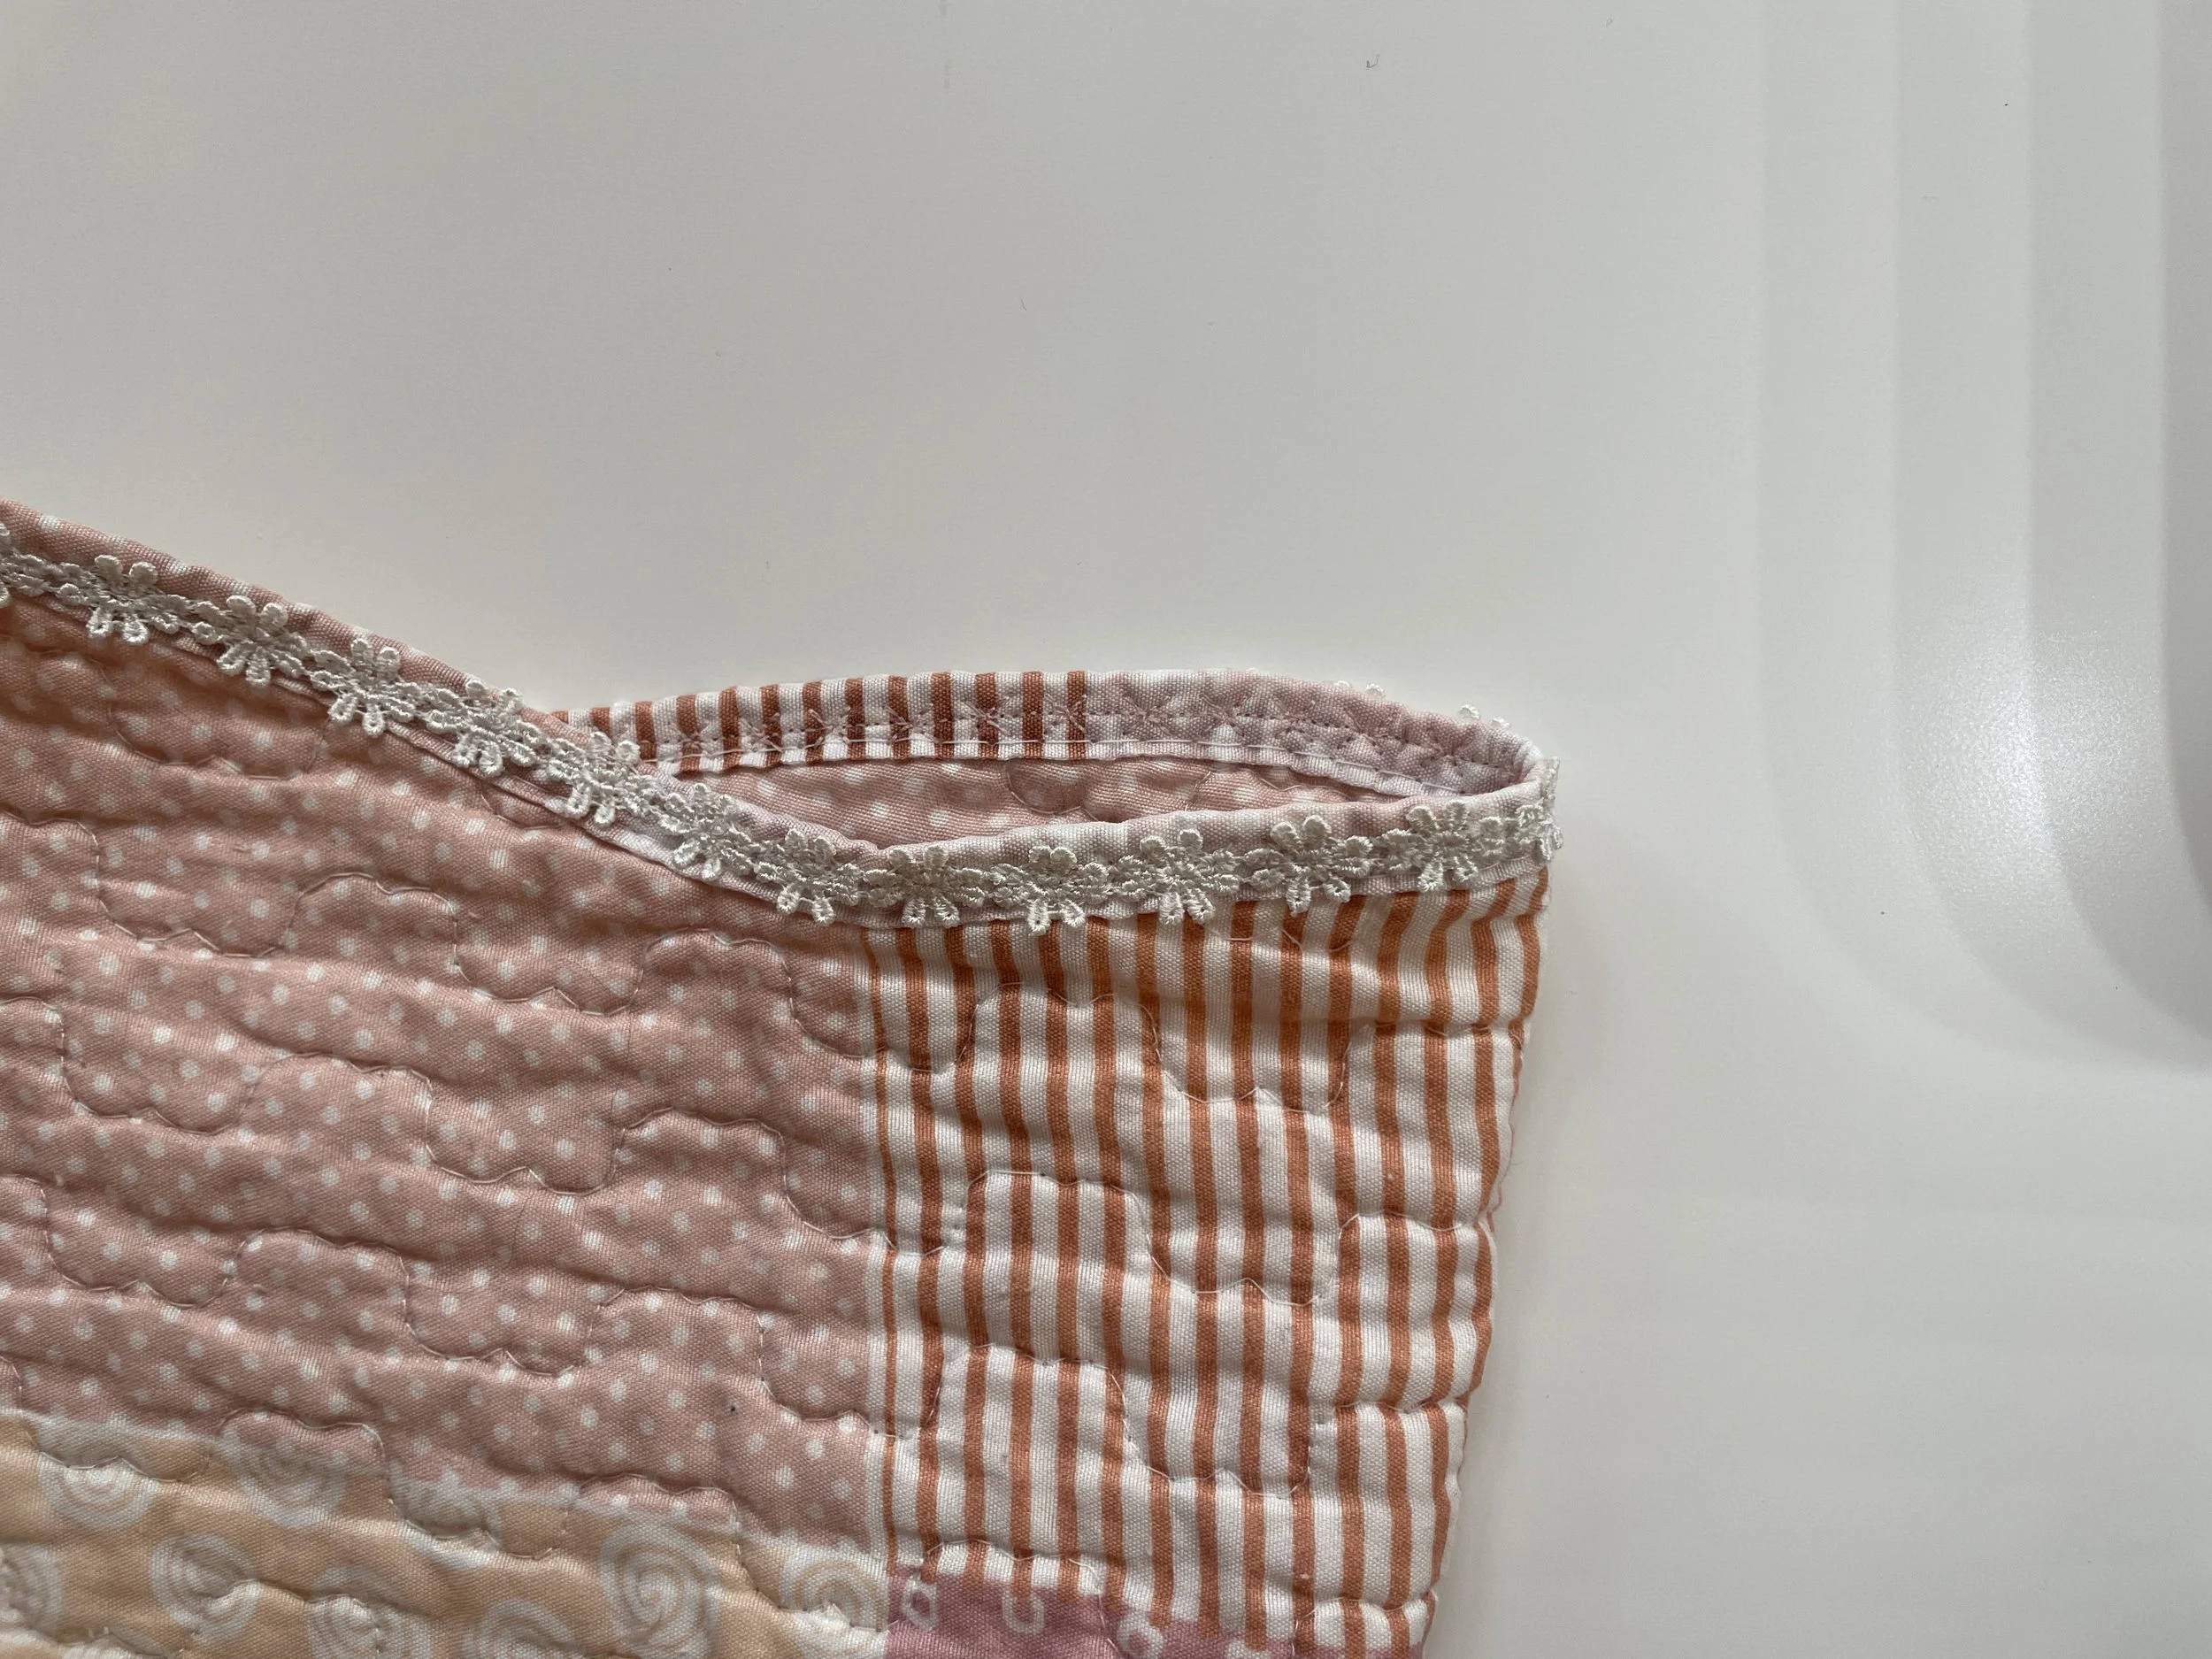
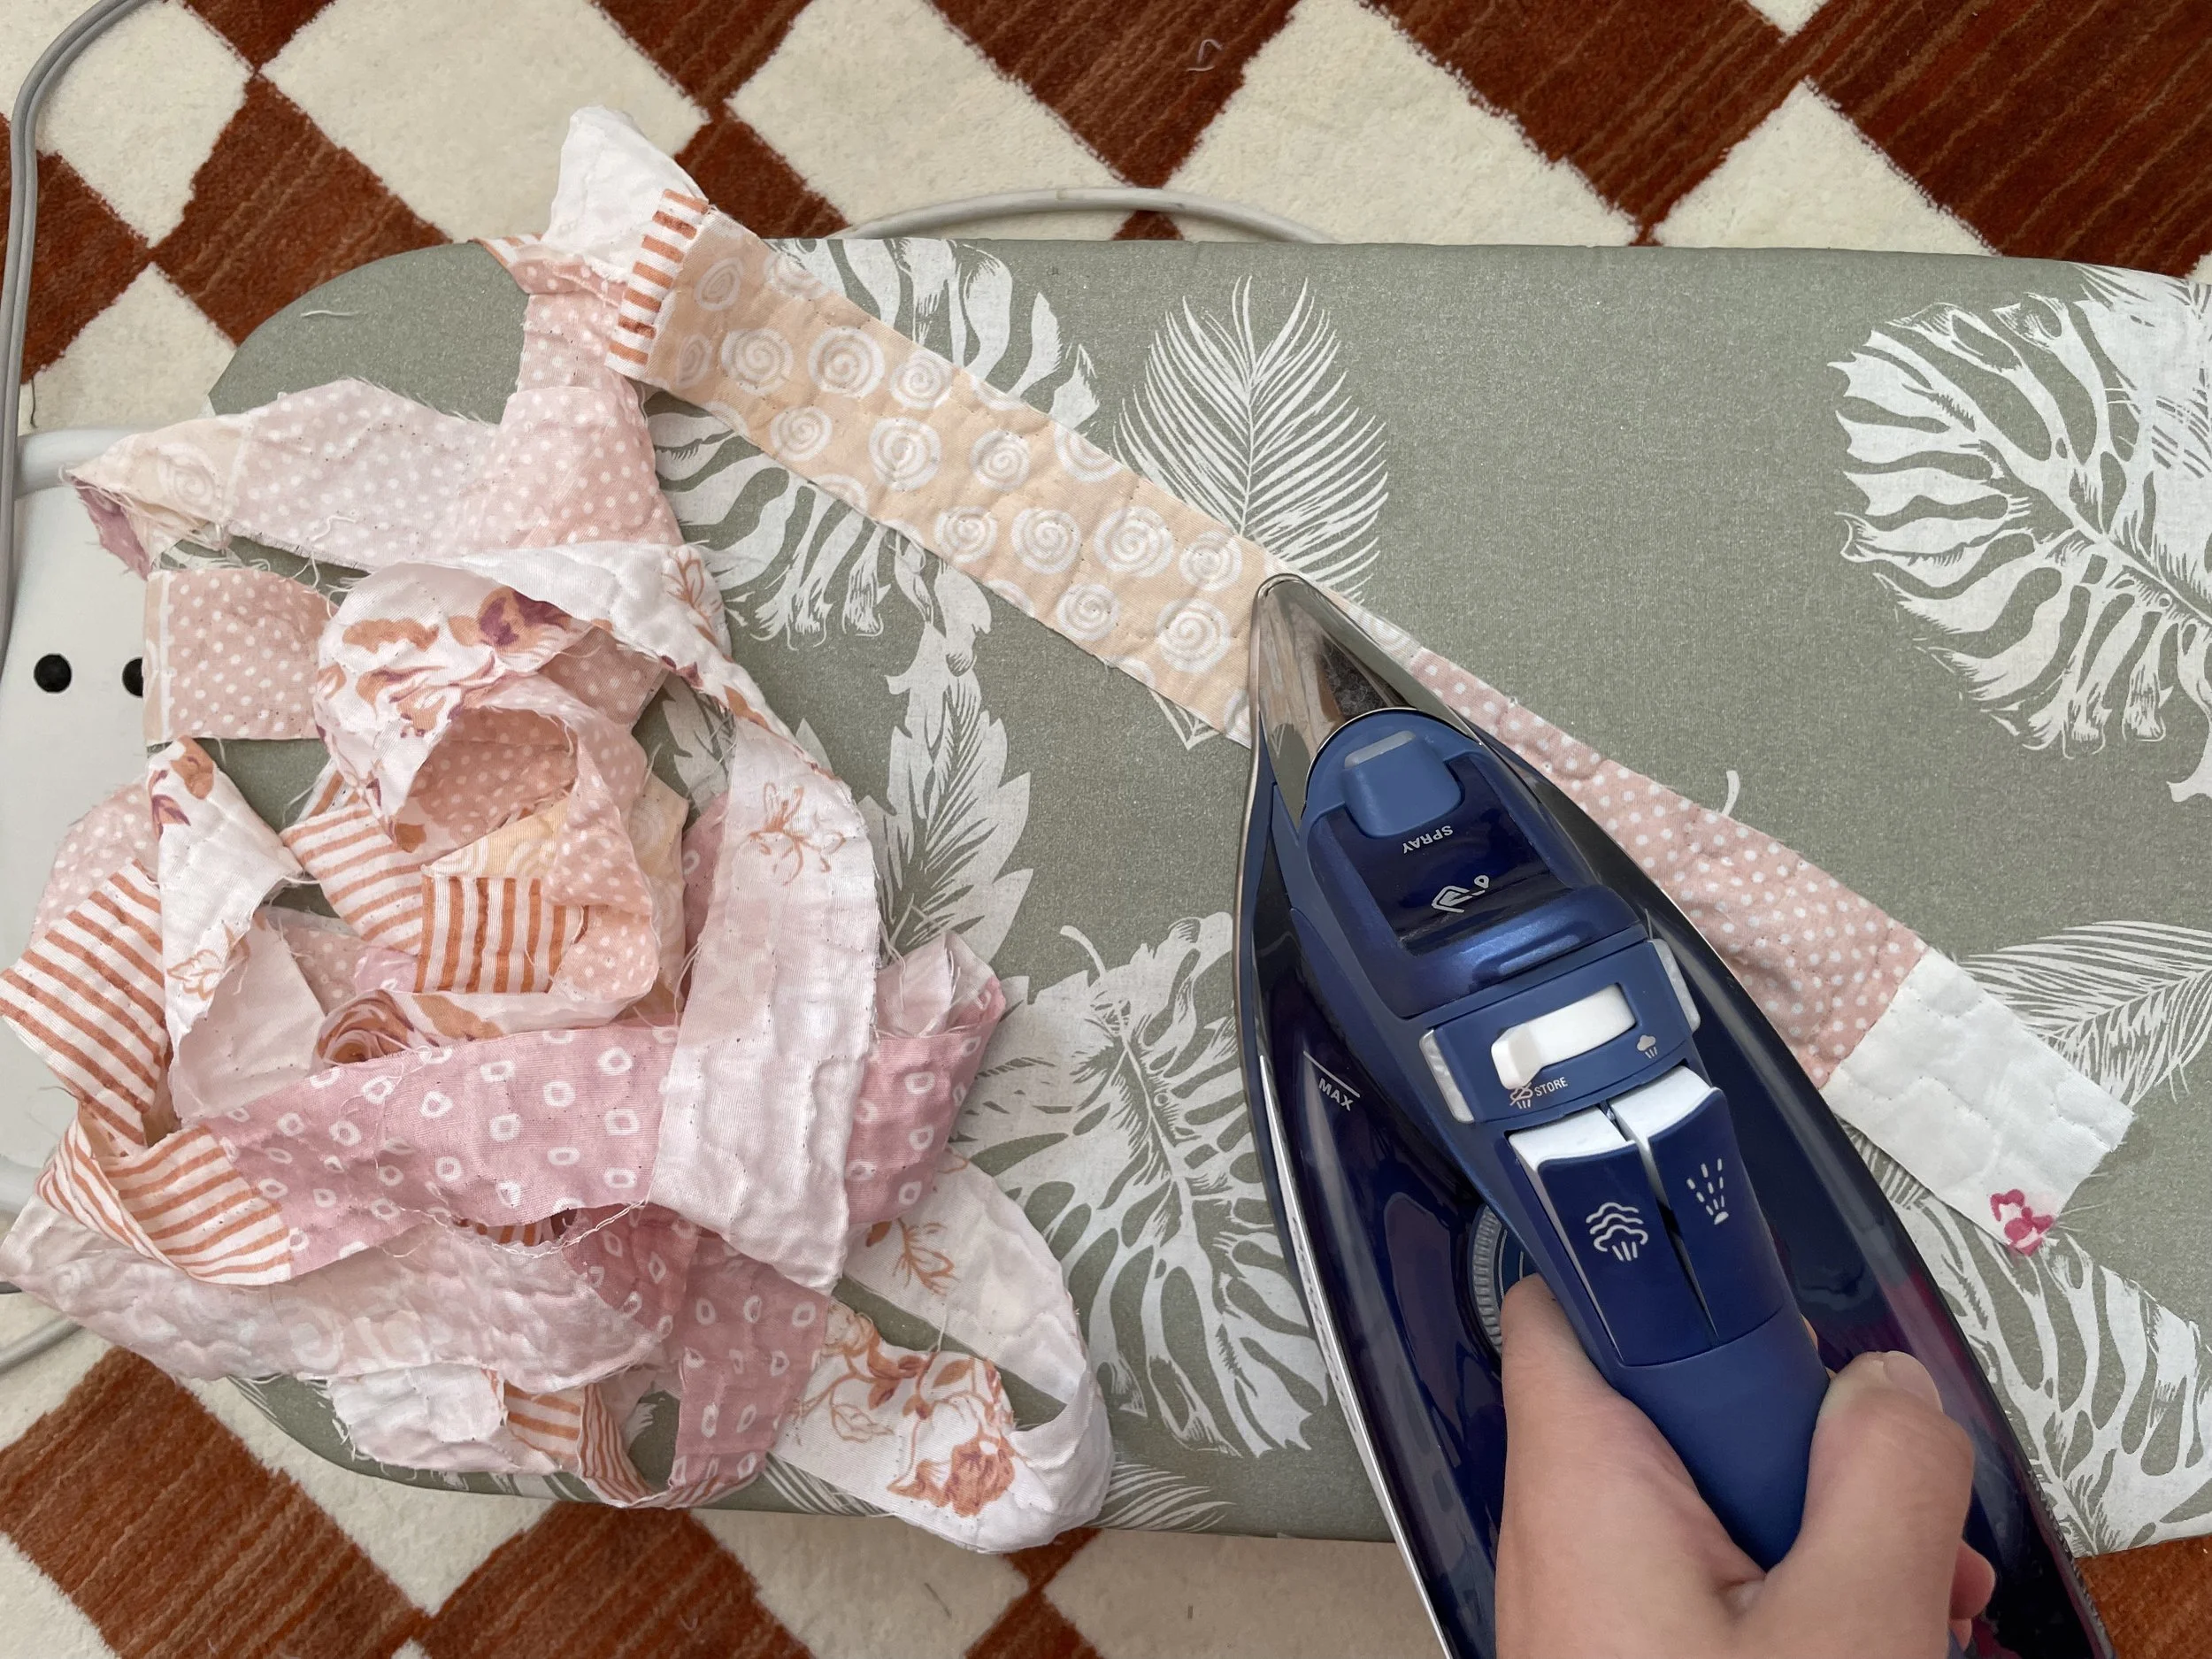
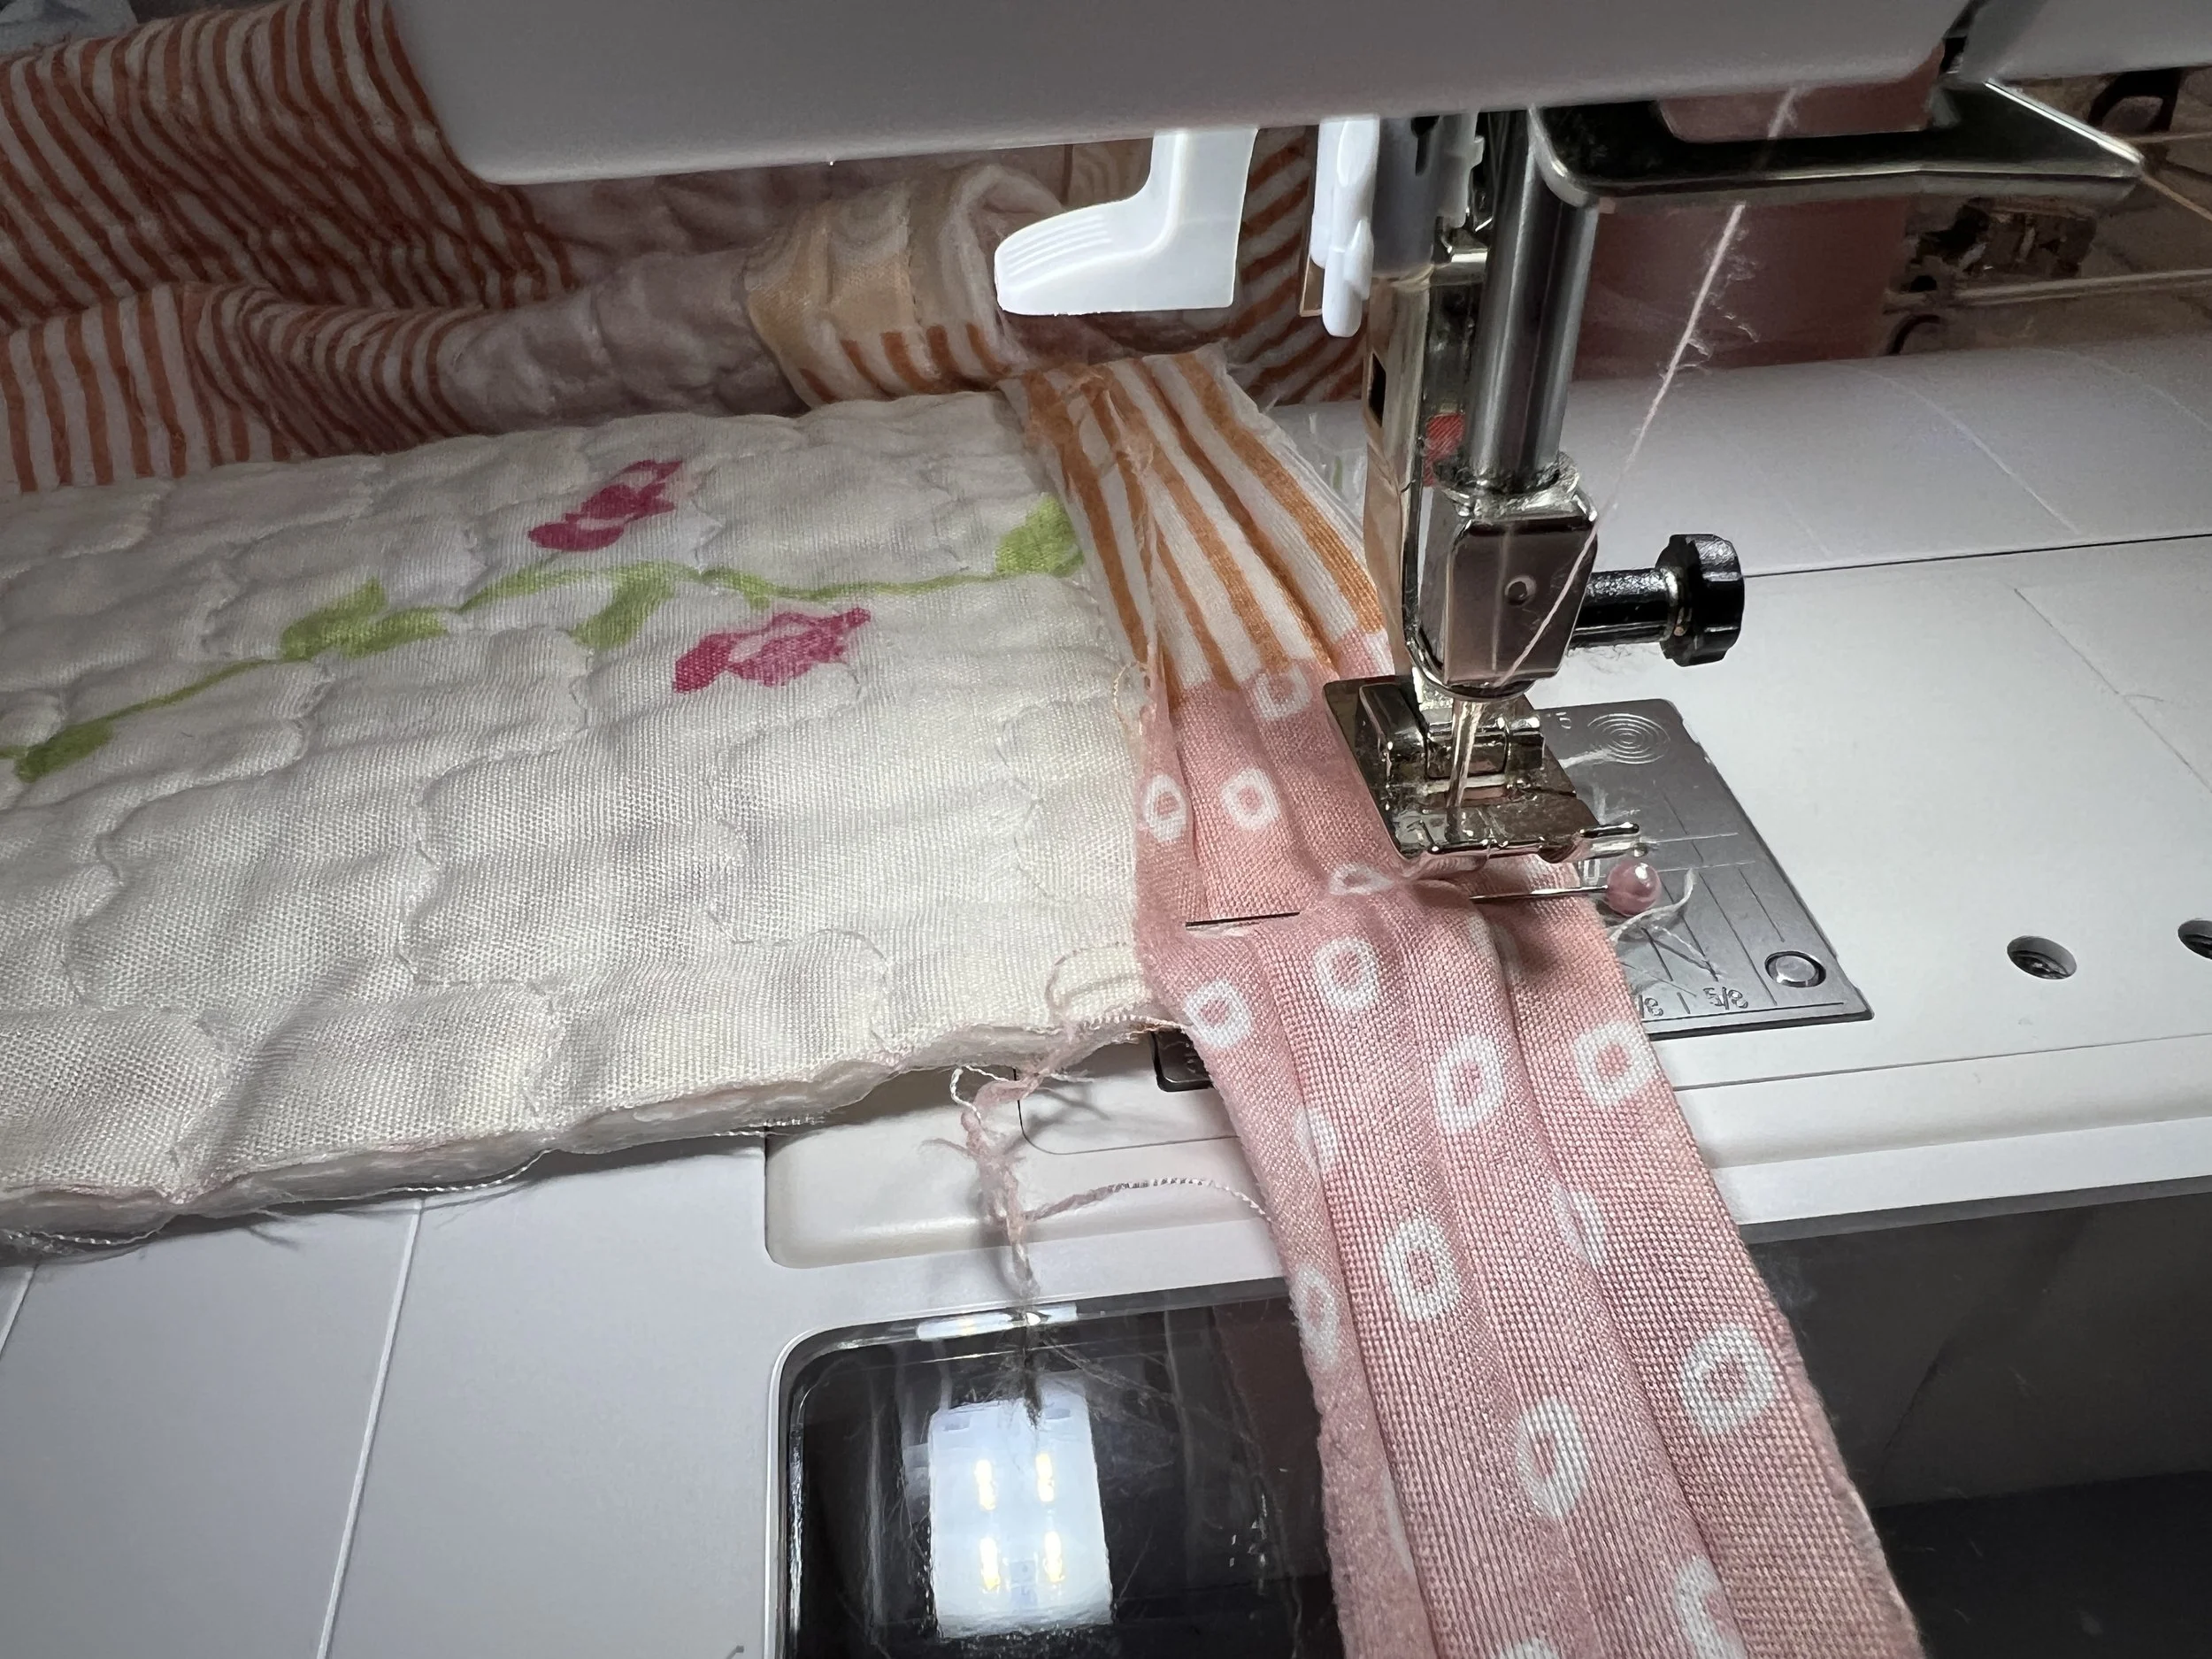
To create a nice edge around the scarf, I decided to attach a bias trim for a clean look using leftover material from the blanket.
1. Cut a 4cm width bias, with the grain, x the length you need to cover your scarf. (My length was 400cm to accommodate the scarf and the neck hole of the jacket).
2. Seam-rip the stitching of the quilted blanket to free the batting from the bias.
3. Iron the bias flat.
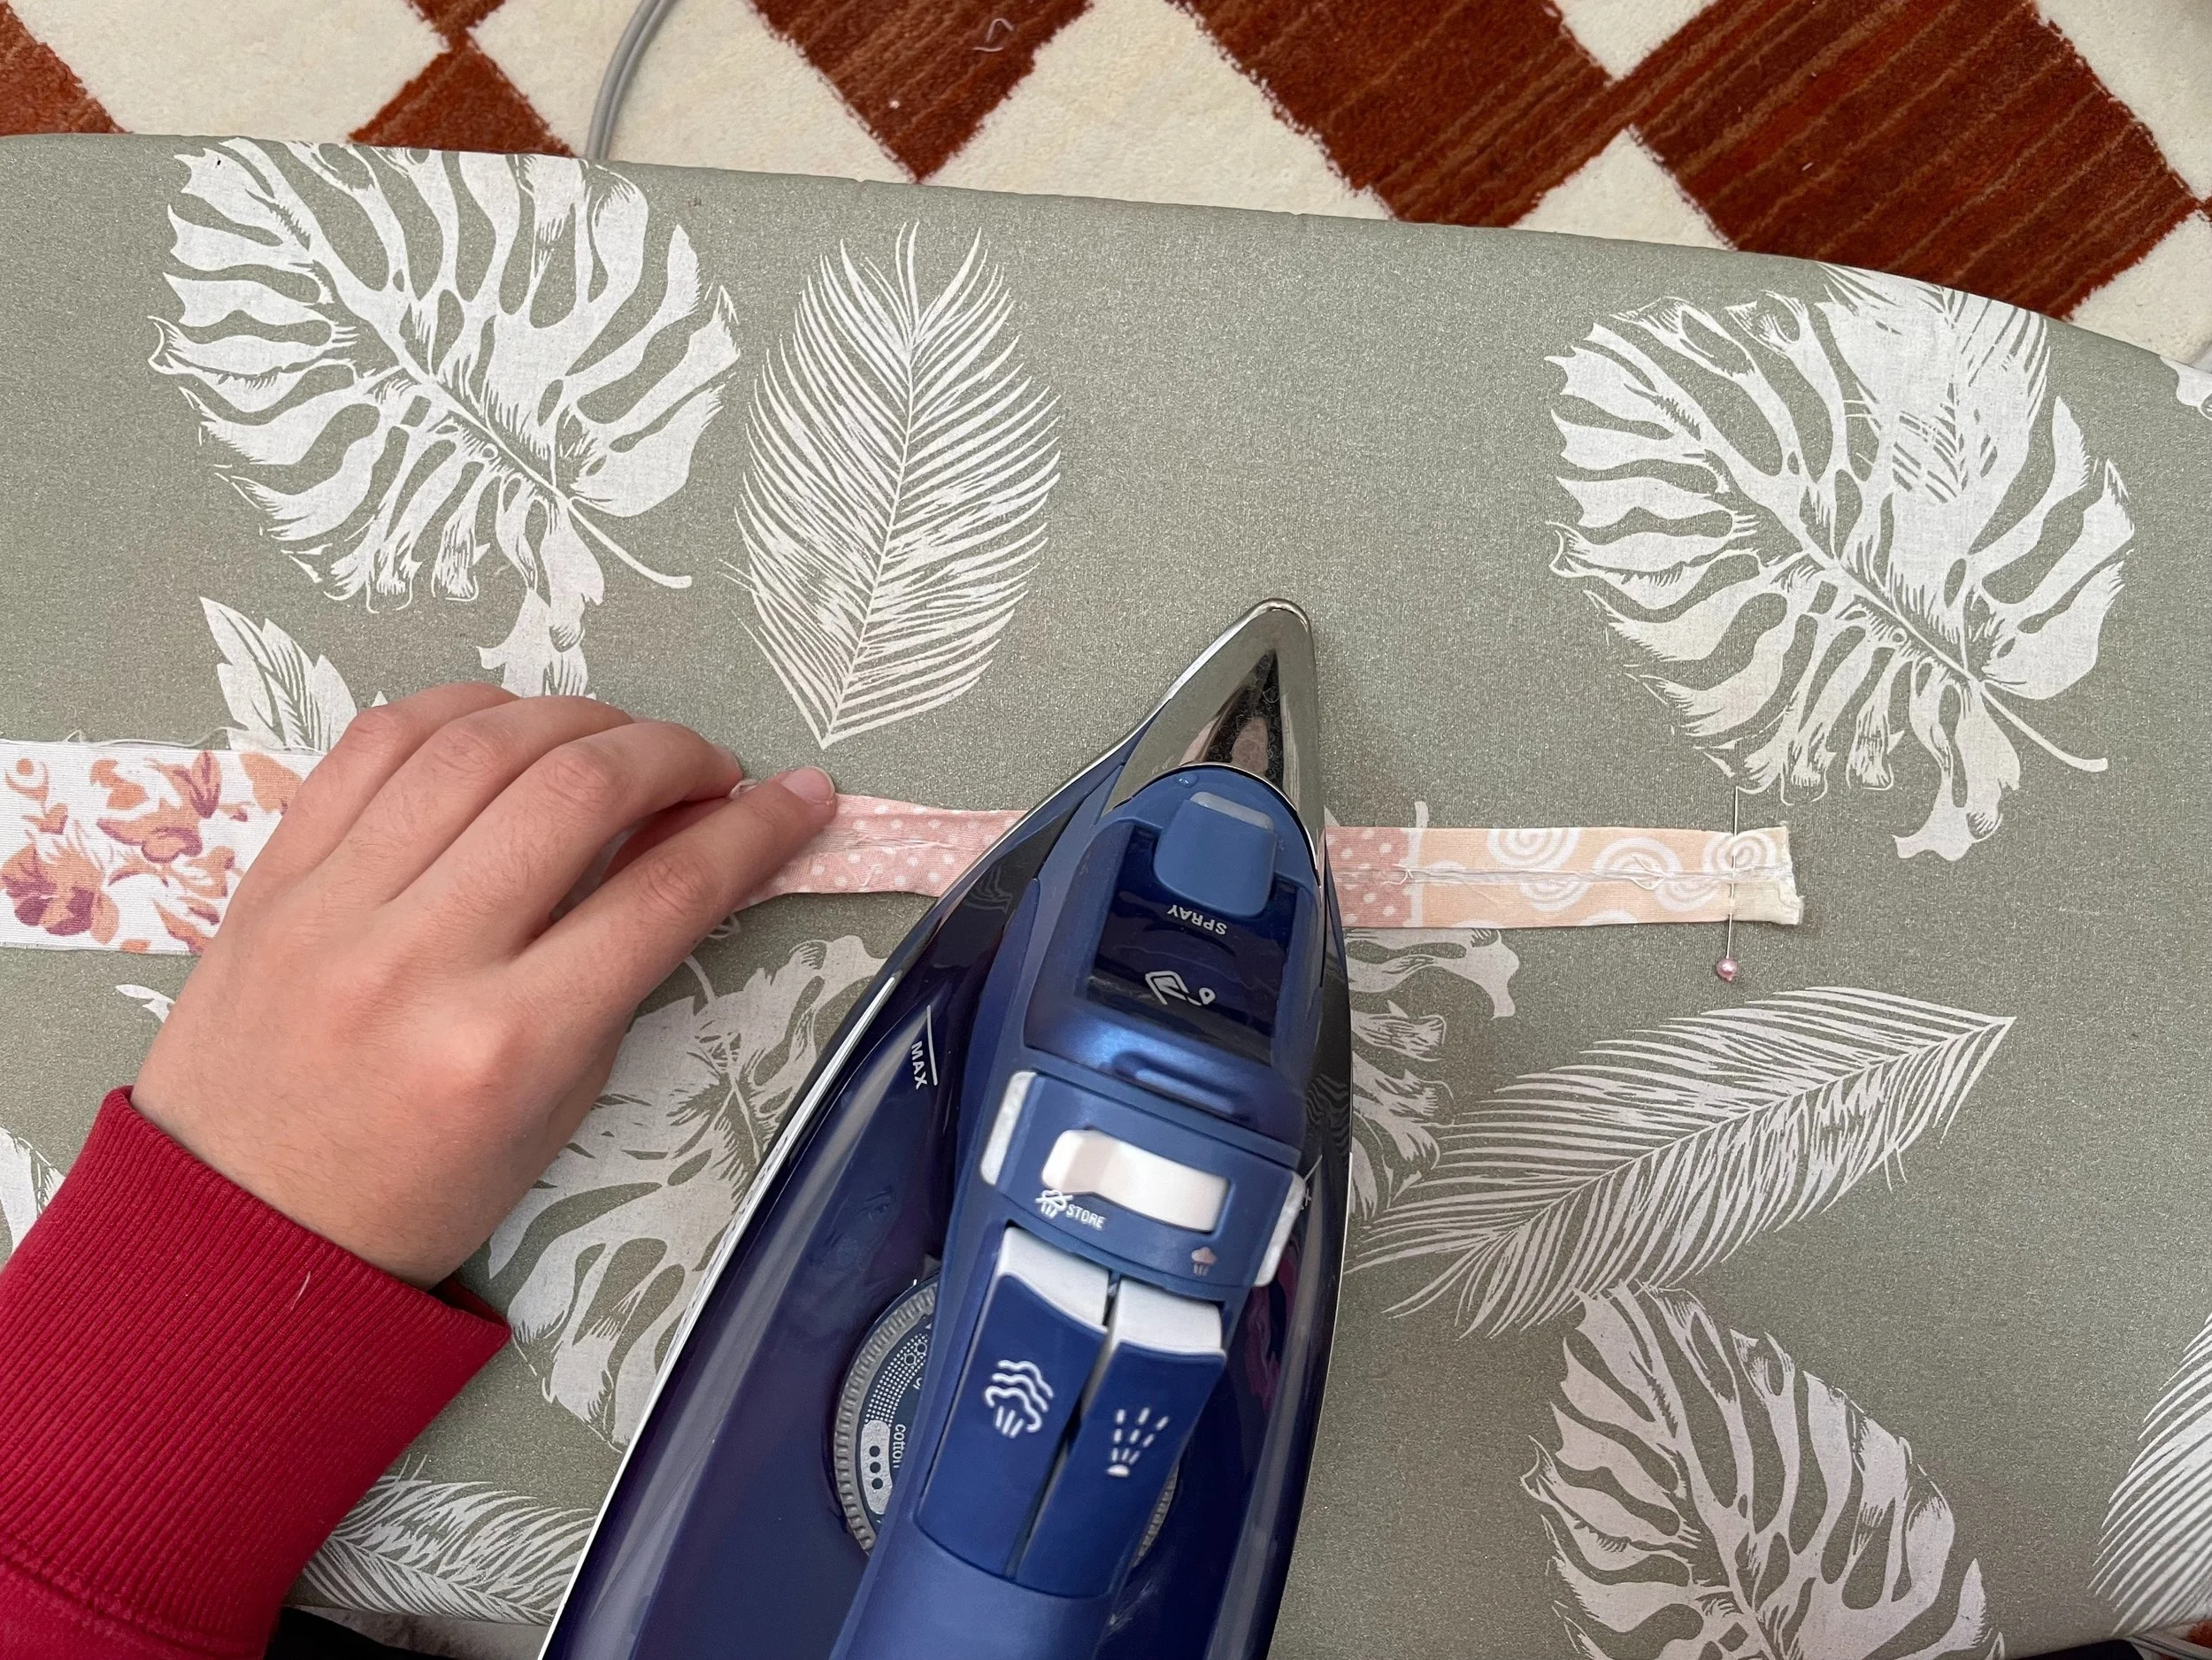
4. If you have multiple strips of bias, sew the bias together to create one continuous strip.
Lay one strip, right sides together, with the corners touching, creating a 90-degree angle.
5. Sew the strip from one corner to the other, creating a diagonal stitch through the corners.
6. Cut the excess material. Press seams open.
7. Fold 1cm of the bias strip into the center on both sides.
8. Press the folded bias in half, making one half slightly larger than the other. (This helps hide the stitching on the opposite side when sewing).


Sewing the Scarf…
1. Cut the scarf to 25cm x 169cm.
2. Sew the bias on the front of the scarf, taking the right sides together with a seam allowance of 0.5cm.
I started on the corner of one end of the scarf as a good starting point.
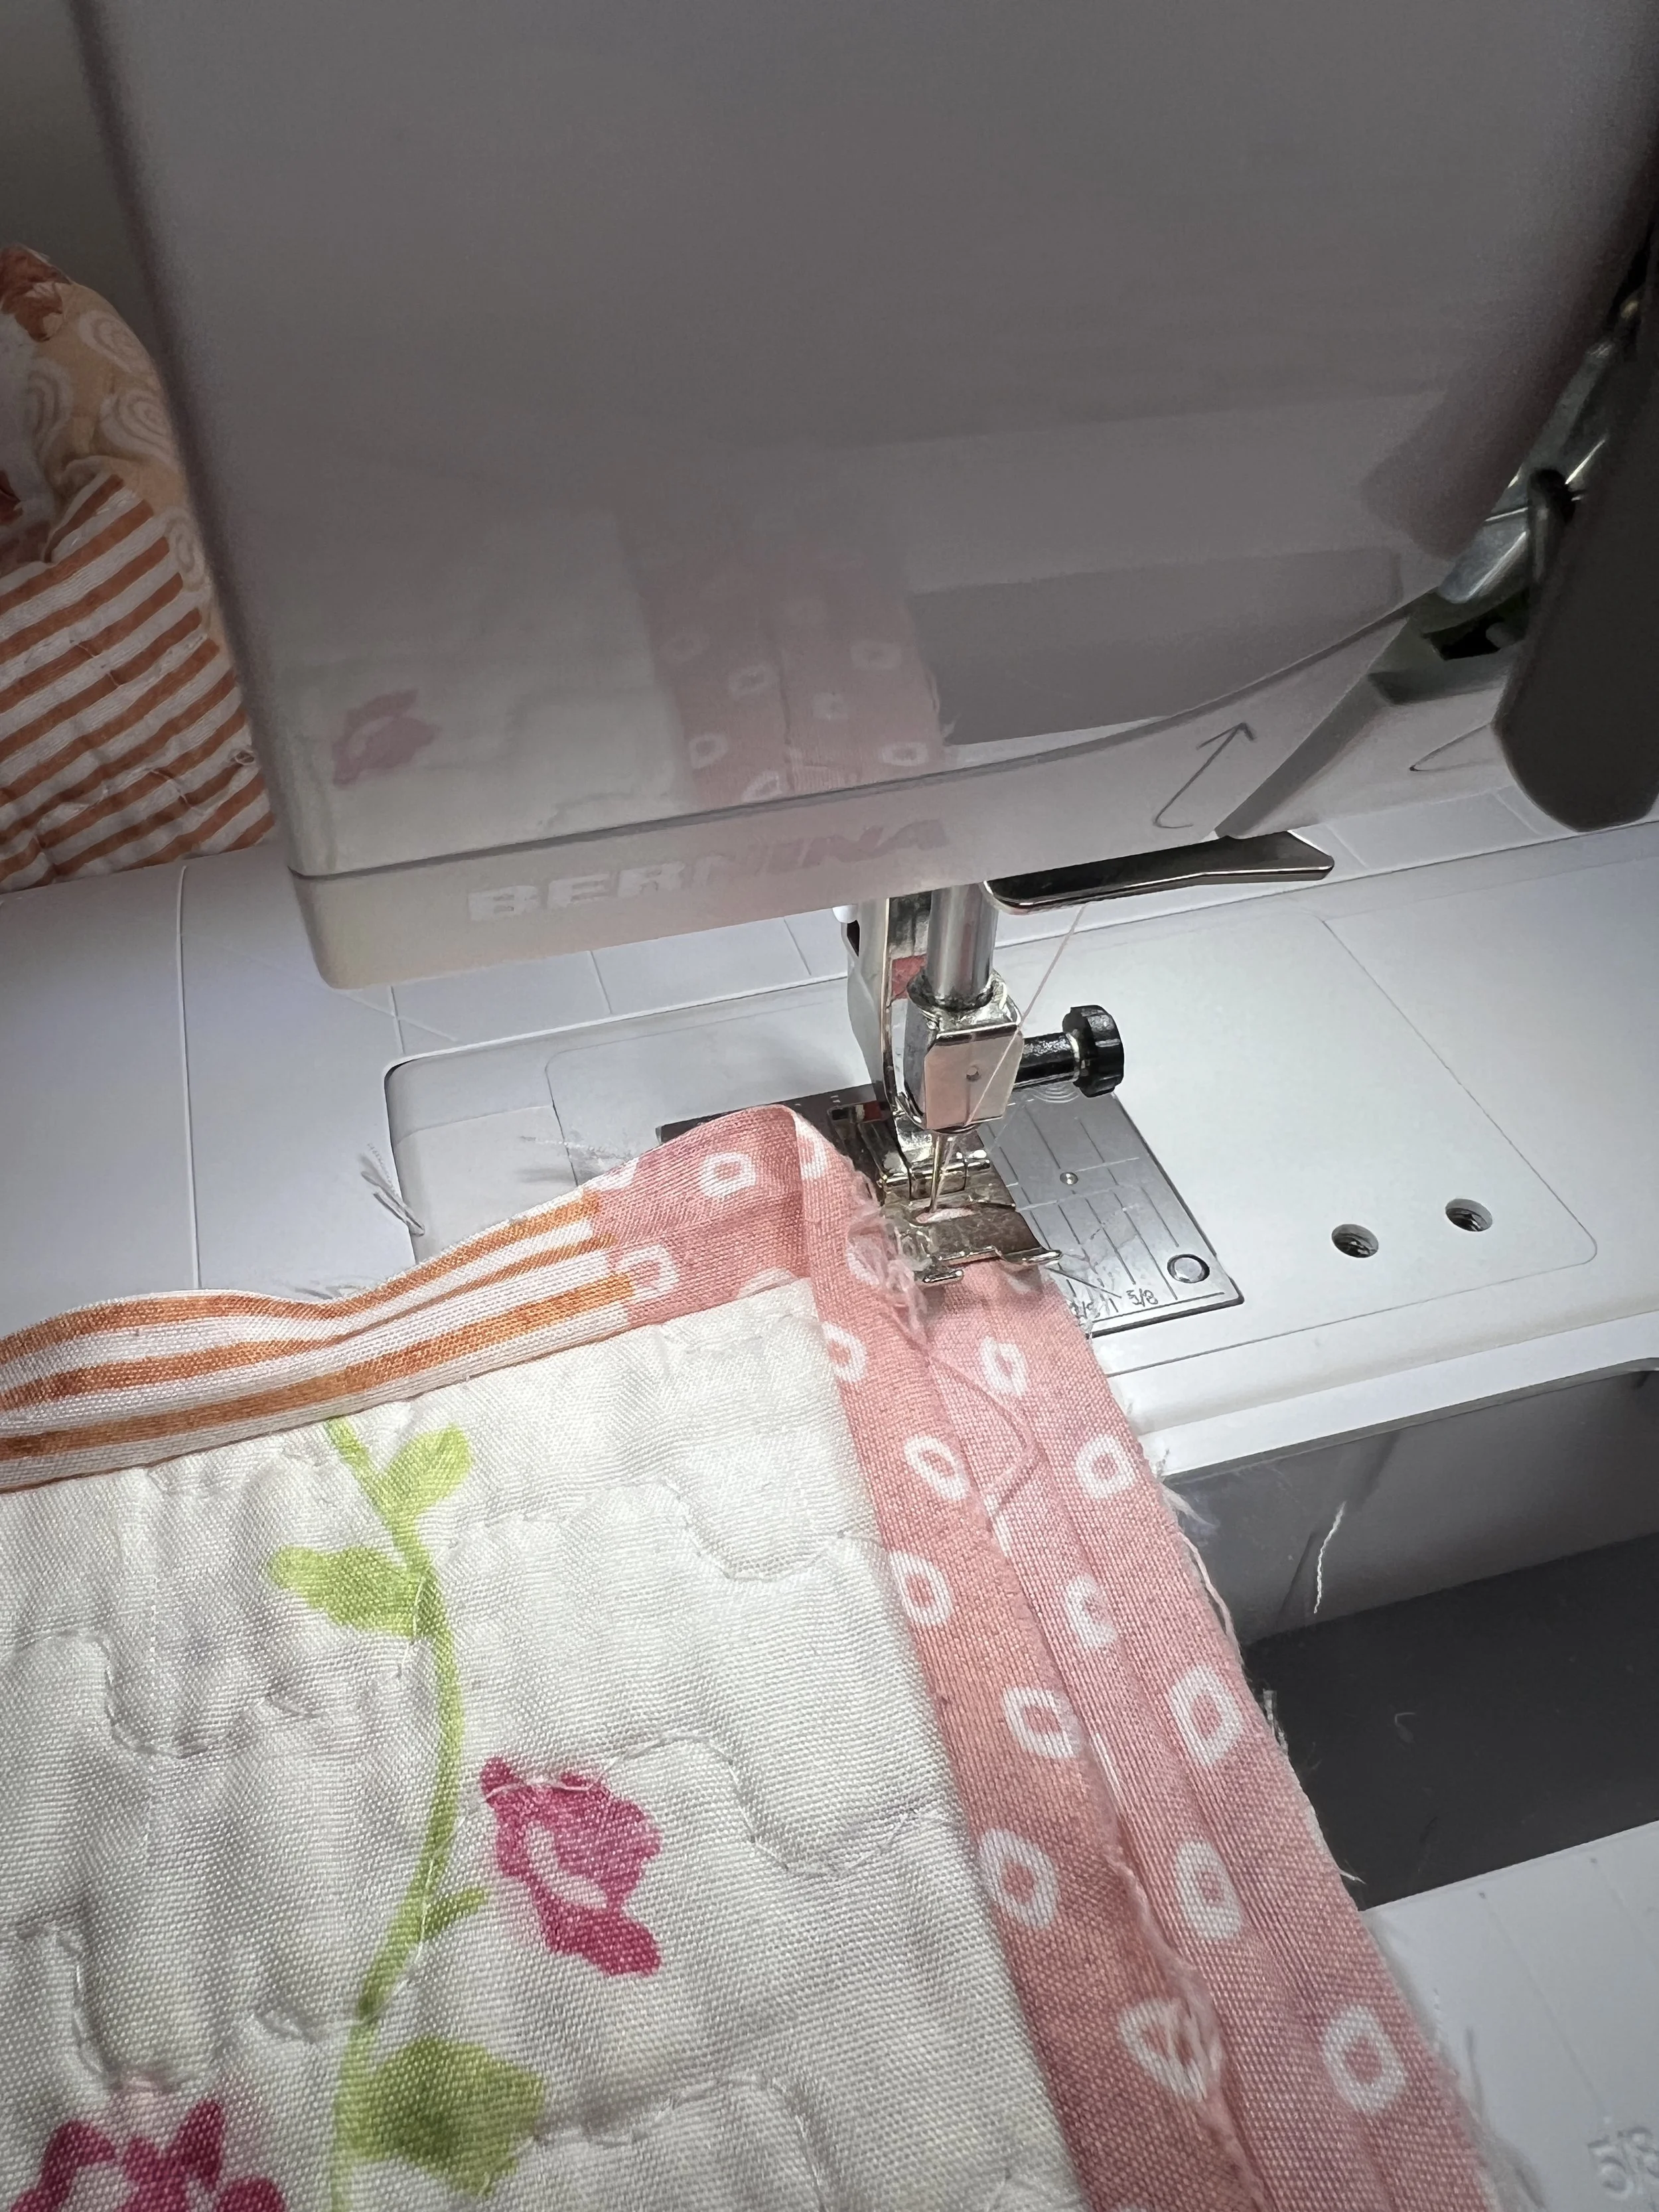
3. Work your way around the perimeter of the scarf, sewing the corners to the desired effect you’d like. I wanted to keep the corners as sharp as possible.
When you reach a corner, sew until you are 0.5cm away from the edge running perpendicular to your needle.
With your needle still in the fabric, lift the presser foot and pivot the fabric/bias 90 degrees.
Adjust your bias so that there is a clear, smooth path for your next stitches.
Lower the presser foot and continue sewing.
4. Continue sewing until you’ve reached your original starting point, ensuring your stitches intersect with your starting point. The bias should be creating a 90-degree angle on the corner.
5. Connect the bias by sewing a diagonal line running from one corner of the bias to the opposite corner of the bottom bias, creating a triangle.
6. Cut the excess hem of the bias and press.
7. Once you have reached the end, lift the presser foot and needle, and cut the thread, freeing the fabric from the machine.
8. Folding the bias over, keep the right side of the scarf facing forward.
9. Stitch in the ditch, ensuring you are catching the bias underneath by slowly working your way around and checking your stitches.
10. Seam rip and adjust your stitching as needed.
11. Sew until you’ve worked your way around.
12. Lift the presser foot and needle, and cut the thread, freeing the fabric from the machine.
13. Switch your stitch to the snowflake stitch (or any decorative stitch you are using to attach the lace trim).
14. Attach the lace trim, lining up your first flower on the corner of the scarf, and work your way around the full perimeter.
15. Remove your fabric from the machine and cut any excess thread or lace trim.


And we’re all done!
Our annual blanket coat is ready to keep you warm all winter long…