
Sewing Things I Can’t Afford: Girly Addition


To start 2024, I wanted to slow things down and focus on the things I wanted to make, mock-ups, and marinating on ideas, so hopefully I can make pieces that I love and cherish for years to come. I want versatile pieces that can be used throughout the different stages of my life and through maternity.
From now on, I’ll be focusing on how I would like to dress and getting to know my style as I grow and change as a person with baby number two on the way!
Here is what we’ll need…
Materials:
2 yards of plaid wool
Bias tape
Optional:
Let’s Begin

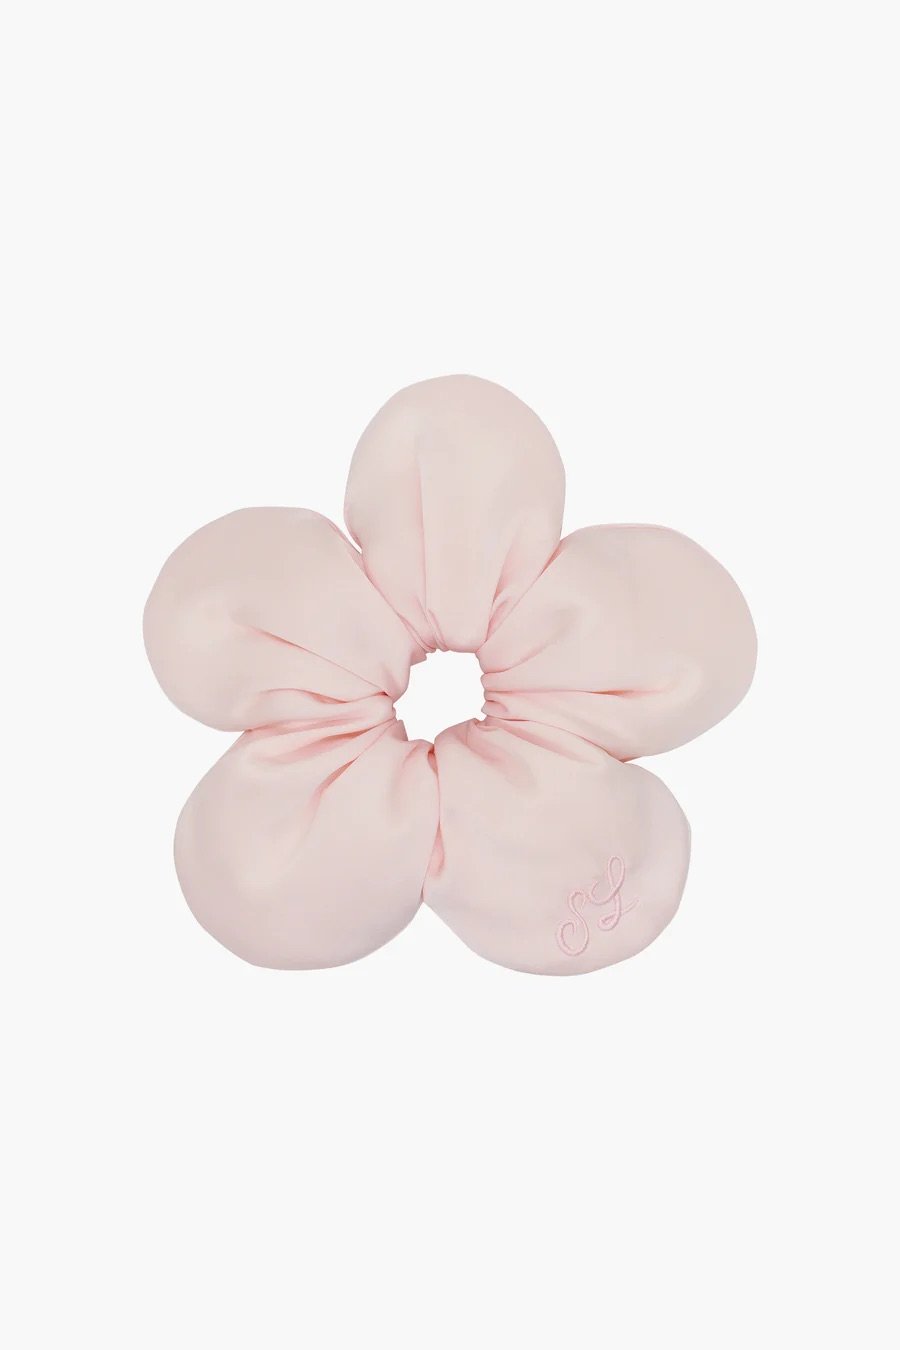
Flower Power hair tie:
1. Cut out your desired petal shape, including seam allowance.
(I did a mock-up of my first draft to see if the petal shape worked. I ended up having to make adjustments to make the petals more rounded.)
Slash and spread the petal, giving you extra material to gather once it’s all connected. Redraw your petal shape to the new size.
2. Cut 10 petals out of your material.
3. Pin 2 petals, right sides together, at the top curve of the petal.
4. Sew the top curve.
5. Flip the petal, right sides out, snip the curve to help it sit flat, and press.
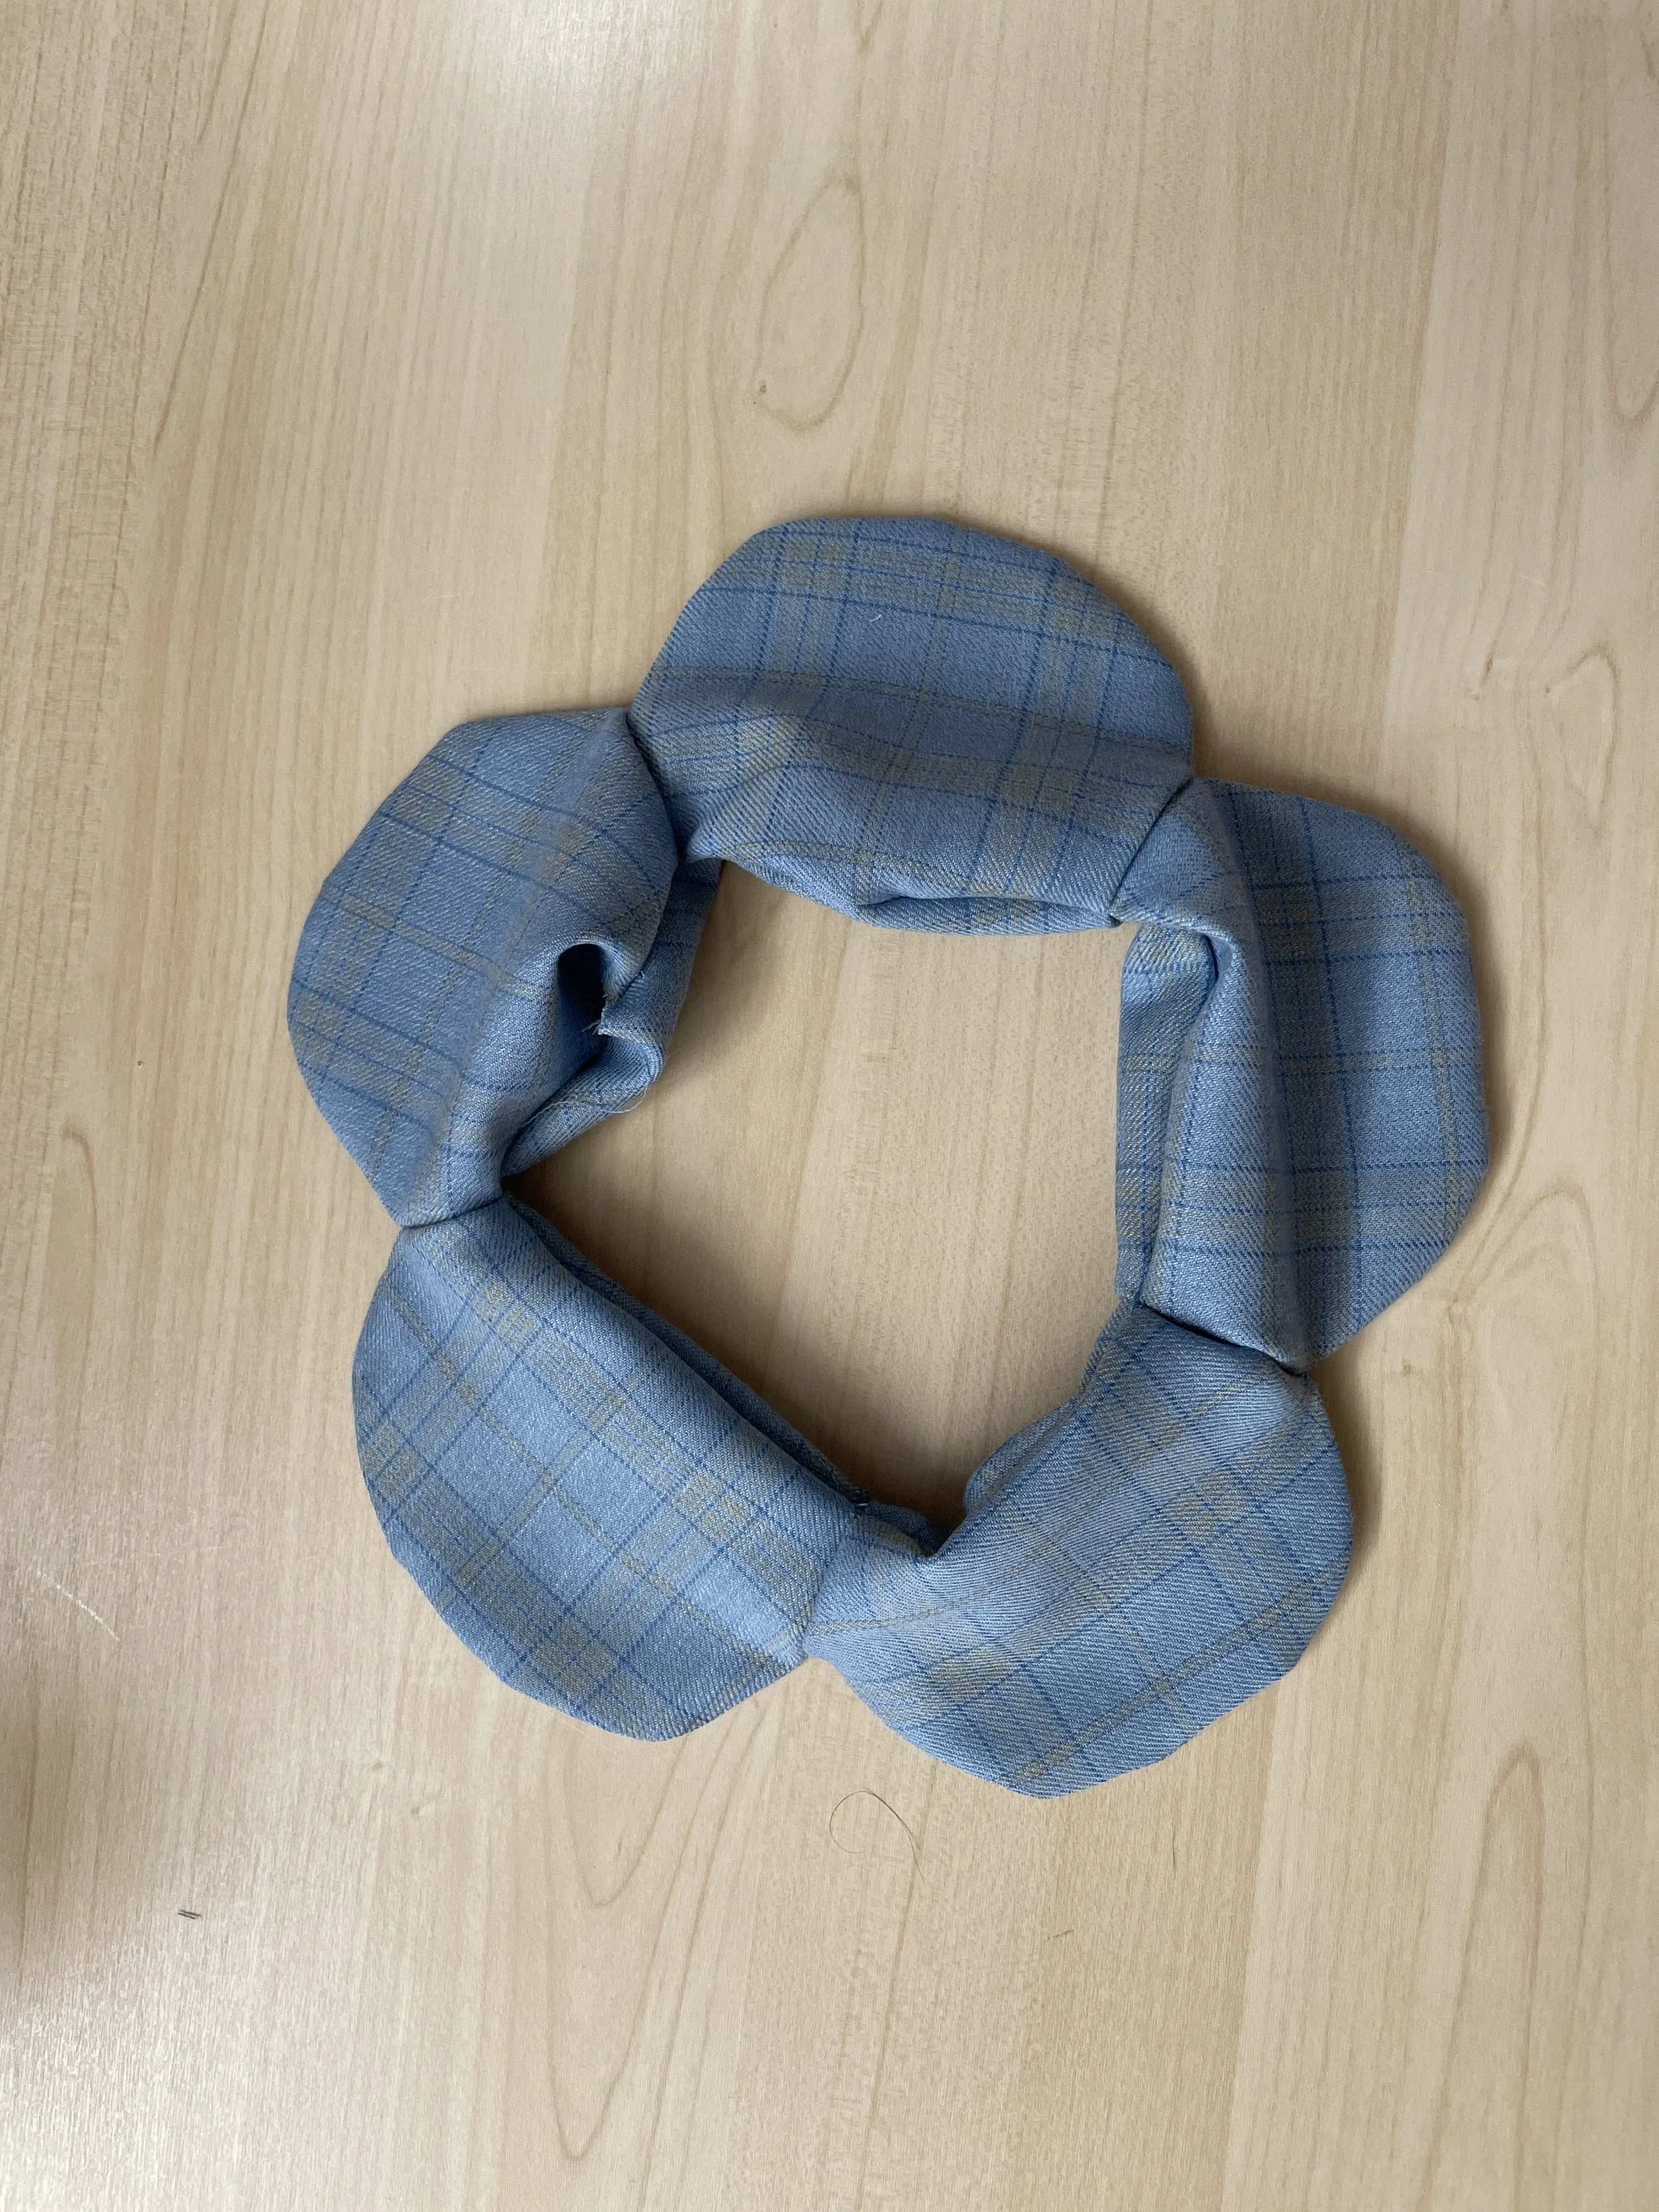
6. Repeat these steps on all 5 petals.


7. Taking one of the finished petals, place it inside another petal, right sides touching. Line the edges up with the seam.
8. Pin and sew approximately 4cms (1.5”), or until the sides of your petals are connected to the desired effect.
9. Repeat these steps until all 5 petals are joined together, creating your finished flower shape!
10. Flip your flower, wrong sides out.


The Burrito Method: Here’s the tutorial I learned from!
11. With your petal tube, lay the scrunchie flat, wrong sides facing outwards.
12. Revealing the bottom layer of the flattened tube, line the edges up right sides together, sandwiching your top layer inside.
13. Pin the material and begin sewing the circle shut, pulling the inner folded material out as you make your way around.
14. Leave 5cm (2”) open so you can flip your flower, right sides out.
Press.
15. Cut 5 pieces of batting (I used leftover tulle as I wanted to use up some scrap fabric).
16. Stuff each petal, adjusting the desired poufiness you’d like.
17. Taking .5cm (1/4“) elastic and a safety pin, thread the elastic through the scrunchie.
18. Cut the elastic to the desired size, I made mine small enough that it can sit perfectly tight against my ponytail without double knotting it around my hair.
19. Double knot the ends of the elastic to secure the band.
20. Close the opening of the hair tie by doing a top stitch on the machine or an invisible stitch by hand.


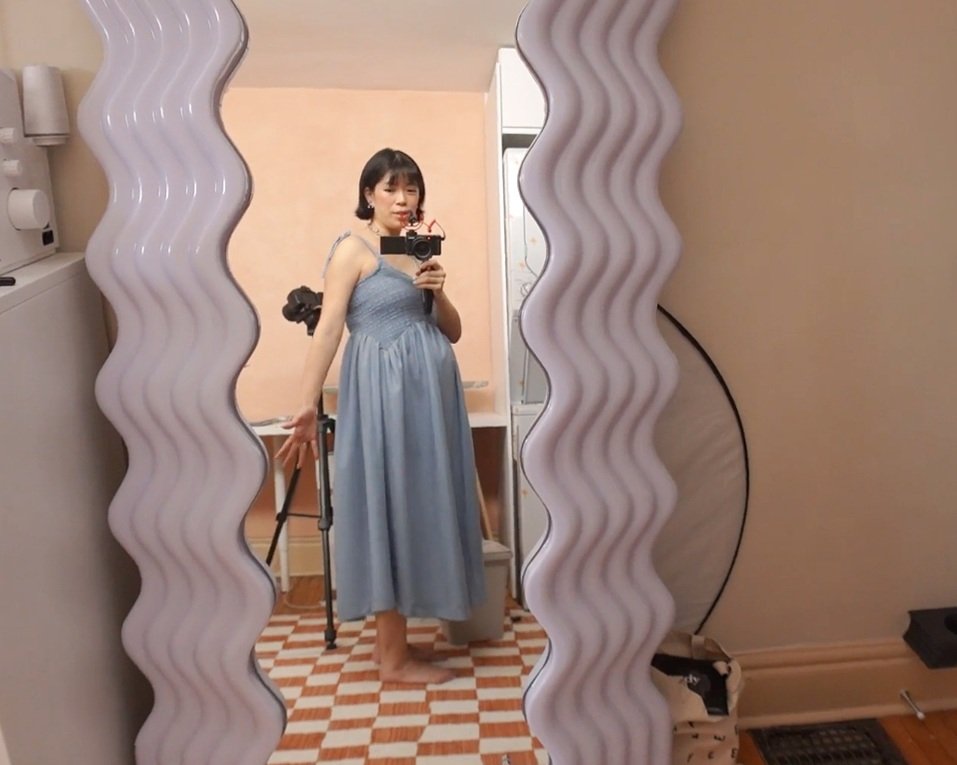
Sandy Liang Inspired Dress:
1. Using the bodice pattern from the Regency dress I made a few years ago. This pattern has quite large darts, but I am making a shirred top, which stretches naturally.
I accommodated this by extending my pattern to create the desired shape of the bodice without the darts.
I modified the neckline to be slightly less square, added lower scallops that align with the original vertical darts creating a scalloped waistline, and straightened the back into a plain rectangle.
To check the fit, I cut it out of knit fabric to mimic the behavior of shirred material and tried it on my mannequin. I then added 4cm in length to the pattern to achieve a cropped look compared to an empire/baby doll look.
2. Draft a skirt pattern.
I used a dress that I enjoyed the fit/flare of the skirt and traced a front and back piece, extending the waistline so that I could attatch the bodice with some ruffling in the skirt.
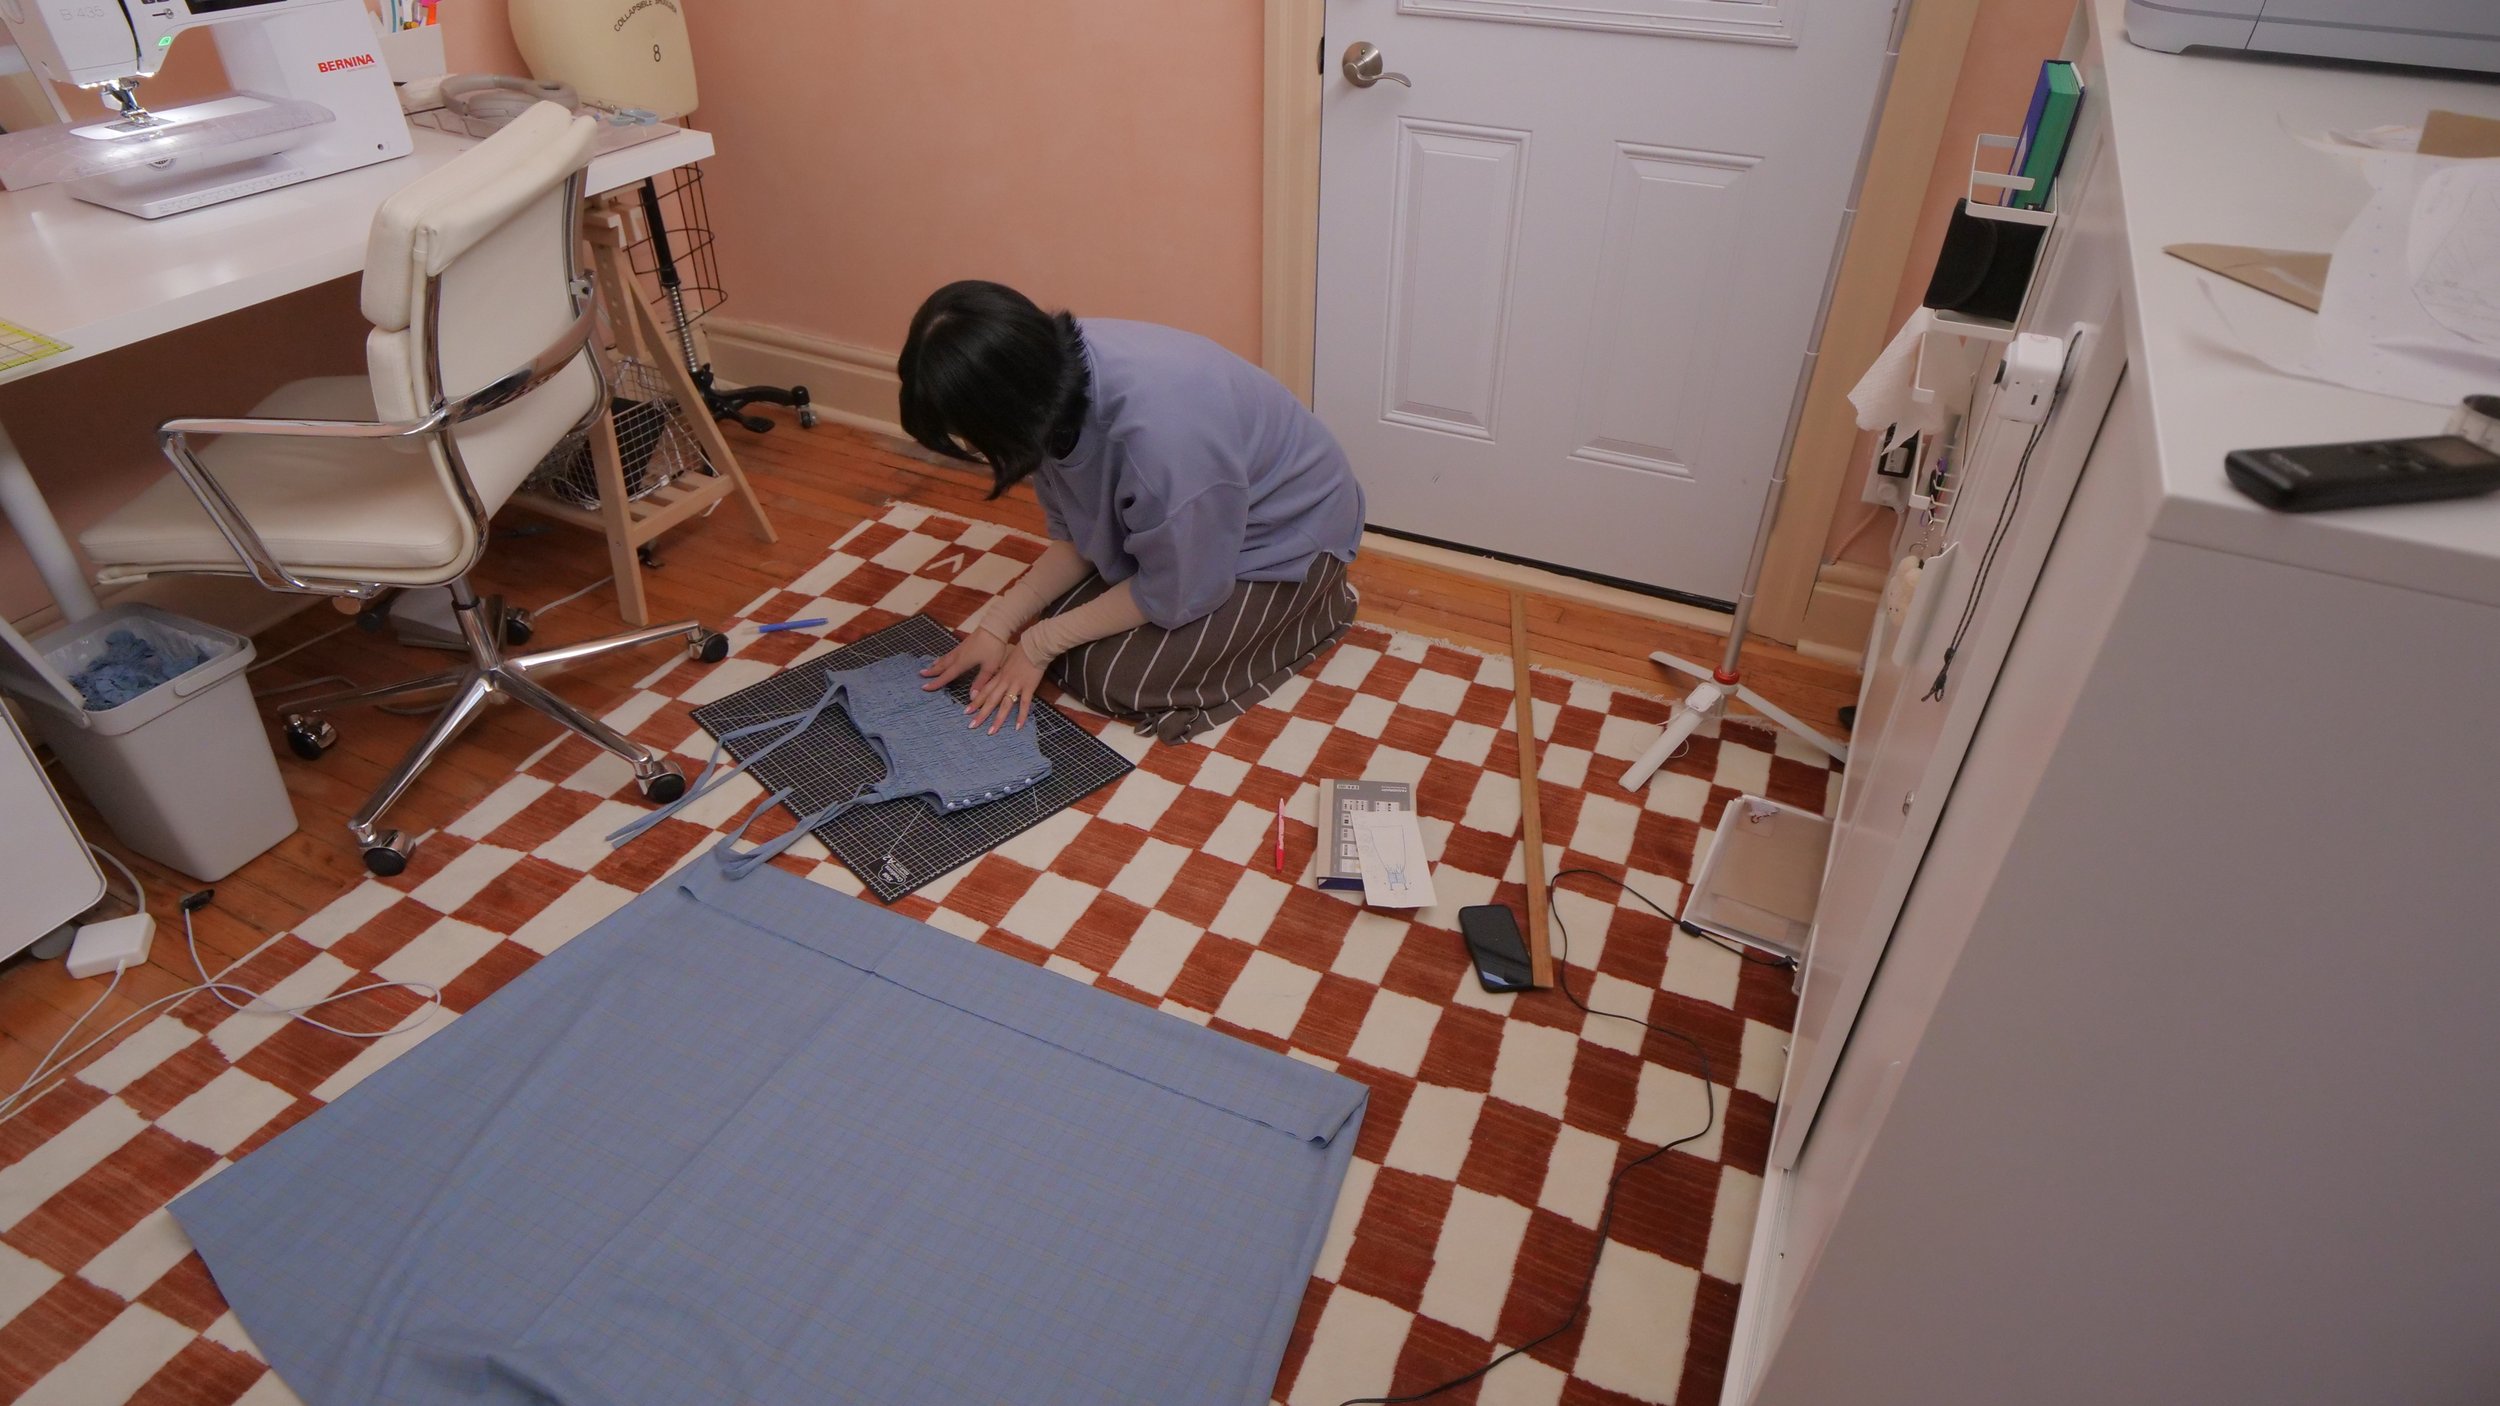
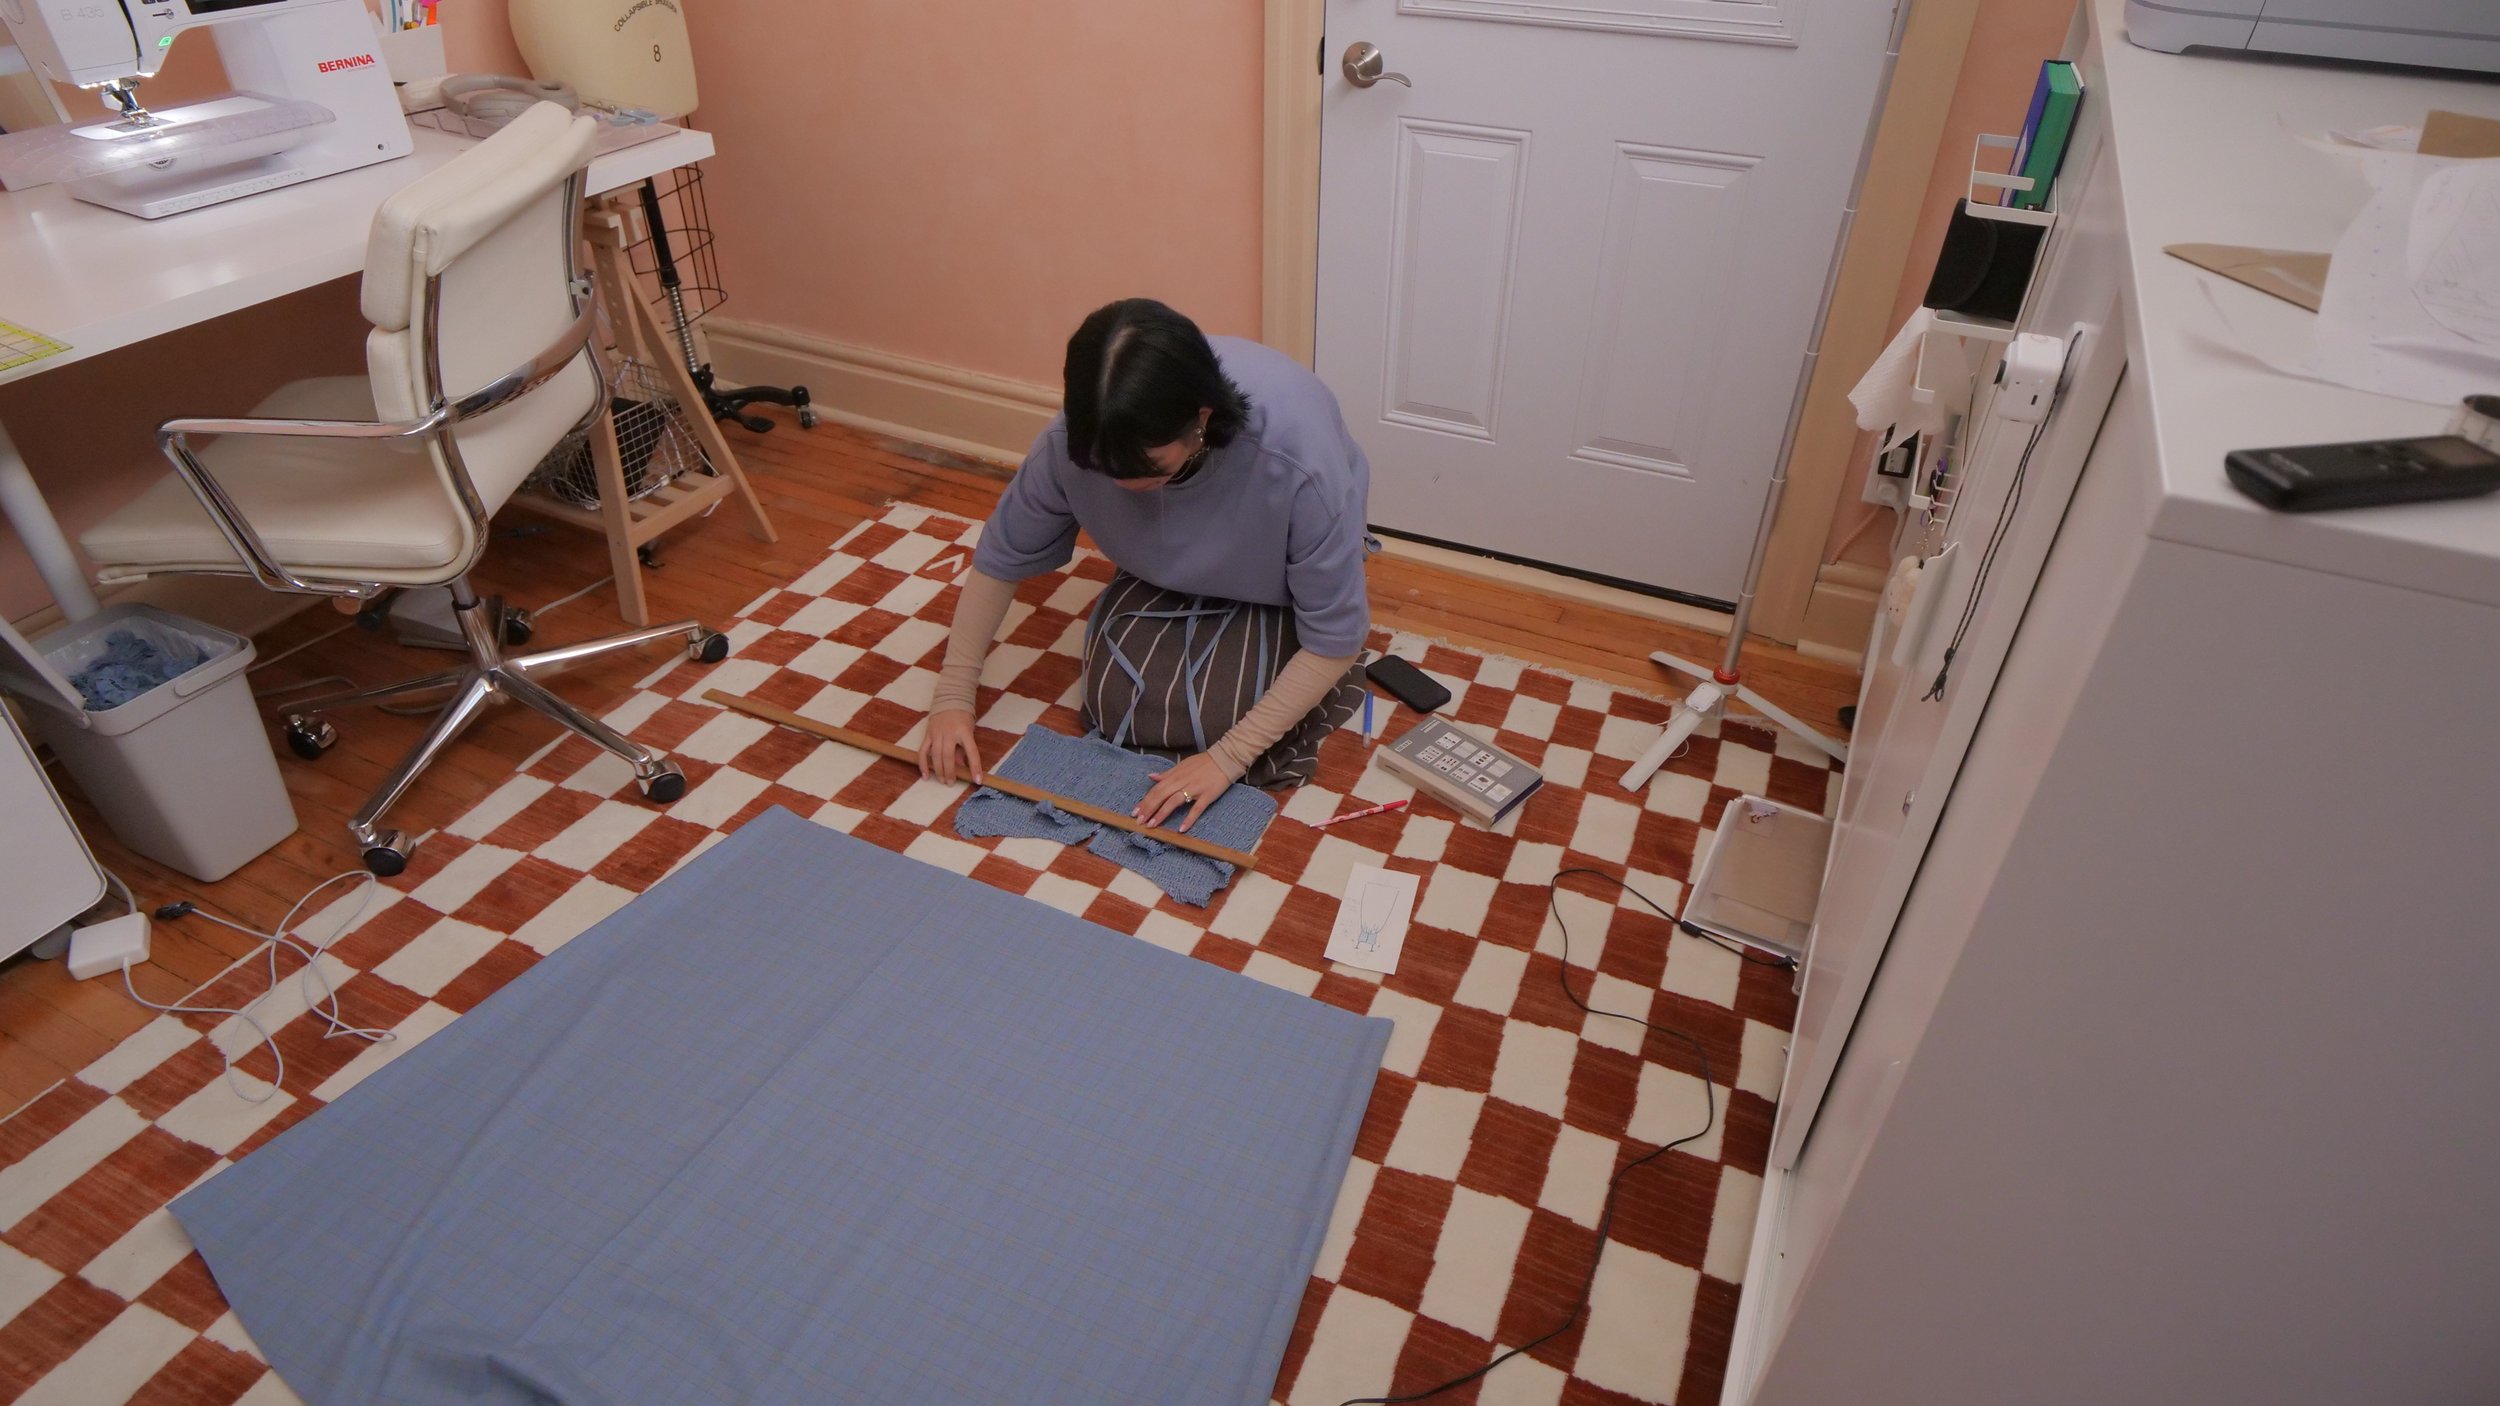
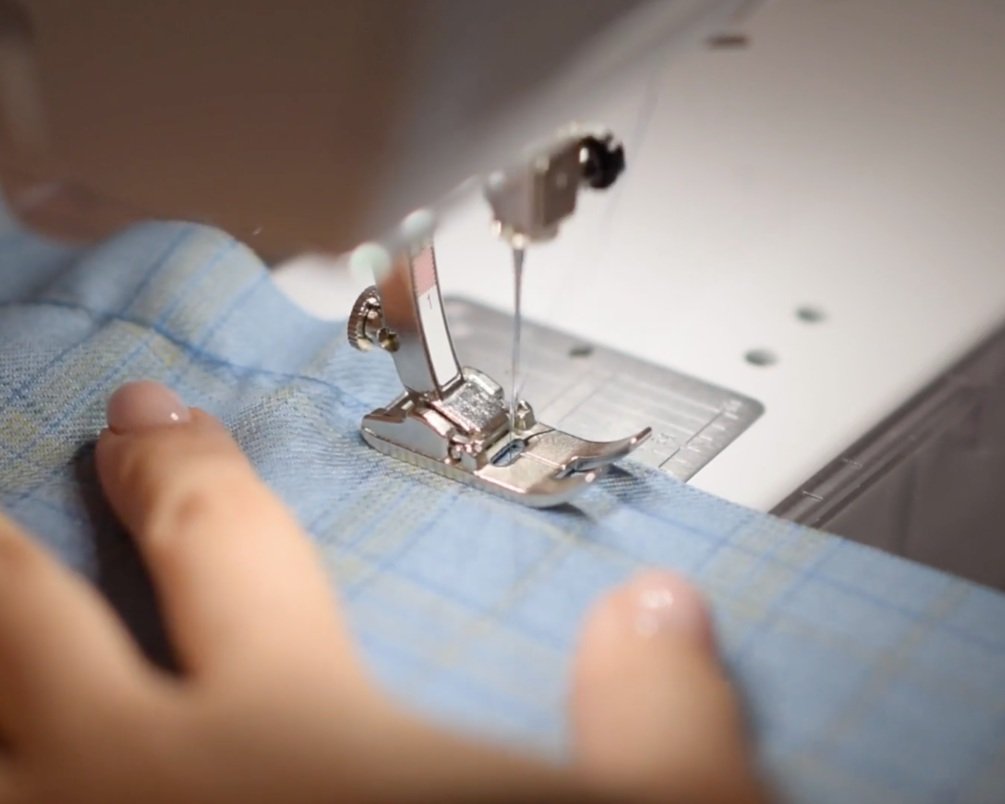
3. Cut your pattern out, taking into consideration the way the plaid design will sit on the body.
4. Sew the 2 panels of the skirt together at the side seam.
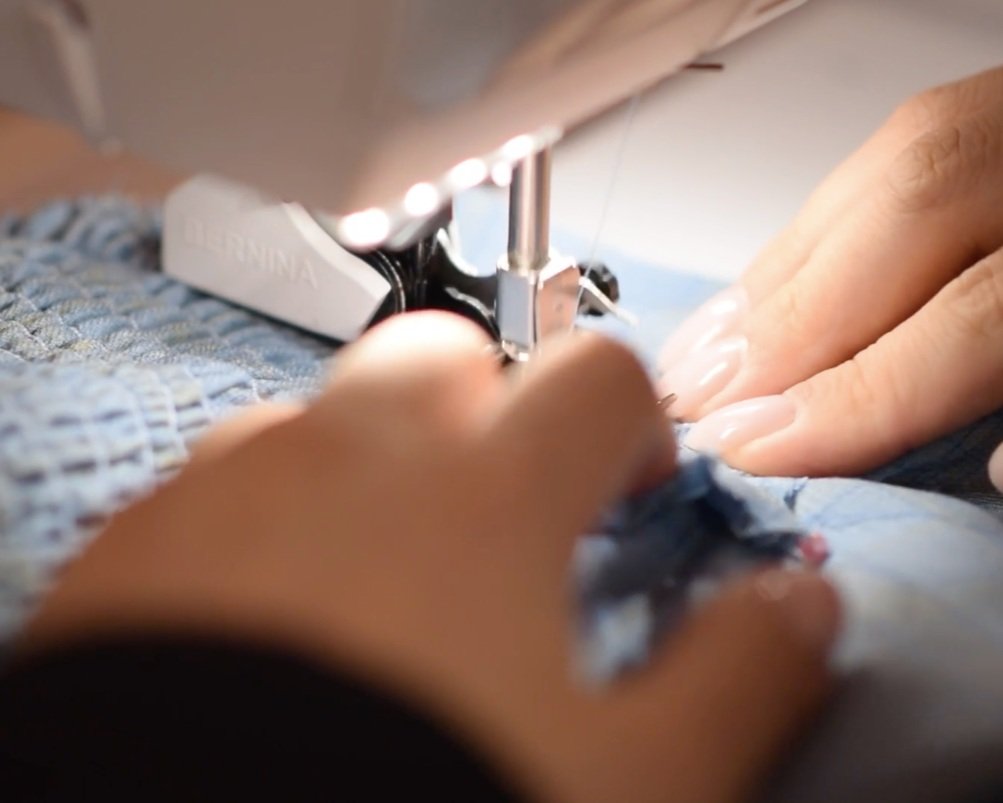
5. Using a blanket stitch, hem the bottom opening of the skirt.
6. Press the bottom hem, wrong sides together, at 4cm (1.5”).
7. Fold and press the hem.
8. Using a blind hem foot and invisible stitch, sew the hem, ensuring the needle catches both sides of the fabric where the raw edge sits against the folded edge. Only a small knick of the fabric should be caught to keep your stitching as invisible as possible.
9. Press.


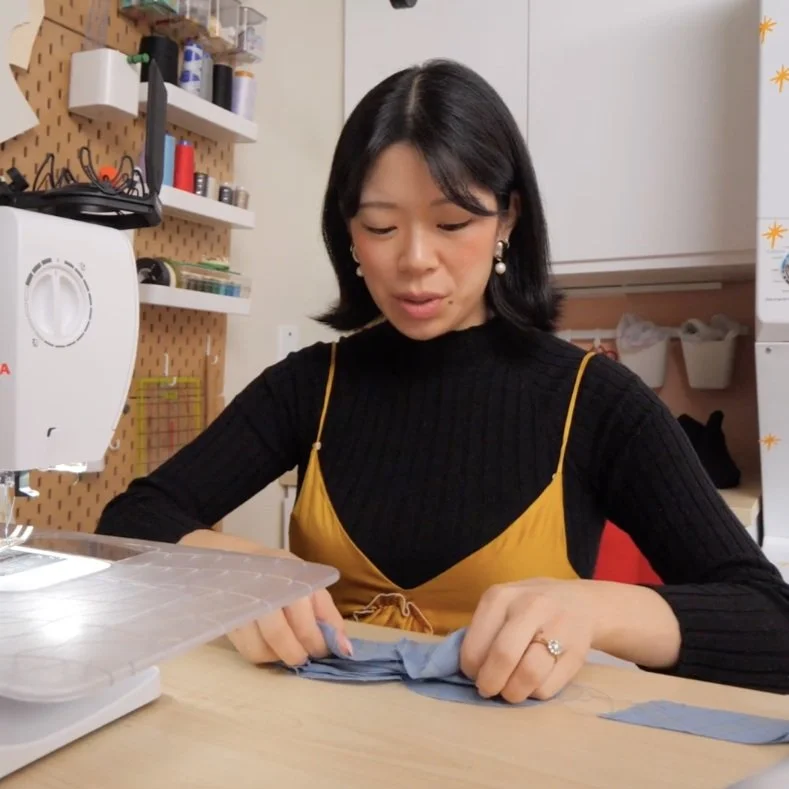
Shirring the material
Shirring: (verb) adding volume to fabric by scrunching the fabric along multiple parallel elastic threads or bands. Shirring is often used along a fitted section of a garment to increase its flexibility for different sizes.
10. Wind several bobbins of elastic thread, keeping minimal tension as you wind.
11. Cut a piece of material, large enough to cut your bodice from, giving extra room for shrinkage during the shirring process.
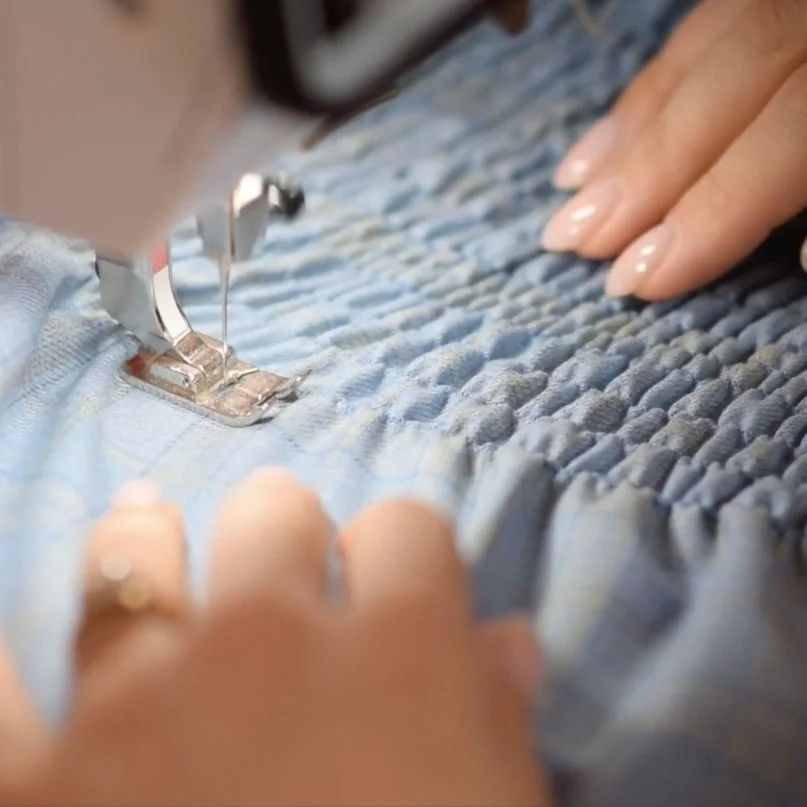
12. Mark out where you would like to shirr the material, keeping it consistent throughout the whole piece. I followed specific areas on the plaid that helped keep my lines straight.
13. Begin sewing, backstitching the beginning and end of the sewn lines, and applying moderate tension on the fabric as it is guided through the machine.
As you continue sewing, you will want to smooth out the shirred material as you continue forward so you don’t catch any folds.
If your thread snaps, rethread your top thread and backstitch over your last stitches, continuing forward.
If you run out of elastic bobbin, insert a freshly would bobbin and backstitch where your last stitches ended, trimming any loose ends.
14. Once your material is shirred, press to help relax the shirring in place.
15. Trim off any excess threads.


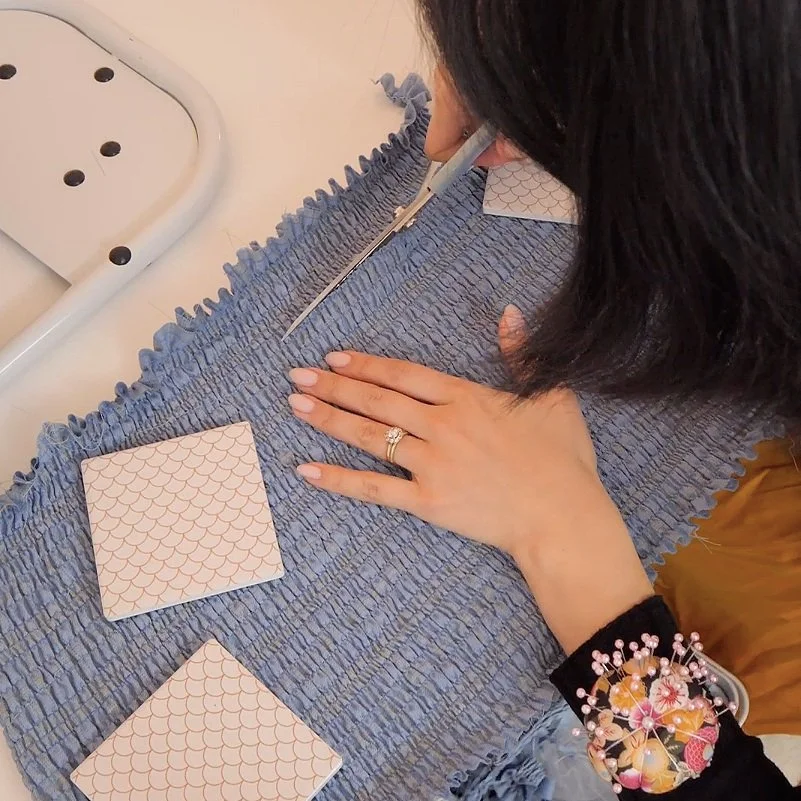
16. Pin the shape of the template to the shirred material, and sew a securing stitch to lock all the shirring in place before trimming and releasing the elastic. (Typically it’s important to hem before shirring, but that doesn’t always work for curved areas.)
17. Cut out the bodice, lining up the front pieces with the plaid design so the look is cohesive in the front.
18. Sew the two front panels to the back.
19. Try on, and make adjustments as needed.


Bias & The Buttons

20. Create the bias trim for the neckline of the bodice.
21. Cut 4cm width x 120 length strips on the bias.
22. Press the bias in half, creating a single-fold bias strip.
23. Pin the bias starting from the bottom of the front opening, and around to the opposite front opening.
You can also pin in your elastic loops for the button closure in the front of the bodice, marking out with a button gauge where the buttons will sit.
24. Sew the folded bias, catching the button loops during the pass.
25. Flip the folded edge of the bias to the wrong side of the bodice and sew it in place with a top stitch.
26. Sew the buttons onto the bodice by hand, checking that they line up seamlessly with the button loops.


Straps
27. Cut a 4cm by 65cm strip on the bias.
28. Cut 4 equal straps from the bias to create your straps.
29. Sew the strap’s right sides together, with a .5cm seam allowance.
30. Using a strap turner, insert the hook, catch the material, and pull it through, flipping it right sides out.
31. Finish off one end of each of the straps by folding in the raw edge and using a blind stitch by hand.
32. Attach the straps to the top, opening up the sewn bias to hide the edges in the fold. Tie the straps together on either side.


Putting it all together
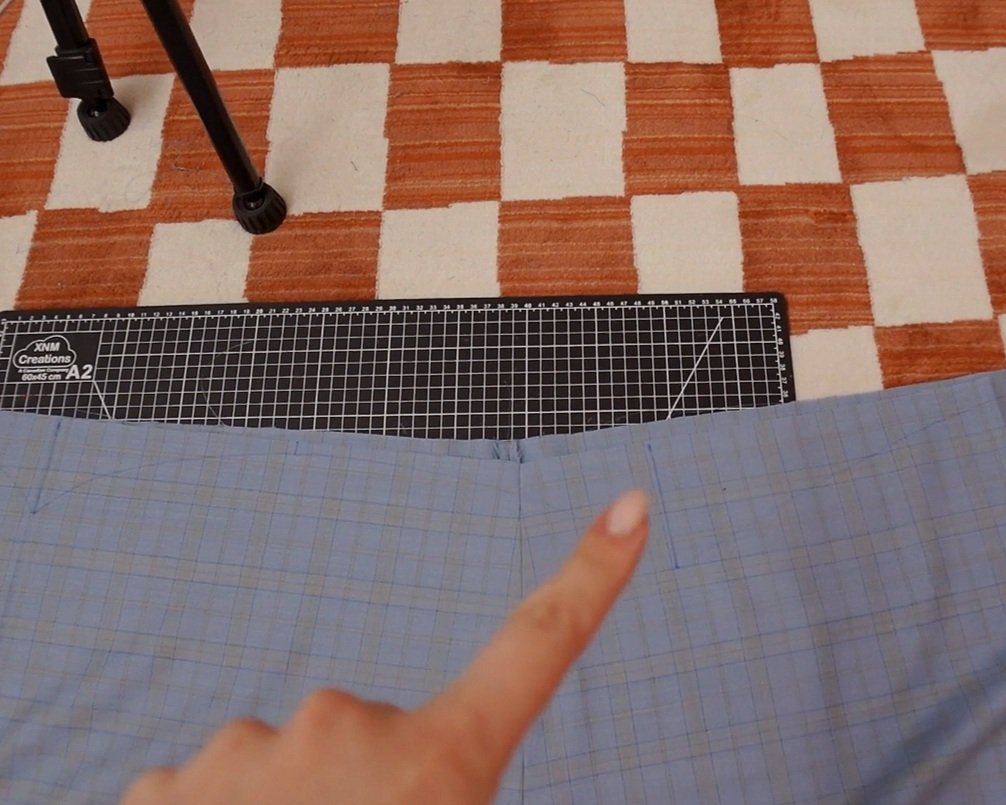
33. Draw out curved lines across the waistline that are to scale with the curvature of the bodice hemline.
34. Run a basting stitch along the newly drawn hemline.
35. Gather the skirt, shaping it to sit nicely against the curves of the bodice.
36. Pin and sew the top to the skirt, right sides together, working around the scalloped bottom edge. Use a walking foot to help sew through all the layers.
37. Trim any extra material or threads.
38. Overlock stitch the edges.
39. Make any adjustments needed to the gathered skirt. The bottom hemline was not straight on mine, so I made adjustments by hand-sewing certain areas to make the hem straight.
40. Press the skirt and try it on!

Time to Layer up…


I can’t wait to test this new dress out throughout maternity and bring it into my everyday where after as well. Such a versatile piece needs to hold a permanent spot in the rotation!
